I make toys for kids who don't want to grow up. I'm on the lookout for new projects. If you're interested in commissioning me to build something ridiculous, shoot me an email.
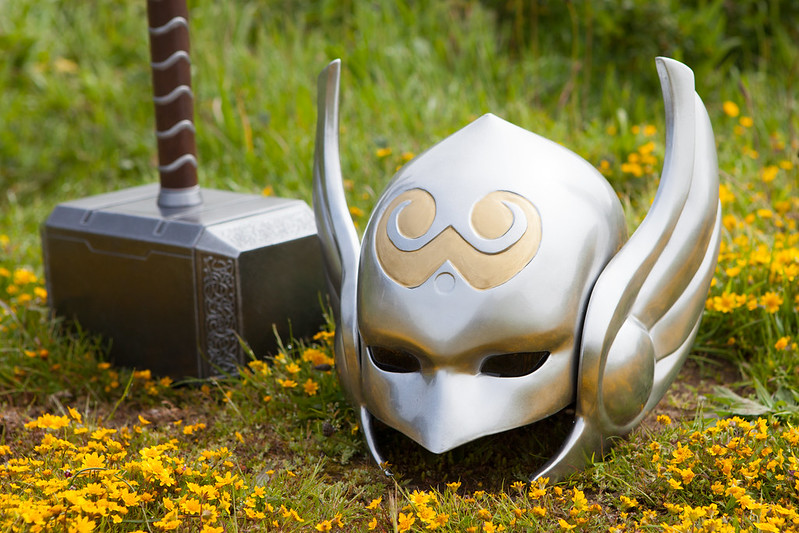
If you've been reading along at home, you've been following progress on my Thor, Goddess of Thunder costume. If you're just now joining us, here are the links to the previous articles about this project: Part 1: Prototyping the Helmet Part 2: Molding the Helmet Part 3: the Armor Build Part 4: the Hammer Part 5: the Fabric Parts Part 6: the Leather Parts
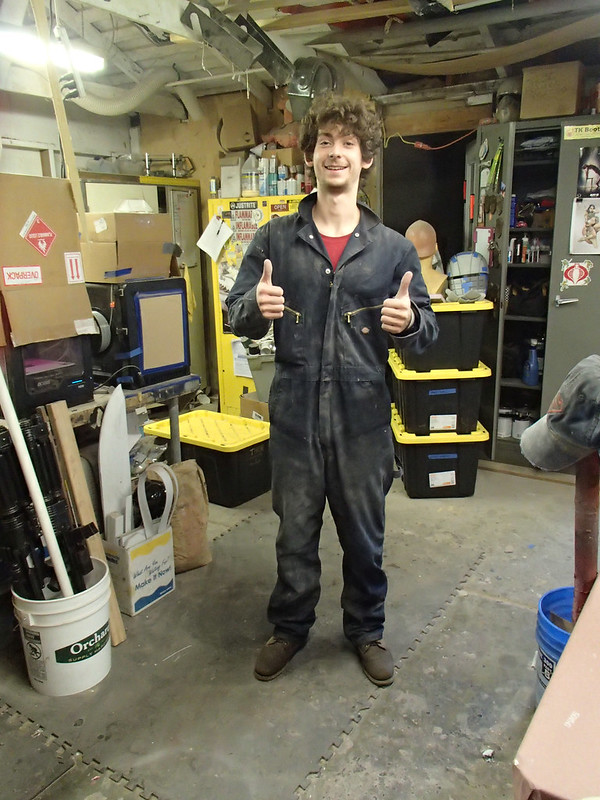
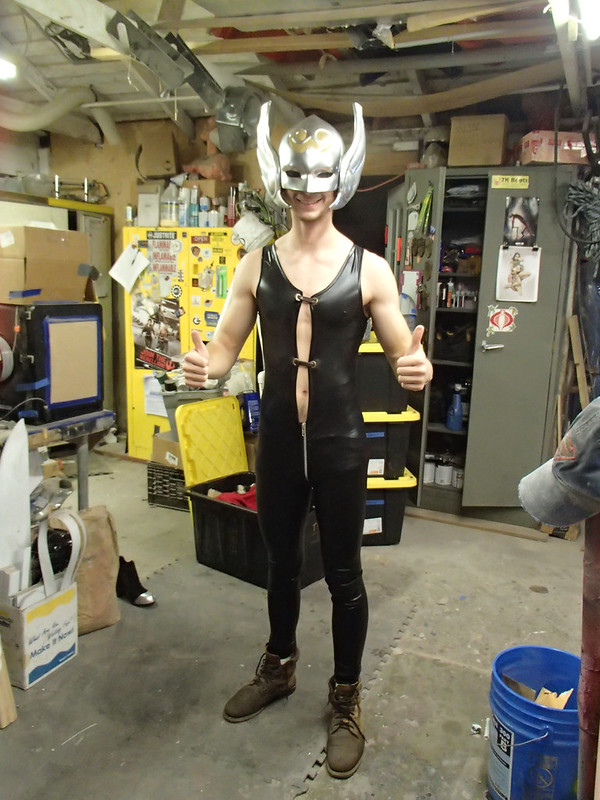
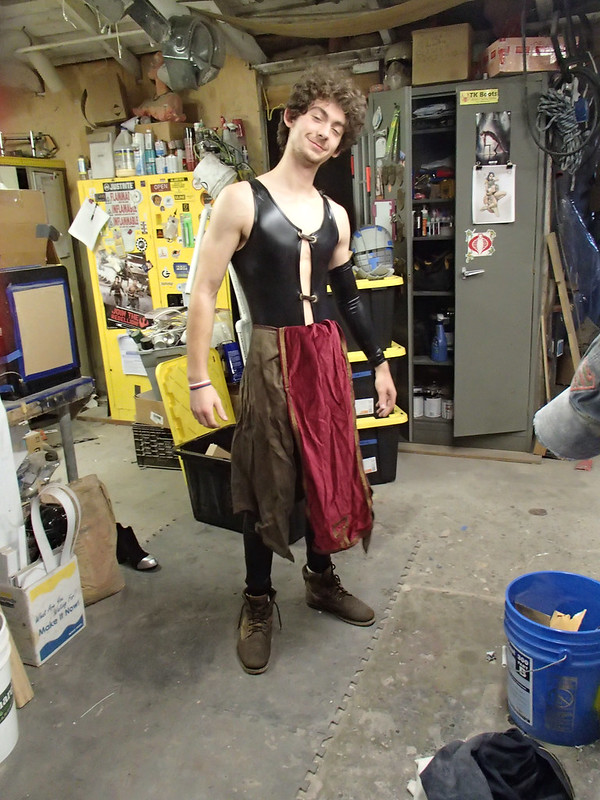
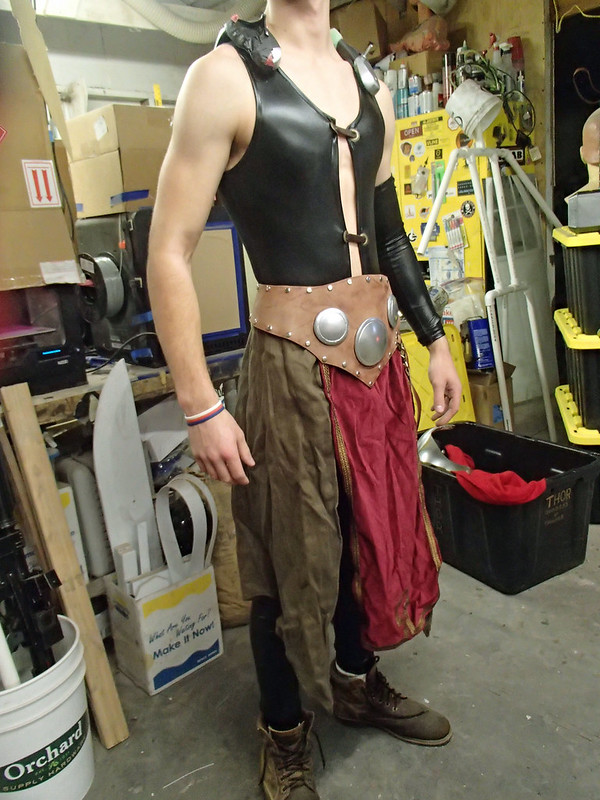
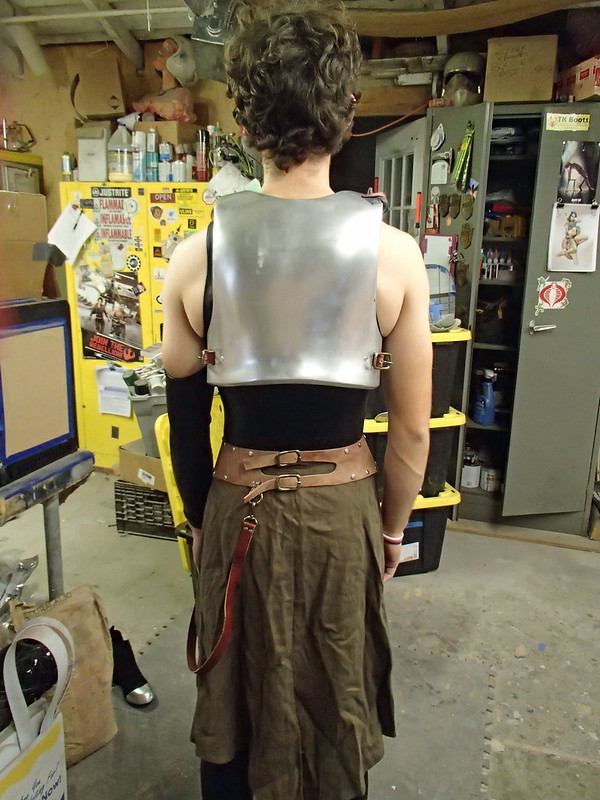
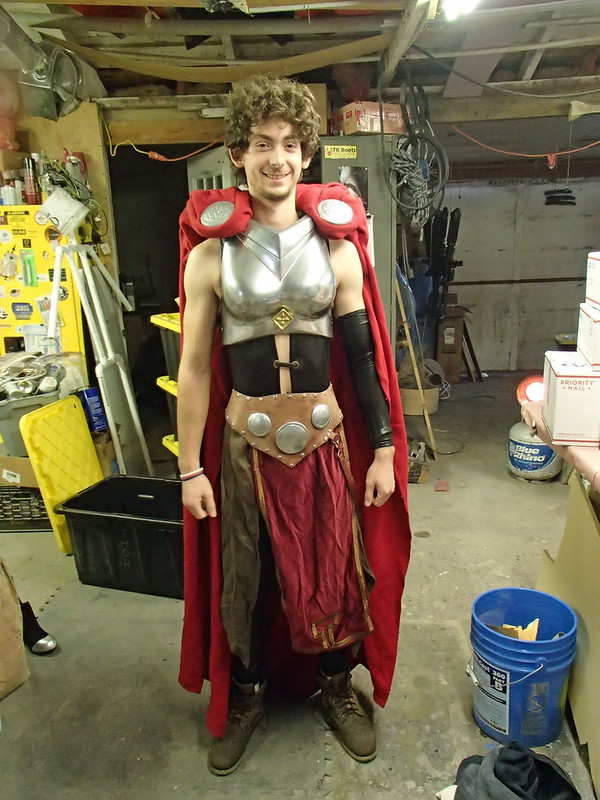
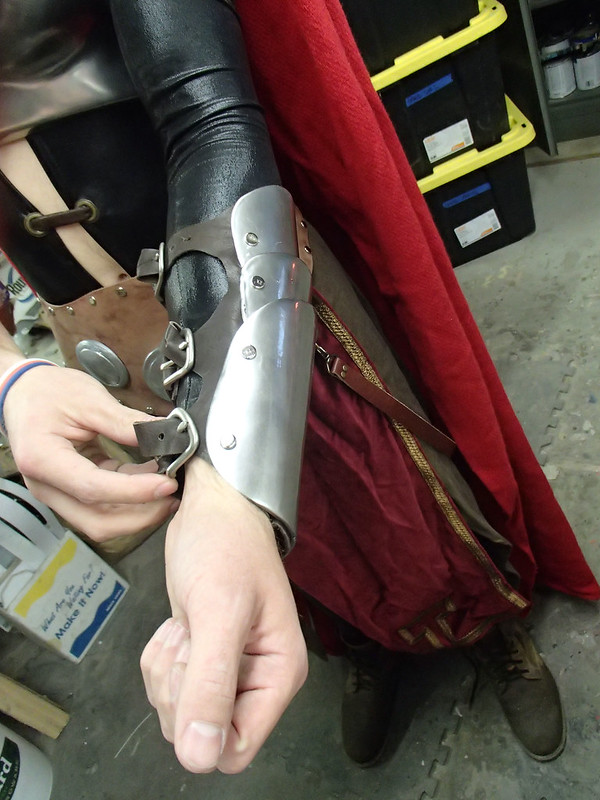
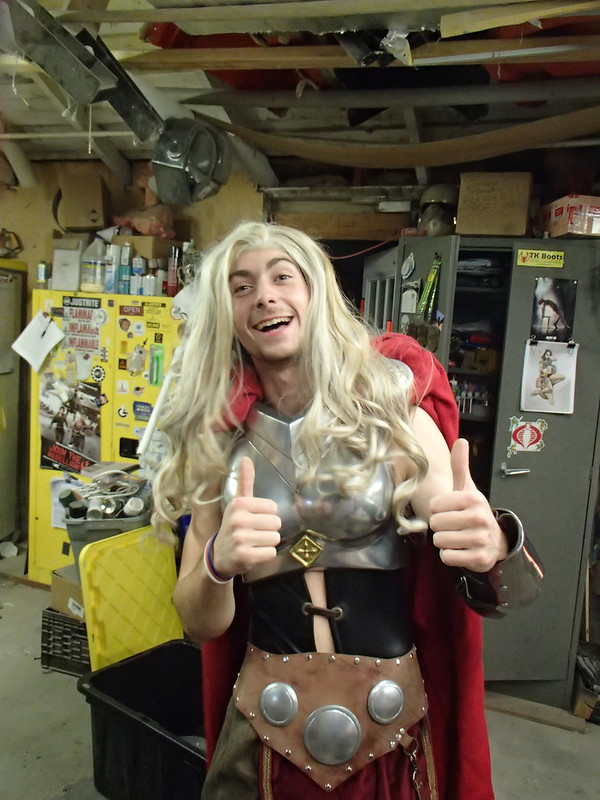
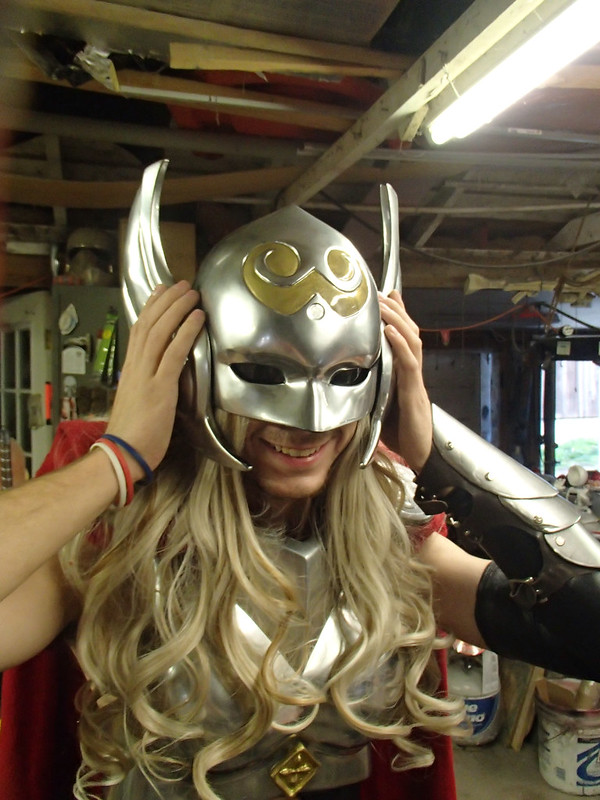
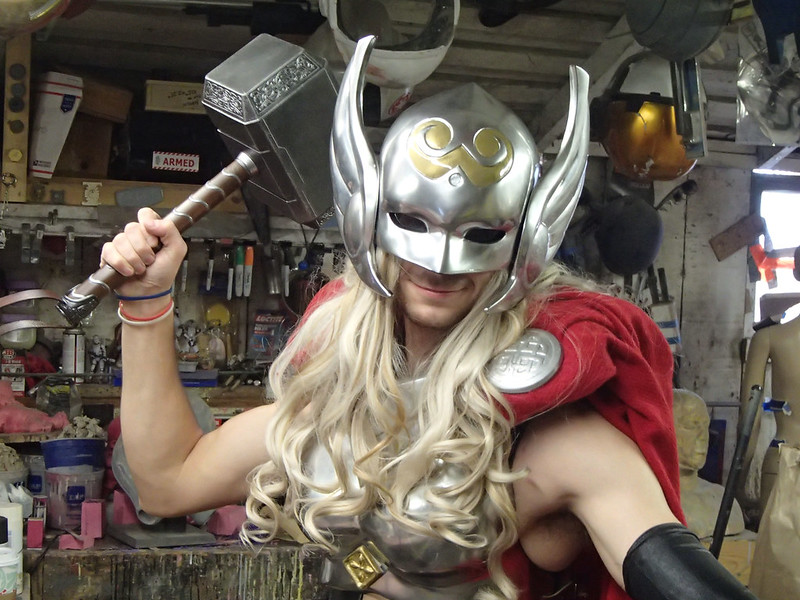
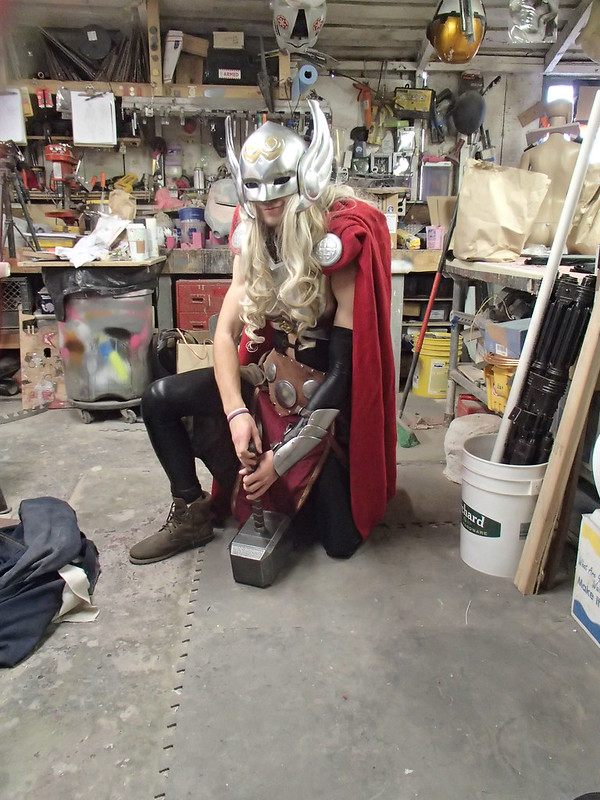
(go ahead and read those first, we'll be waiting for you here when you're done) With all of the parts cast, trimmed, painted, polished, sewn, tooled, and ready to go, all that's left was to find a few minutes to try everything on. Luckily for you, I won't be the one wearing this costume.* Instead, the whole thing was built for my girlfriend, the Lady Shawnon. But since she tends to be insanely busy and largely unavailable for photoshoots, I had to settle for a stand-in to model the donning process. I have a lot of options in that department. I went with my shop assistant Gabe: The donning process starts with base catsuit: Then we tie on the skirt panels and slip on the left sleeve: The top of the skirt panels are pretty uninteresting, but it doesn't matter once we strap on the belt: Then the back armor sits on top of the shoulders: The chest armor hooks onto the top of the back armor. Then it's time to bolt on the cape: I suppose it doesn't matter exactly when we strap on the left arm bracer: Since Gabe's fluffy hairstyle isn't quite the right color for the Goddess of Thunder, we put him in a wig: He started looking a lot better once the helmet went on: The final touch, Mjolnir: And just like that, it's all together: Well all but the boots and leg wraps, but this guy's feet were way too big to fit in the boots I picked up for Shawnon. But at least this worked out to be a good proof of concept.
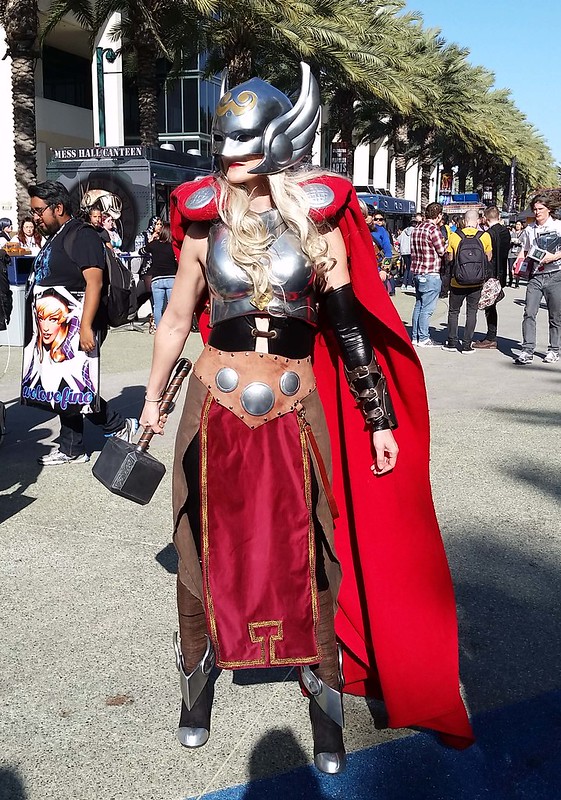
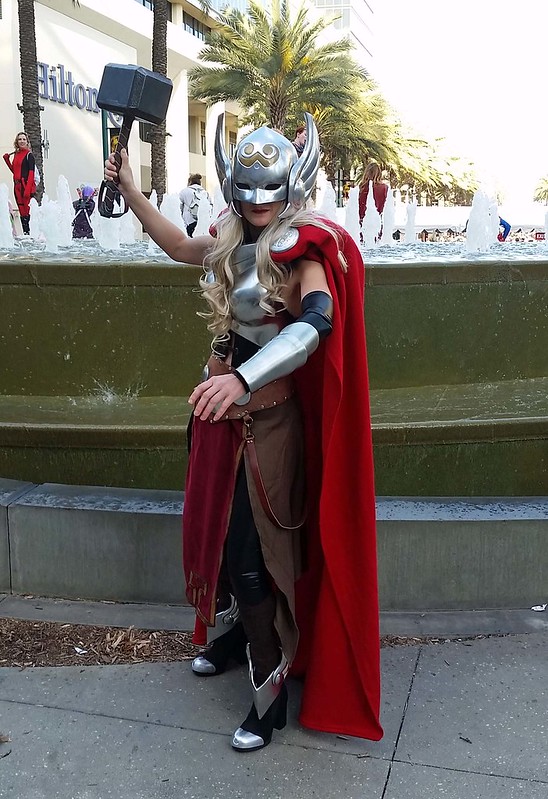
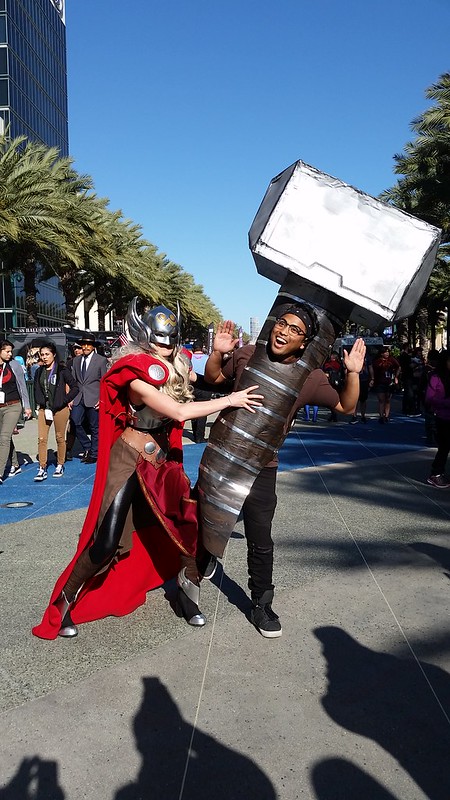
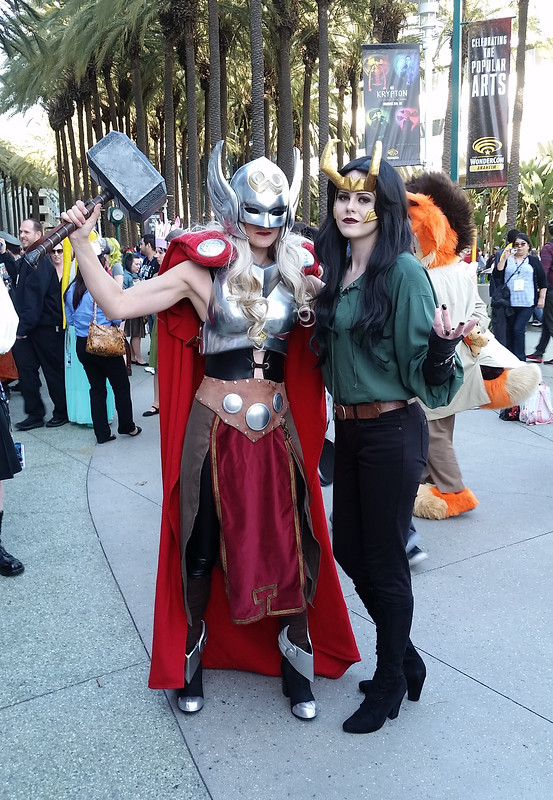
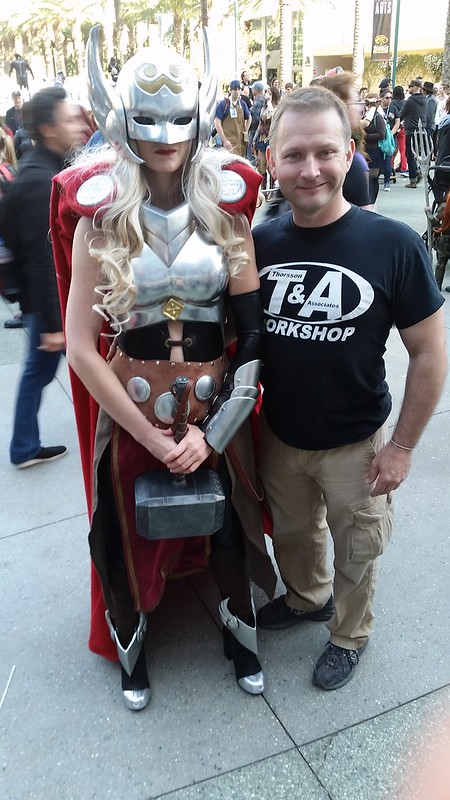
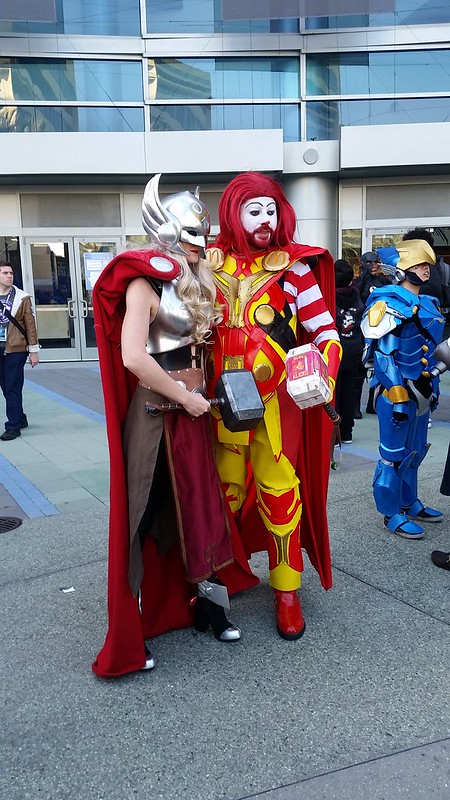
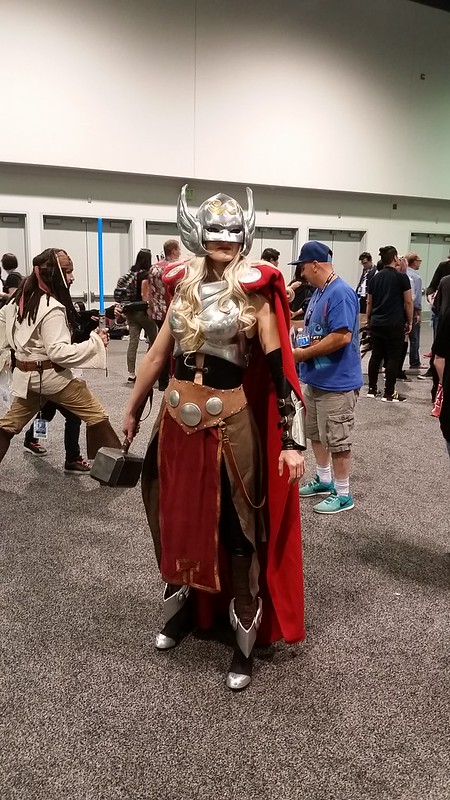
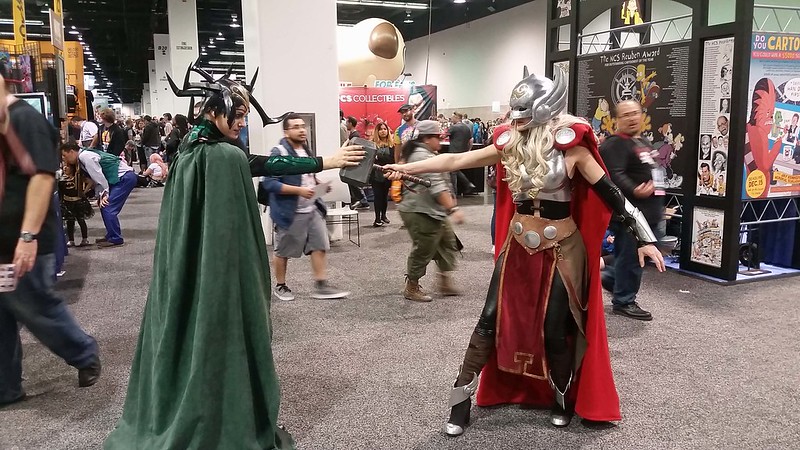
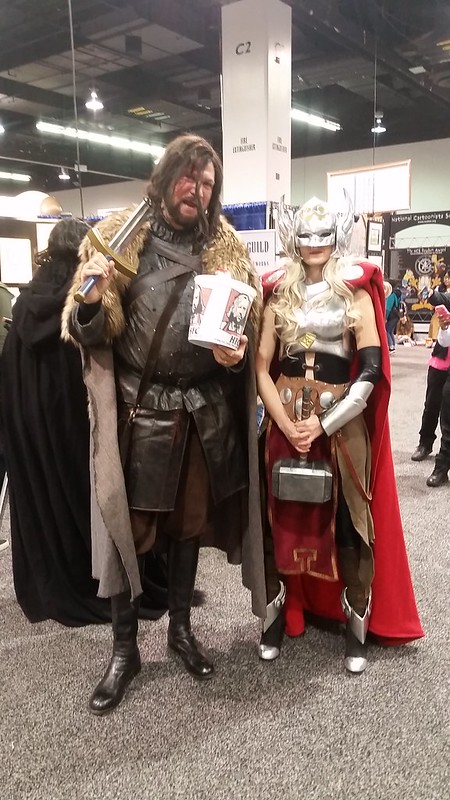
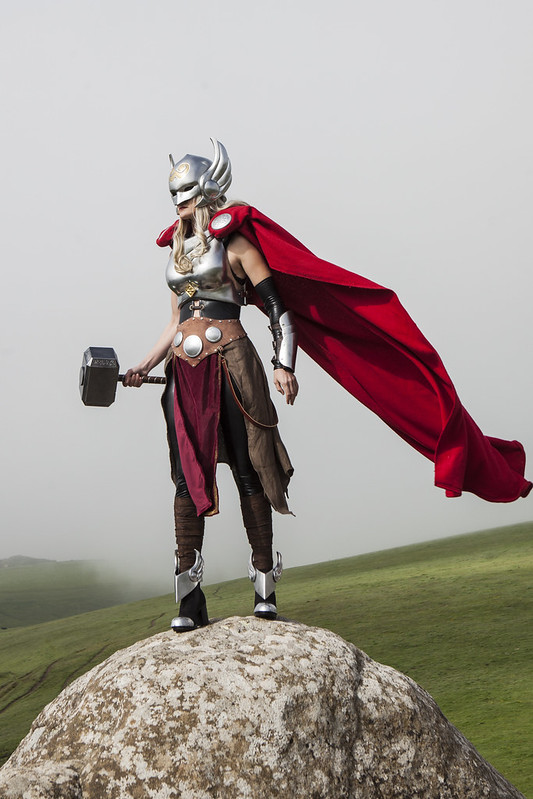
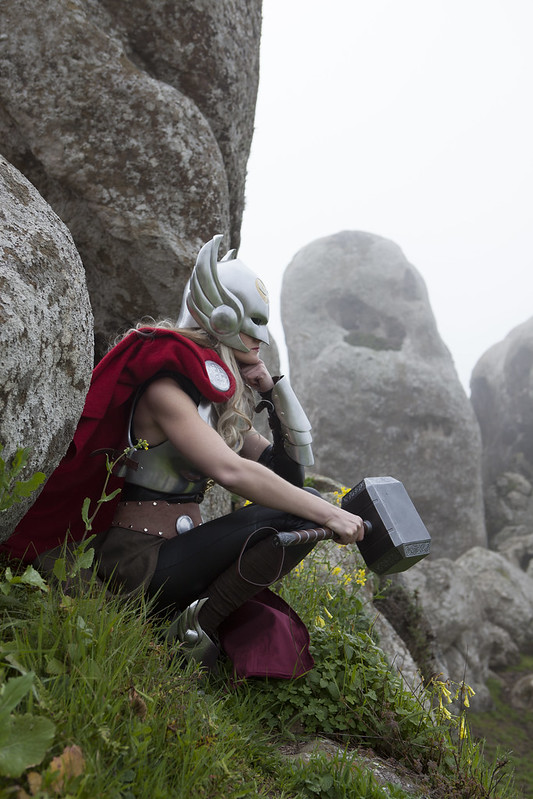
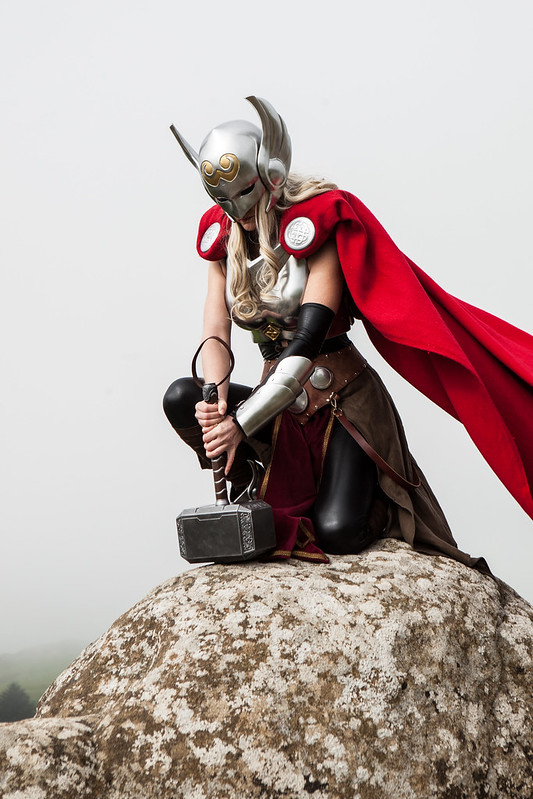
So without further ado... Here's the Lady Shawnon on site at WonderCon where we debuted the costume: There were only a few Thor cosplayers there. And one Mjolnir cosplayer: We also found a Lady Loki pretty early on: I did manage to get one or two photos of the both of us, but it was hardly worth it since I wasn't in costume: Mostly it was just fun to get pics of the Goddess of Thunder with other folks in the crowd. Like McThor here:
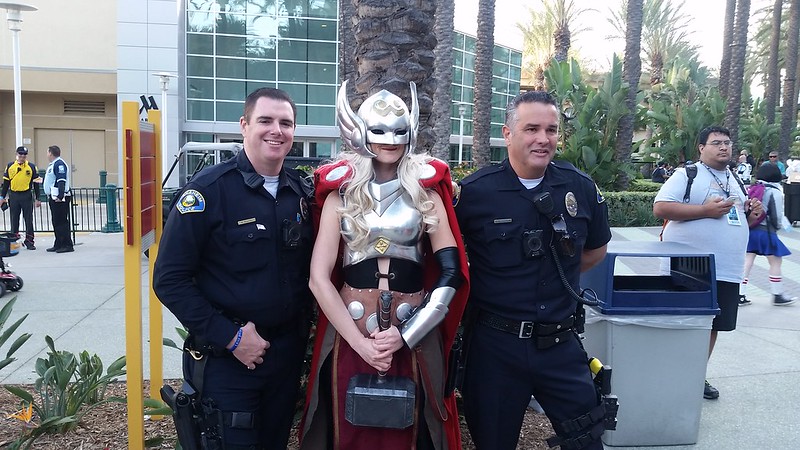
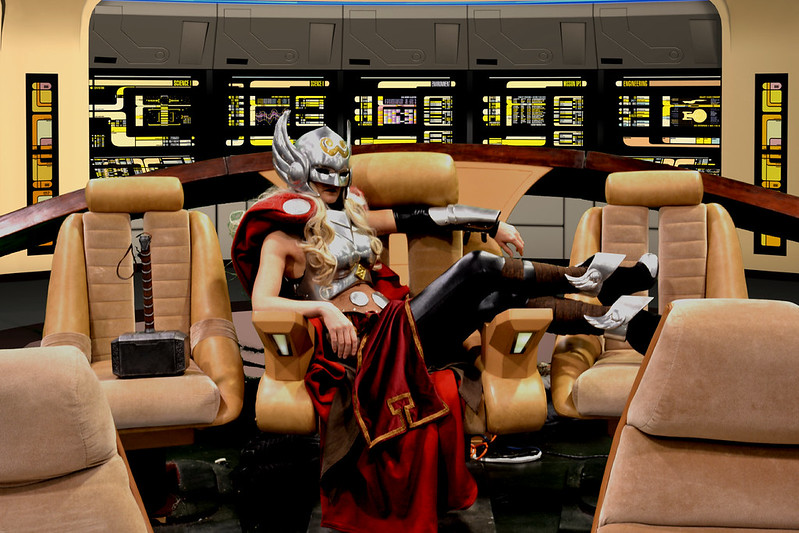
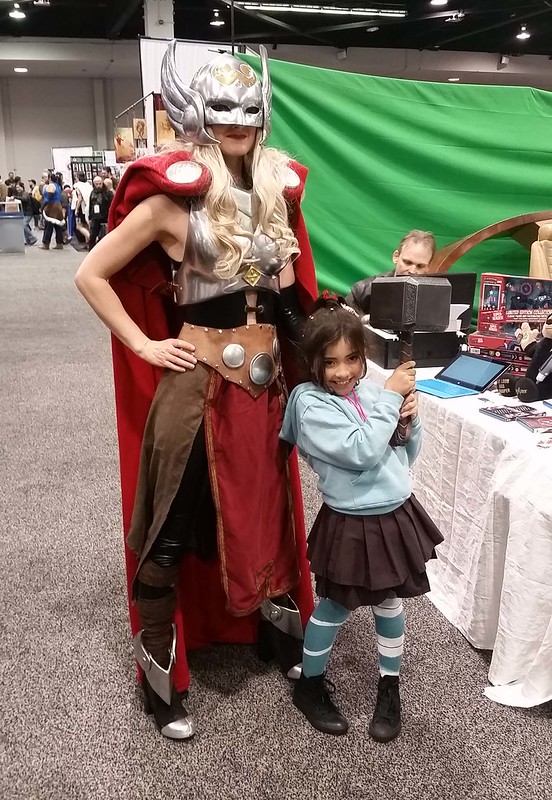
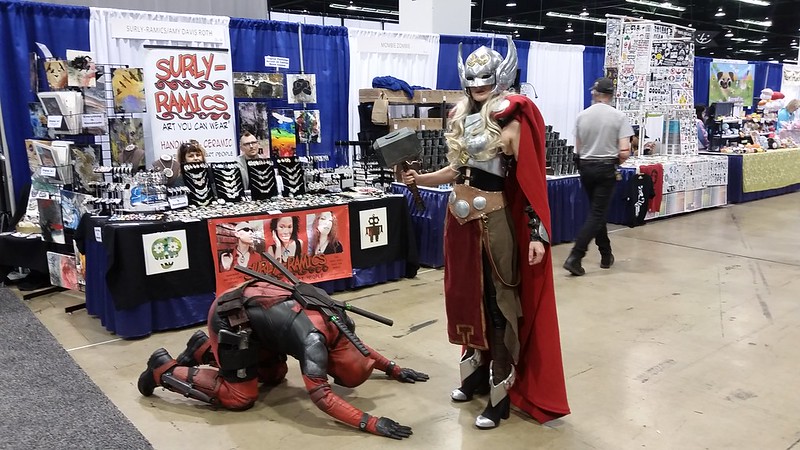
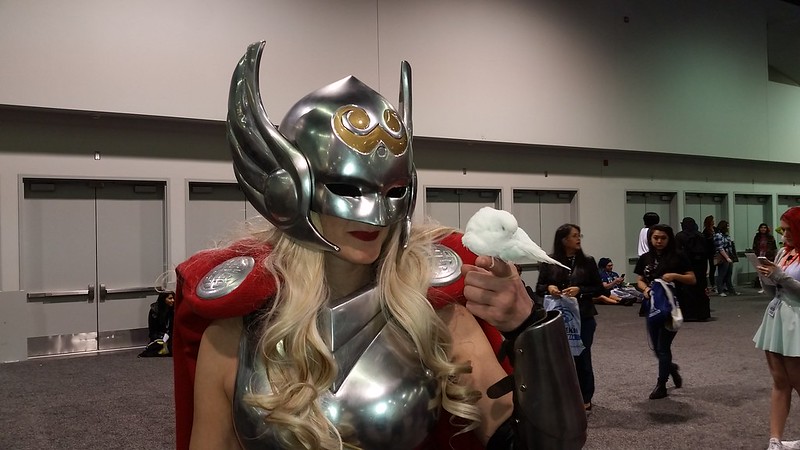
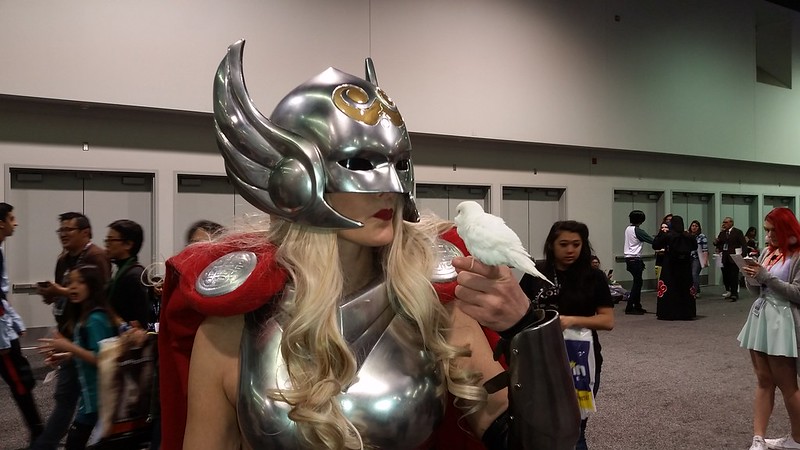
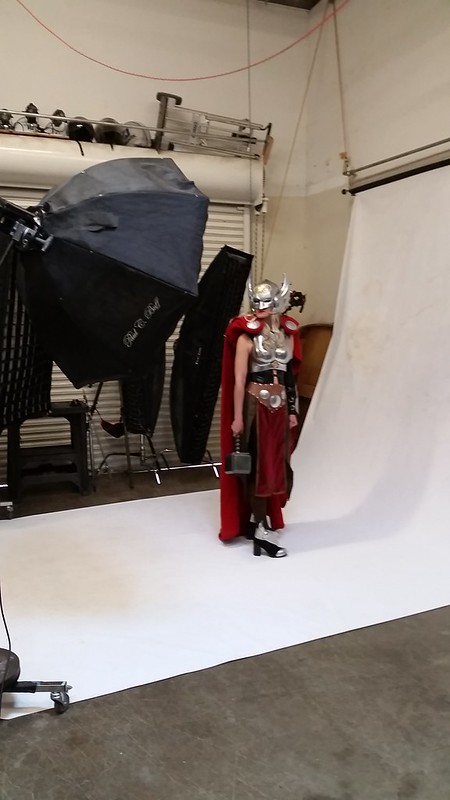
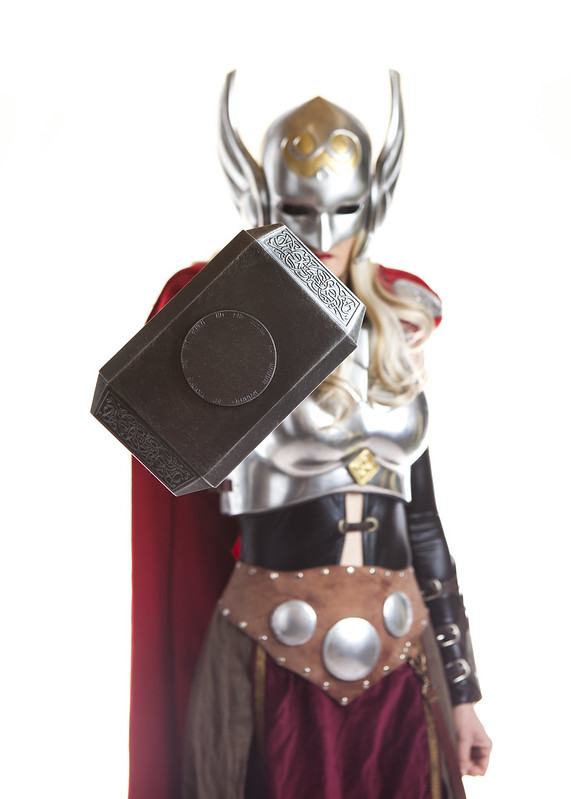
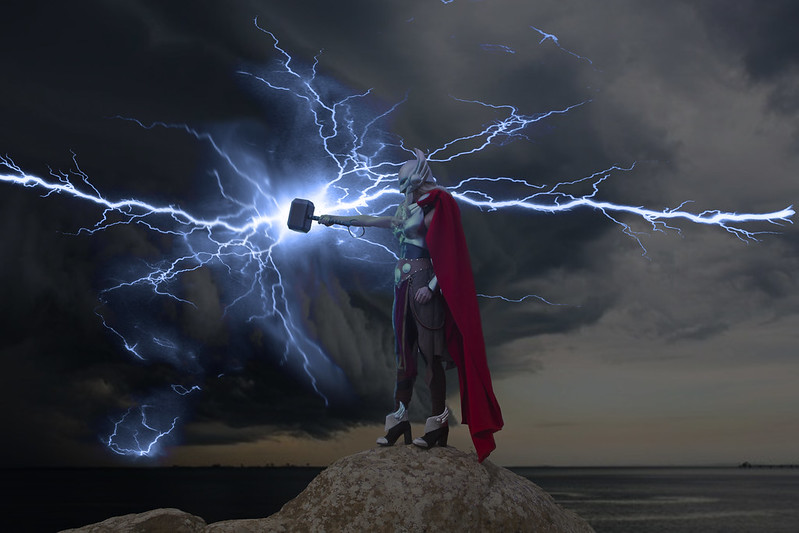
And these guys: Other than that, it was just a good time wandering around the show floor, showing off the shiny armor: It was a lot of fun interacting with other cosplayers: Somewhere in there we ran into a guy who was having people pose for pictures with his bird: Yes, that's an actual, live bird: Now she be worthy! The convention was all well and good, but I also wanted to get some good showcase photos of the costume itself. So a few weeks later we headed over to my friend Michi's photo studio (check her out at www.photosbymichi.com) for a proper photoshoot with lighting and everything: Here's a couple of my favorites from that shoot: Of course, what we really needed was a location. Fortunately, I live in the middle of some of the most gorgeous backdrops Northern California has to offer. One such spot is "Elephant Rocks" on the way out to Dillon Beach. Sadly, it was an overcast day with low clouds blocking the view in the distance. But we still managed to get some good shots: Some of them were even better with a bit of Photoshop: Still, despite the cold and the overcast conditions, a good time was had: Stay tuned for more insane projects as time goes on...
*If that's a disappointment for some reason, feel free to check out my old 300 Spartan costume. You'll find it somewhere in the tag cloud at the bottom of this page.
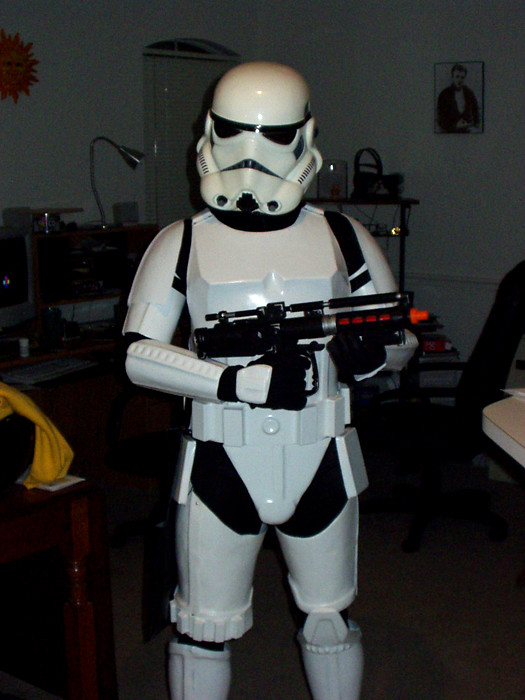
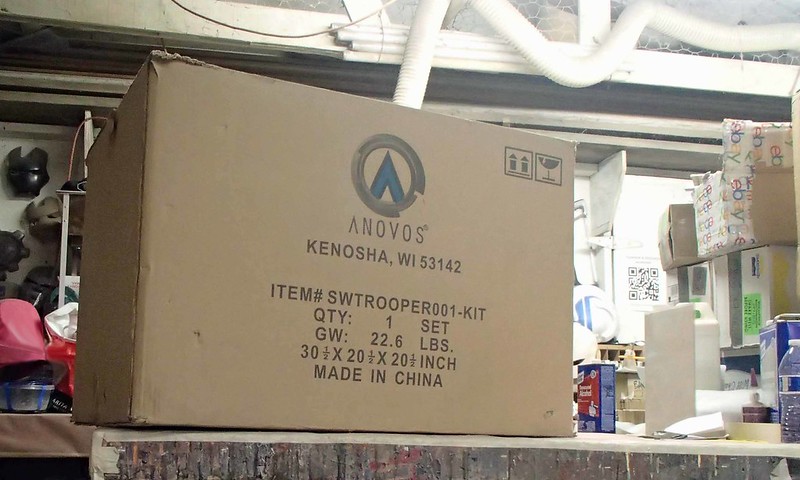
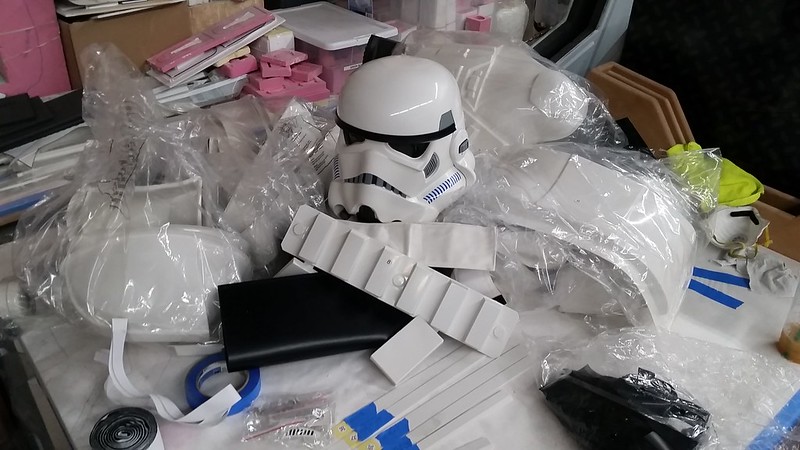
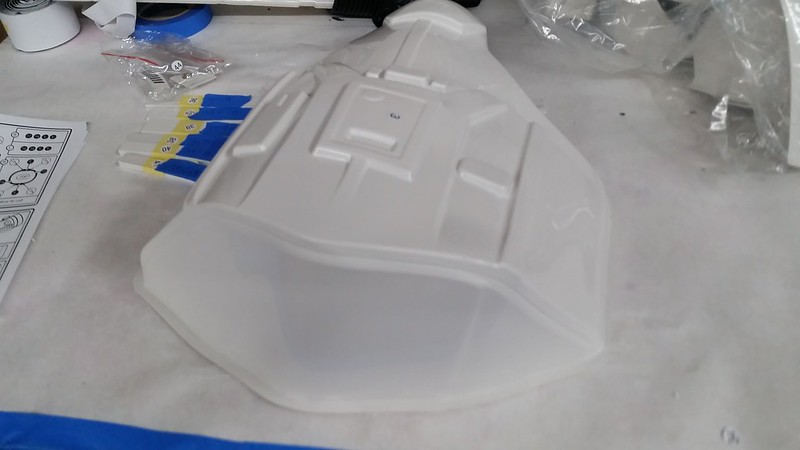
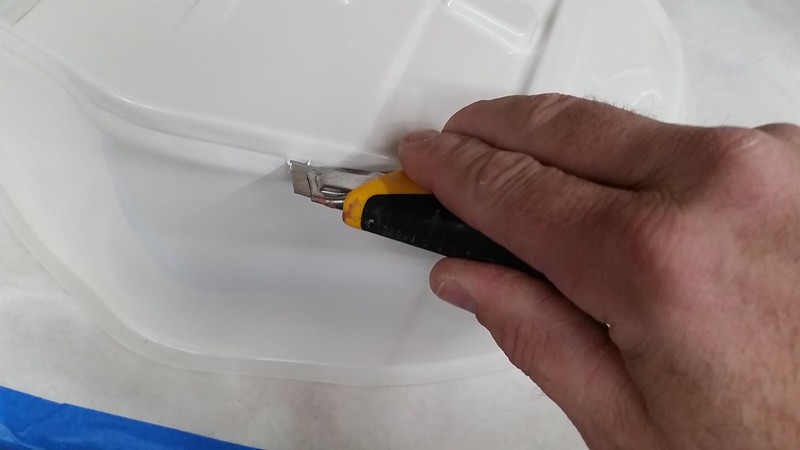
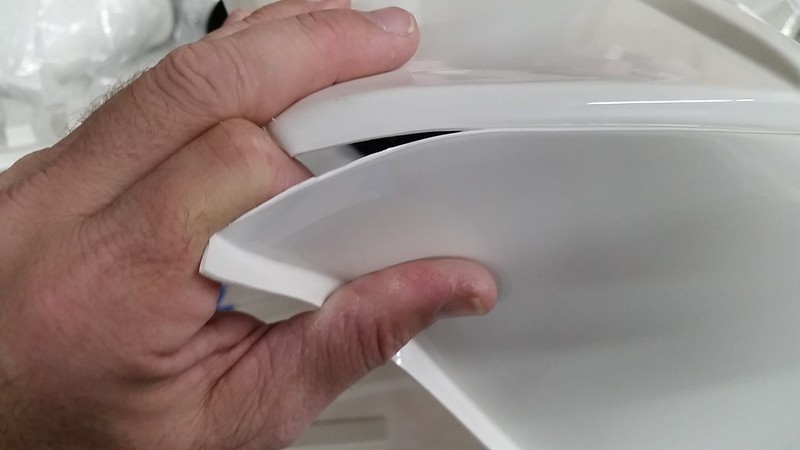
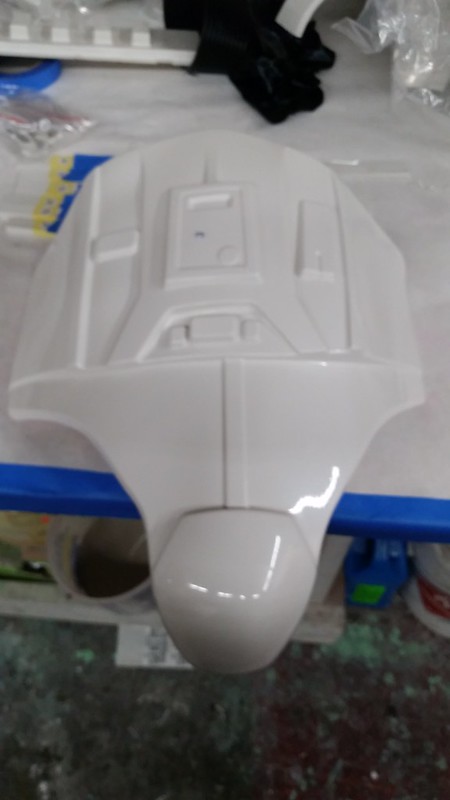
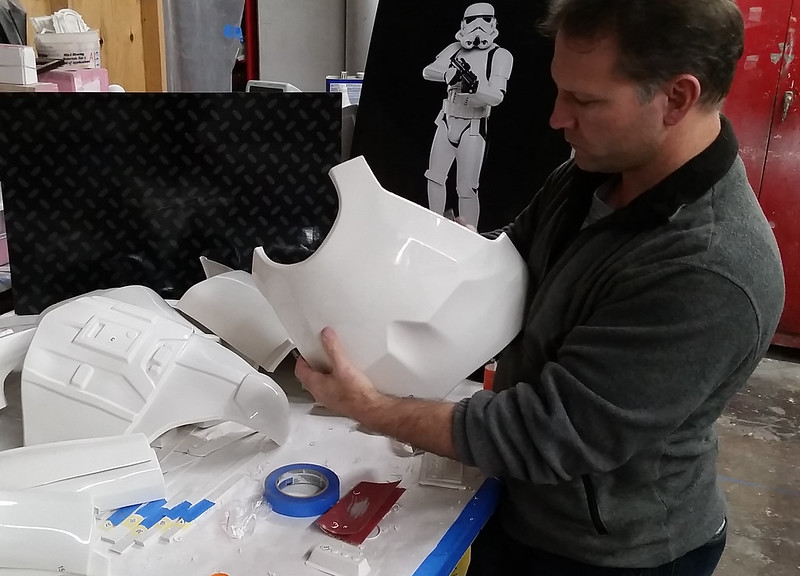
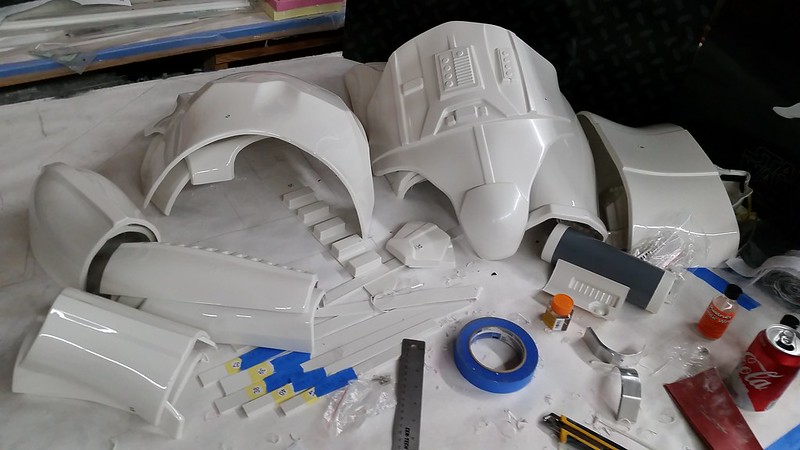
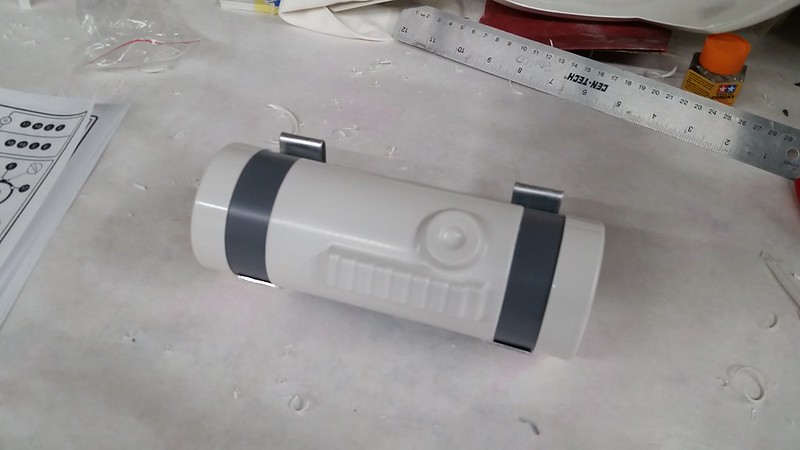
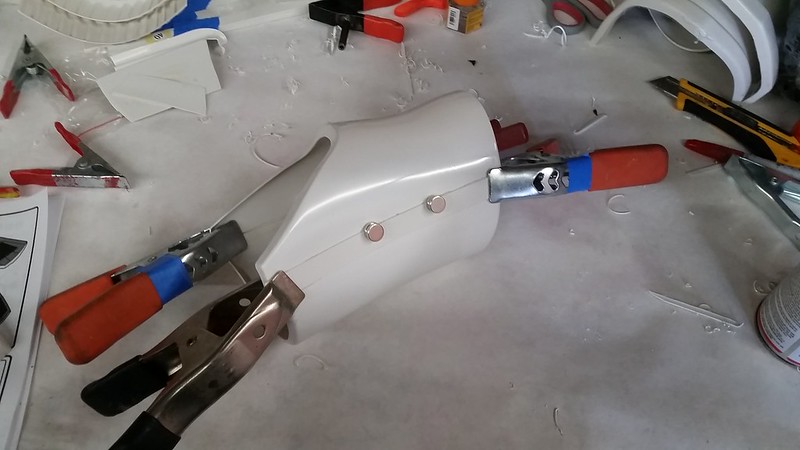
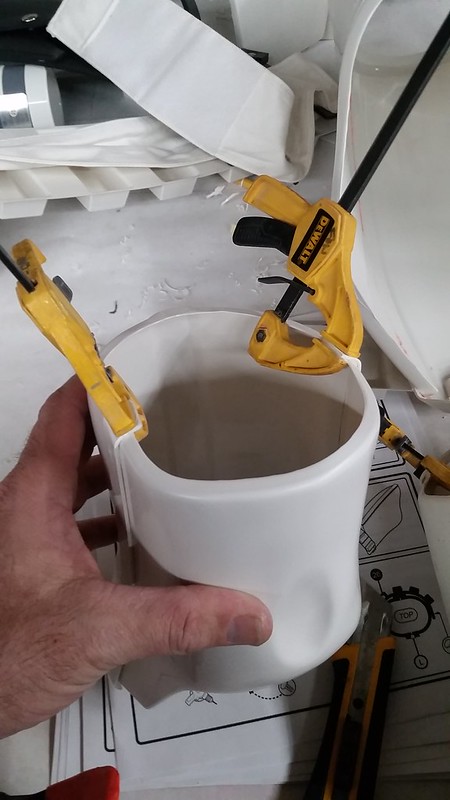
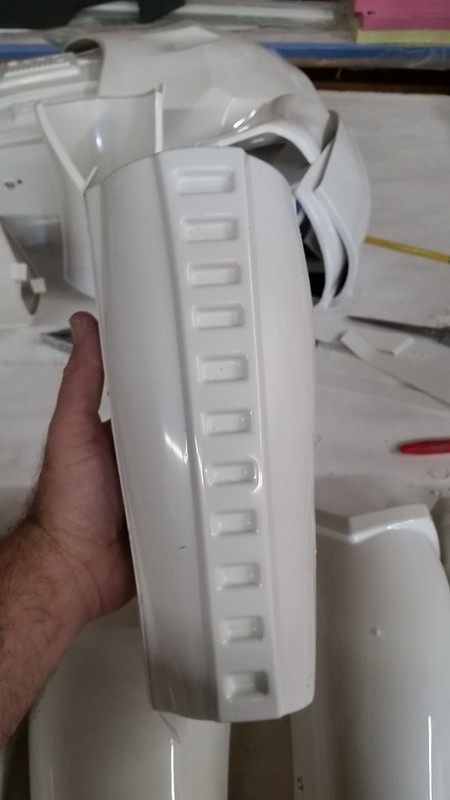
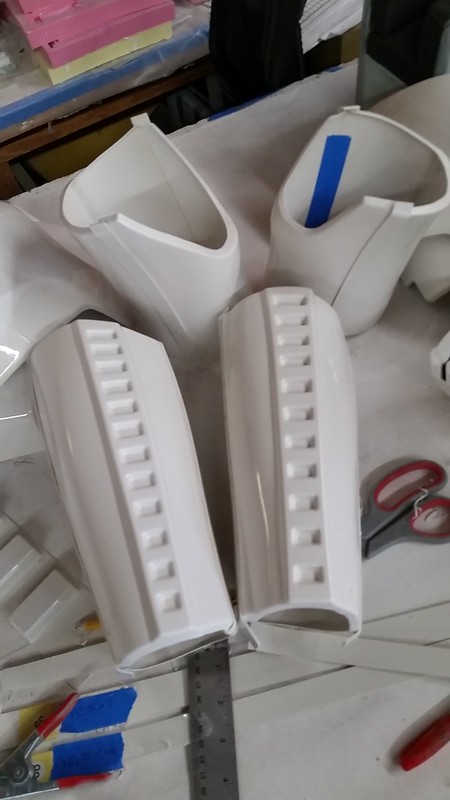
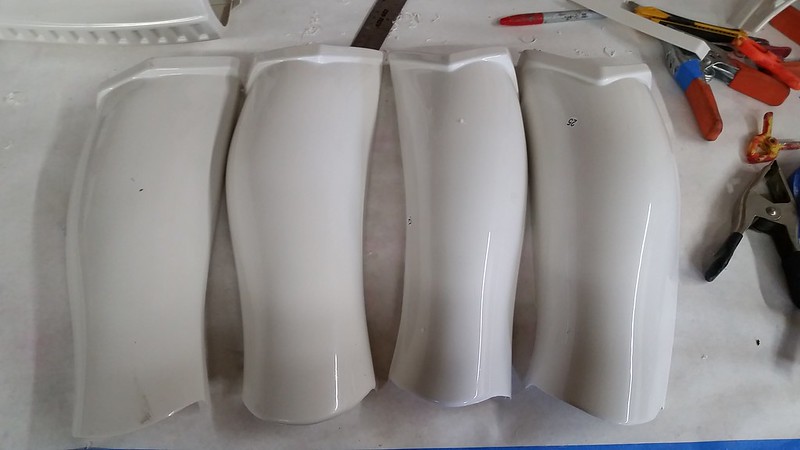
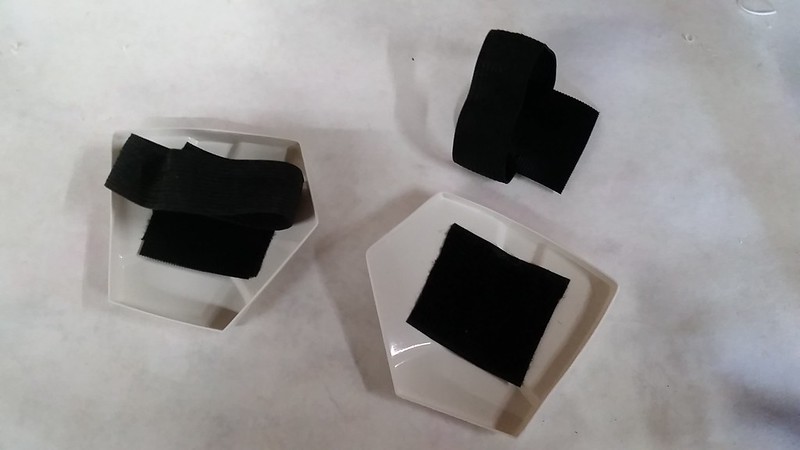
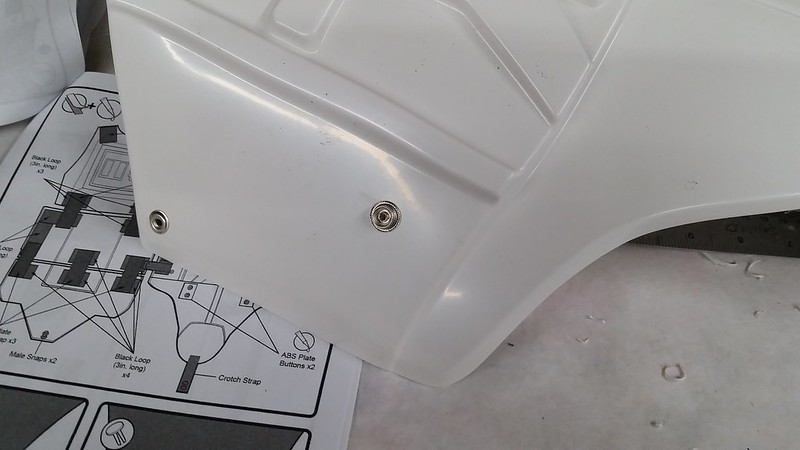
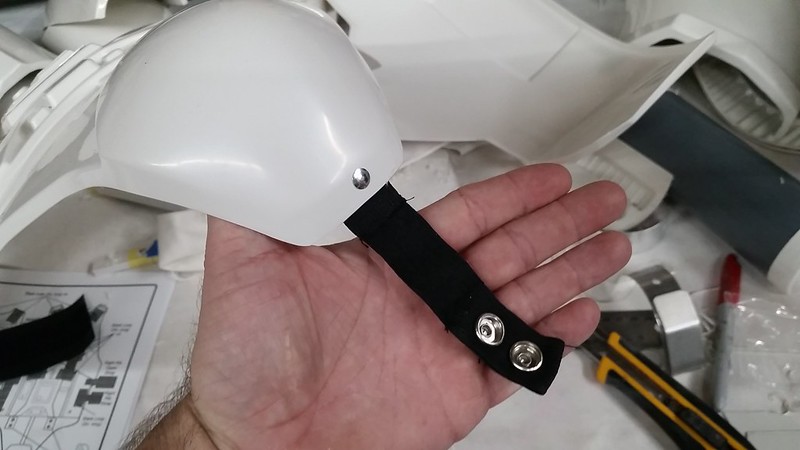
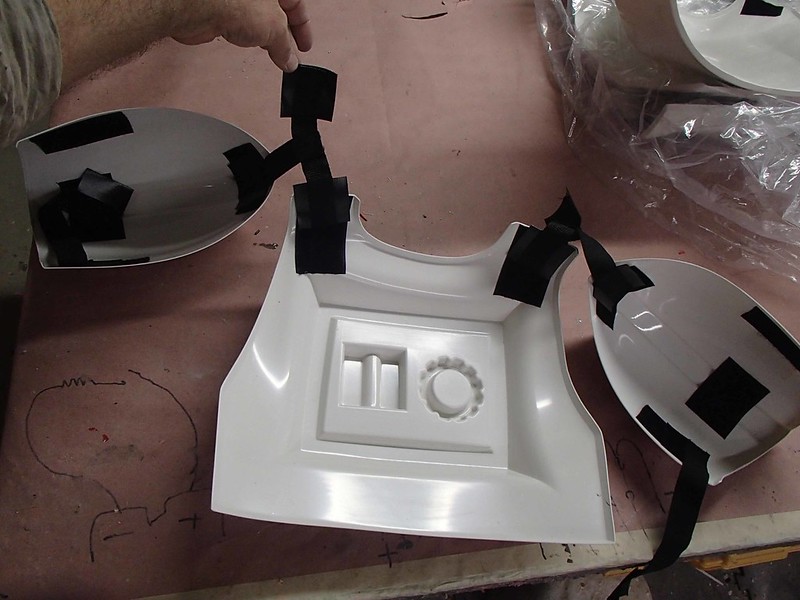
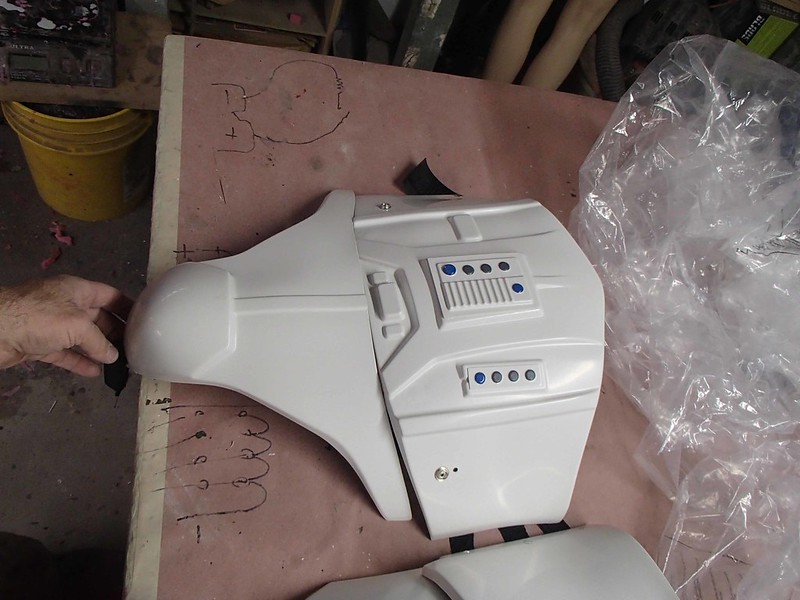
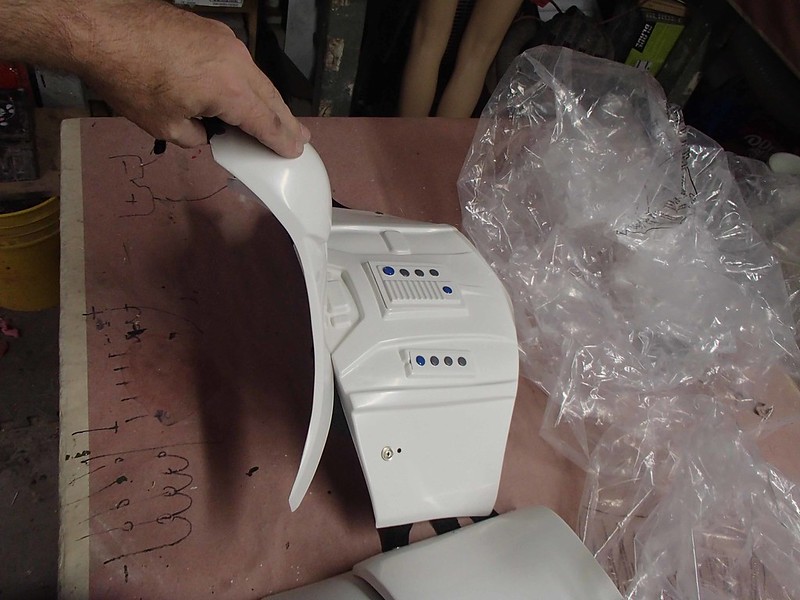
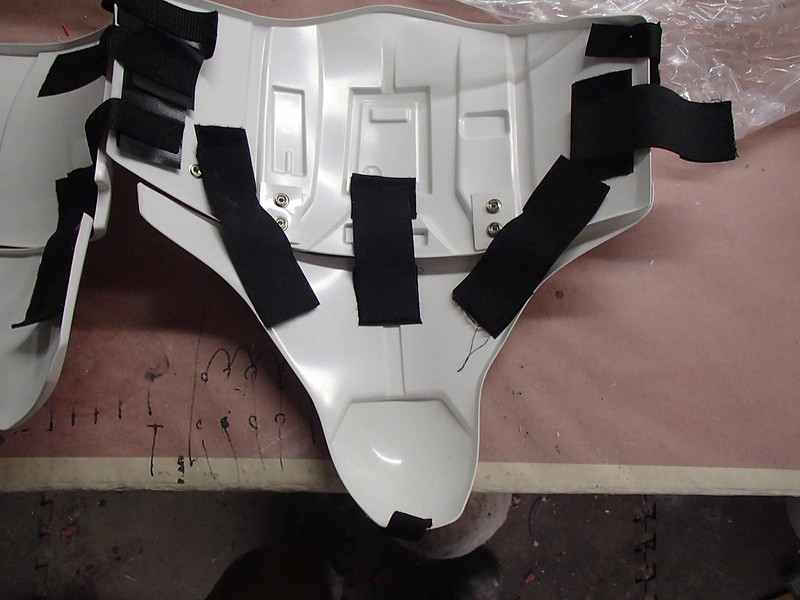
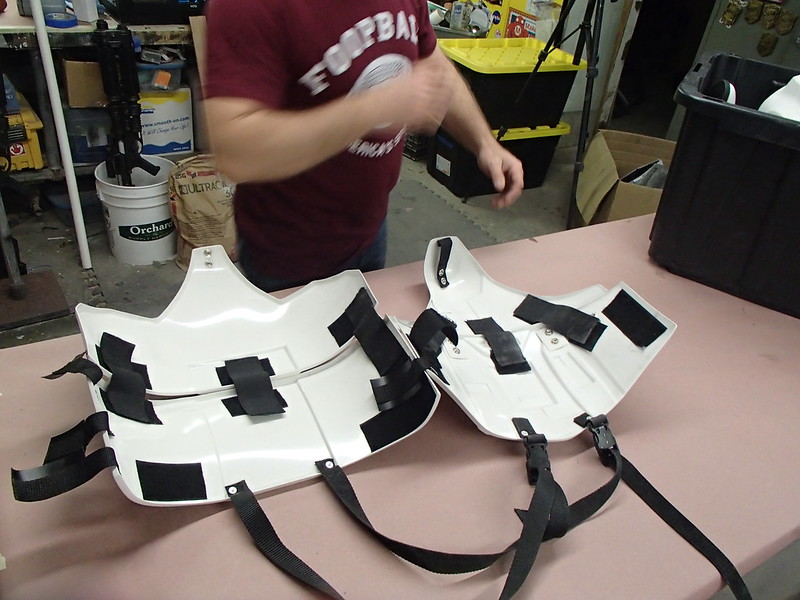
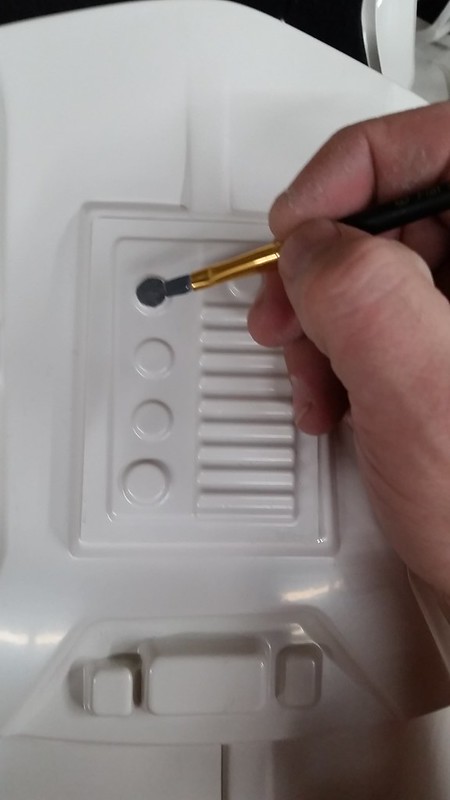
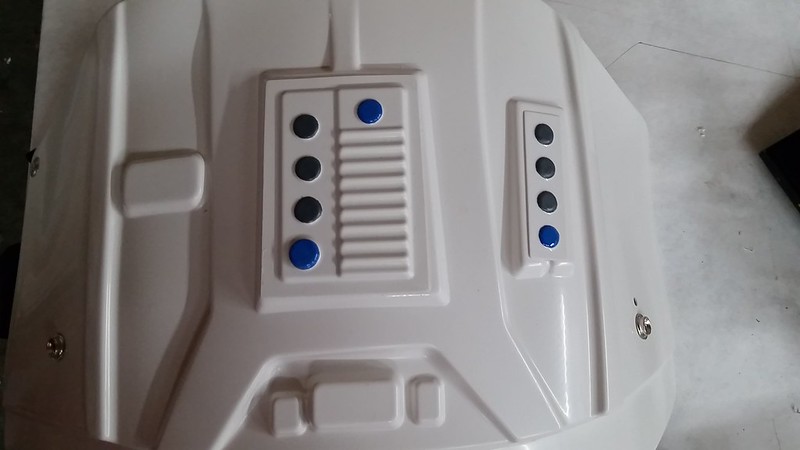
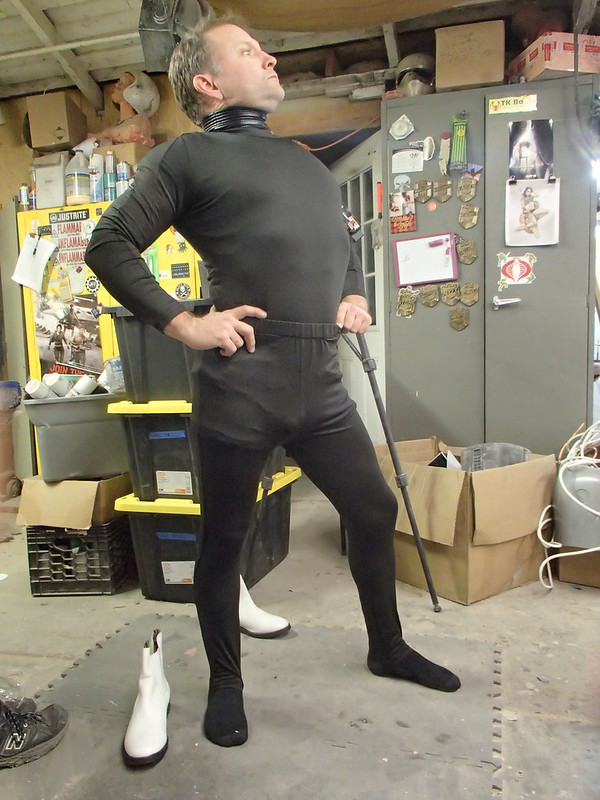
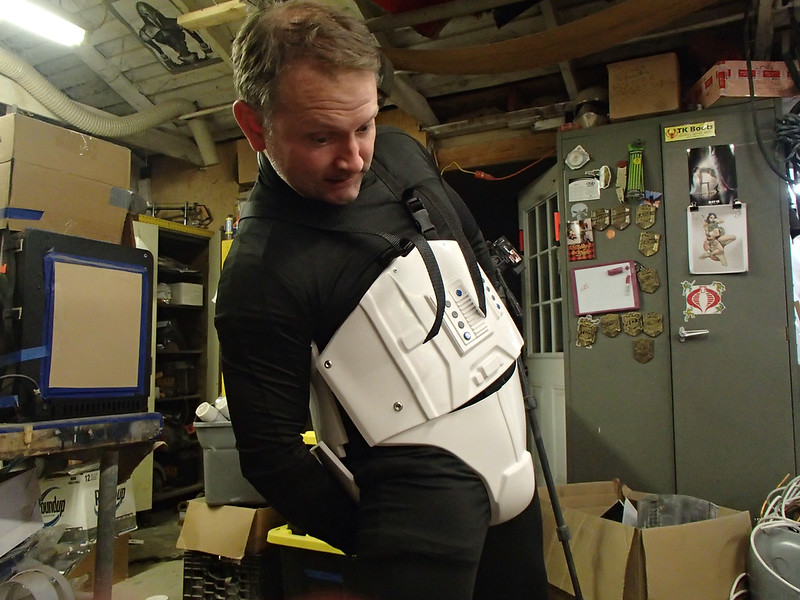
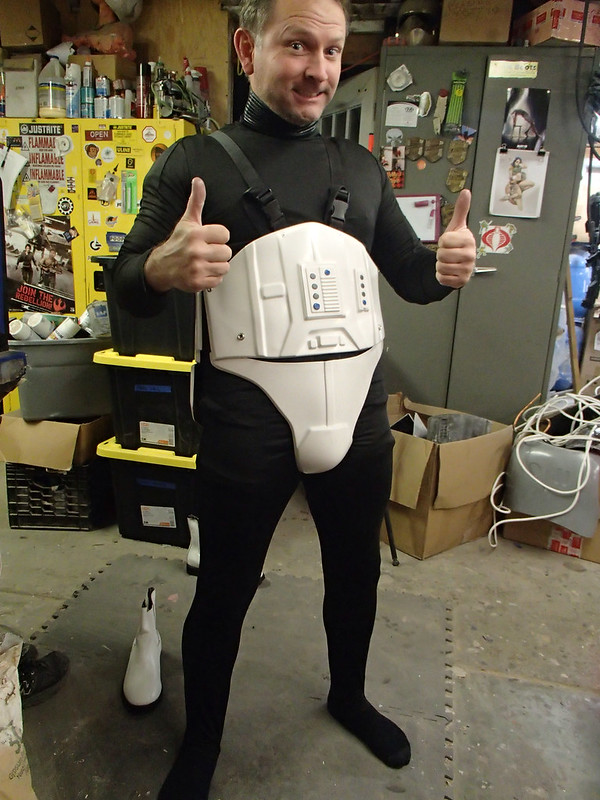
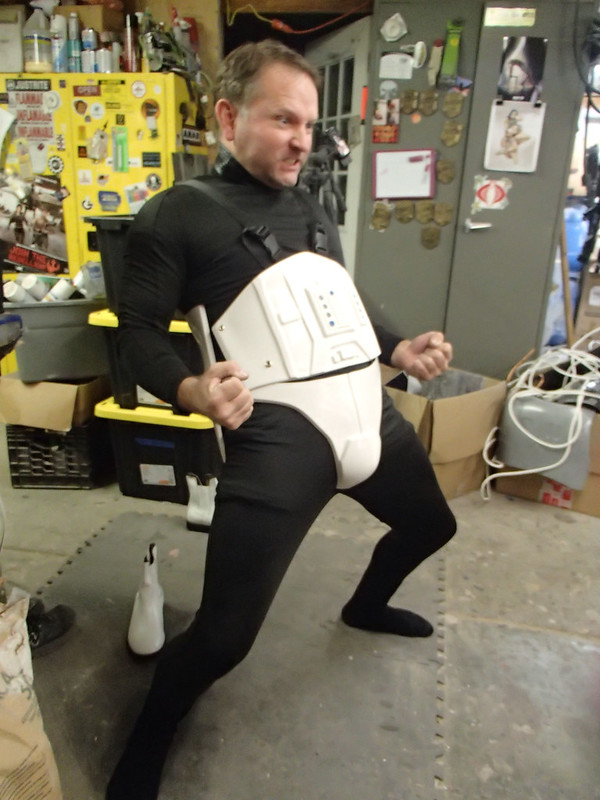
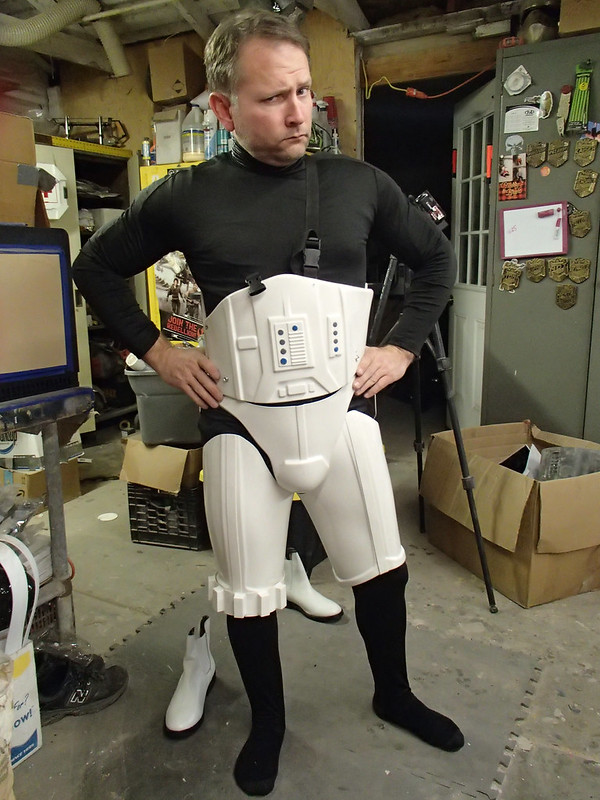
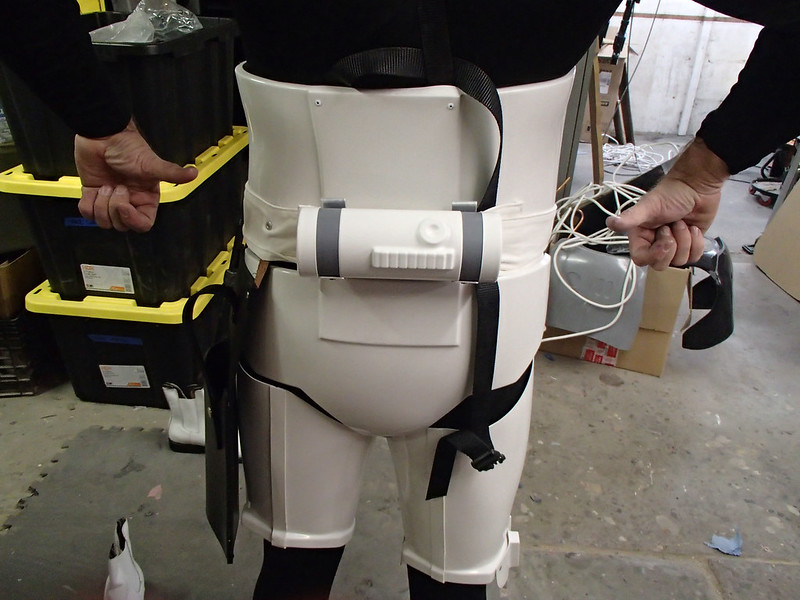
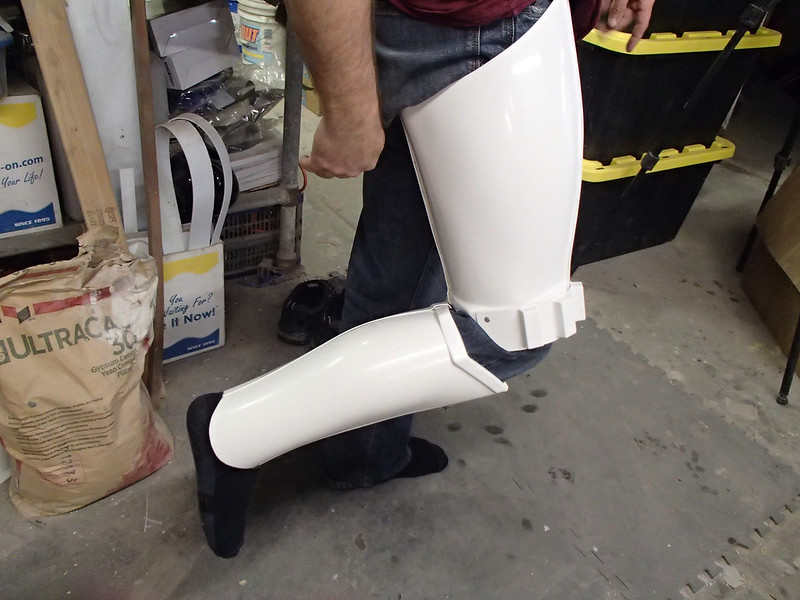
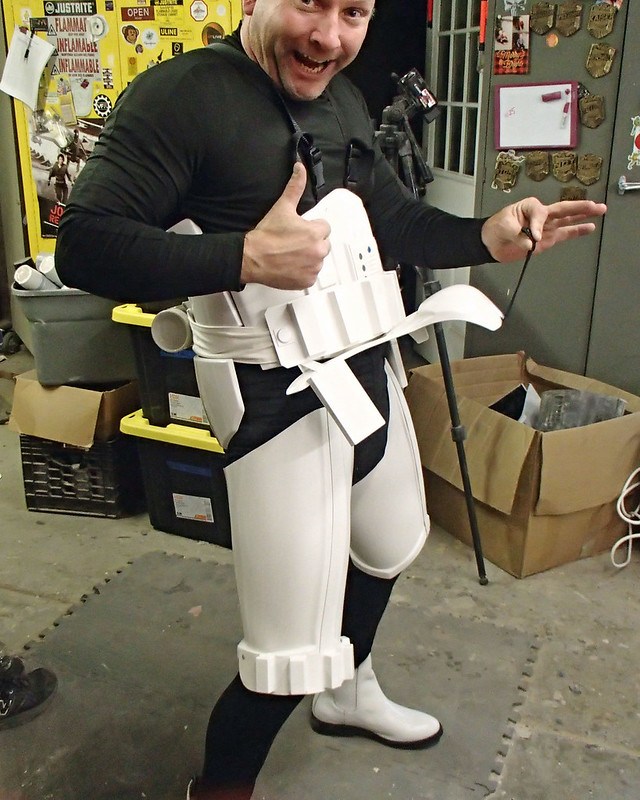
Some time ago I got really excited about having my first Halloween in my own house with my own grown-up paycheck. For that first Halloween project, I built myself a set of custom-fitted Star Wars Stormtrooper armor. You can read about that project here: LINK. If you'd rather skip reading about that build, you can see the finished product here: The whole thing took a lot longer than I'd have liked and I remember thinking that maybe I'd have been better off just buying the suit from one of the handful of garage-based kit makers that were around back then. If nothing else, it would have cost less money in the long run. If nothing else, it was a great learning experience and largely can be counted as the earliest beginning of my current career path. Still, now that my skills and standards have grown over the years, looking back at this early work is kind of embarrassing. Fast forward a decade or so. Along comes this company called "Anovos." They'd made some absolutely spot-on Star Trek uniforms based on the JJ Abrams movie as well as some great new Battlestar Galactica uniforms. They were a bit pricey, but got great reviews everywhere anyone talked about them. At about that same time, Disney acquired Lucasfilm and Anovos got the license to make high-end Star Wars costume items. That's when things got a bit odd. They started offering pre-orders for all sorts of things from complete, ready-to-wear Darth Vader costumes (awesome) to Luke's khaki fatigues from the Bespin scenes in Empire Strikes Back (um, okay...). Everything looked amazing, but as the months wore on the pre-orders never ended up equating to items being shipped. They'd sold tons of things from Star Trek and Battlestar Galactica and had countless satisfied customers, but for some reason had never managed to send out a single Star Wars item. Then this picture started popping up around the internets: All over my social media feeds, I started seeing folks posting about these kits. They were being offered for an initial pre-order price of only $350. The kit would include everything but the boots and a blaster. That's especially amazing considering that the homemade, unlicensed kits that could occasionally be found on eBay were still selling for anywhere from $700-$1,200 at the time. It seemed too good to be true. The only problem: after two years of having their Star Wars license, Anovos still had never shipped any of their products from that franchise. Buying from them had started to seem like a gamble with poor odds at best. Still, at a price that was equivalent to a couple of weekends worth of heavy drinking, I figured it was worth taking the chance. I bought a kit. That was April 24th, 2015. Then I promptly forgot I'd made the purchase. In the ensuing months, people started to get impatient. Facebook groups had sprung up so folks could collaborate on their builds, but most of them devolved into members commiserating about how long it was taking to get everything and trying to figure out how to get refunds. Updates from Anovos were sparse at best and usually amounted to very little news other than shipping delays. It was a dark time and I'm glad I wasn't paying attention to much of it. Then pictures started popping up on social media. The Facebook groups started reveling in what they called "BBB Day," the day their Big Brown Boxes started showing up. My favorite post was this Youtube video from William Ellis: Some weeks later, my own Big Brown Box arrived: I can't rightly remember what I had going on that day, but all I had time for was to open the box, pull out all of the pieces to make sure everything was there, then pack it away on a high shelf deep in the back of my storage shed until I could find a couple of days to put it all together. Quite a while later, those days came. I cleared off some bench space and emptied out the contents of the Big Brown Box: While I realize they were trying to be true to the details of the original armor, I can't help but think that the armor would've been better if they'd fixed some of the horrible symmetry issues. The original trilogy stormtroopers were wonky and warped like you'd expect from a bunch of costumes made in a hurry to be worn by extras in a low budget science fiction film forty years ago. This kit has every single flaw that those guys had. I suppose they decided that folks would appreciate their slavish devotion to that kind of detail, but I personally would've preferred an "idealized" version that looks like it was made by someone who had access to robotic manufacturing methods instead of a rushed sculptor working in clay. But that's just me. The parts of the kit all came untrimmed, but they did have very clear trim lines formed right into the plastic. I started with the abdomen/codpiece: Trimming was a simple matter of scoring the trim lines with a sharp knife: Then bending the piece across the scored line until the plastic snapped: Here's the first piece with the excess plastic trimmed off: Here I am fine-tuning the edge of the chest piece: After a couple of hours, all of the parts were trimmed, sanded, and ready for assembly: GLUING: Since I wasn't in my own shop while I was assembling this kit, I had to work with whatever materials and tools I could find at the local hardware store. While most of the builders in the various groups I follow have been using E-6000 adhesive, I was hoping to use a solvent cement to weld the parts together. Since the parts were all made of ABS plastic, I would normally use a Weld-On cement, but in my rush to find something local, I ended up with a general purpose plastic pipe cement designed to work with ABS, PVC, and other materials. I'd have used a normal ABS cement, but it comes in black and would've made a very visible mess anywhere it touched the armor. No bueno. The first piece I assembled was the thermal detonator that hangs off the back of the belt: Then I got started on the upper arms. The seams get covered by a narrow strip of ABS plastic. To hold them in place while the glue was setting up, I used spring clamps wherever they could reach and rare earth magnets to hold the pieces in place in areas that were too far from the edges for the spring clamps to hold: Next, I bent the cover strips over the return edges at the top and bottom and clamped them in place while the glue set: The same process was repeated for the forearms: In no time at all, the arms were assembled: Then I moved on to the shins: The shins went together pretty much the same way as the forearms. The main difference being that the back seam was fitted with stick-on velcro so it could be opened to fit a foot through. Piece of cake. STRAPPING: One of the bigger selling points for this kit was the fact that it would include all of the straps, snaps, and velcro needed to make all of the plastic into a wearable costume. That's huge. I started with the handplates, since they were way too easy: The straps were even pre-sewn. They really took no thought at all: Things got a bit weird. Because the kit was supposedly designed to match the details of a suit from the Lucasfilm archives, the strapping arrangement has all of the same quirks. This would be fine, but that was a suit that was thrown together in a hurry and had probably been modified on the fly during production whenever a tweak or a patch was made. As a result, the included straps result in an odd collection of asymmetrical weirdness. Some straps are velcro'ed in place while some are riveted and others are attached to snaps. Still, I followed along with the instructions and started adding snaps where they were called for: To keep the codpiece and buttplate in place, there's a "thong" strap which is riveted in the front and has snaps in the back: The arrangement is sturdy enough, but in the event of a sudden bathroom emergency, I can't help but think it'd be easier to deal with if the snaps were in front. That would save me the trouble of having to ask someone else to unsnap my butt in a hurry. Most strangers I've met think that's weird. The shoulders are held up with a strap that attaches to the chest and backplate with velcro, then is held down by an elastic strap under the arm. This part all makes sense: But once I had installed all of the straps around the waist, I decided it was goofy enough to justify a departure from the included strapping plan: The first change I made was to hinge the codpiece to handle the aforementioned bathroom emergencies. I started by cutting it off at the bottom edge of the abdomen: The "hinge" was essentially just a few of the elastic straps that were included with the kit: In order to keep the waist from sagging, I added suspender straps to the top edge of the abdomen and attached them to the lower back plate: And just like that, the strapping was done. That's all it took to assemble the kit and make it ready to wear. But wait, there's more! PAINTING: Just about everything on the original stormtroopers was white. The main exception was a few decals on the helmet (which came pre-assembled from the factory) and a few buttons on the abdomen which had to be picked out with a brush. Some were greay: Others were blue: But the whole thing amounted to just a few minutes with a brush: With the paint dry, all that's left is to climb into the whole getup. DRESSING: Putting on the assembled kit is pretty straightforward. I start with the undersuit and neckseal. Here I am sporting these sexy imperial underthings: Then I wrap myself in the waist/back/butt/codpiece assembly, taking time to gracefully snap the butt snaps to connect the thong strap: So far so good: So good: The thighs have velcro pads inside that attach to straps snapped inside the abdomen:
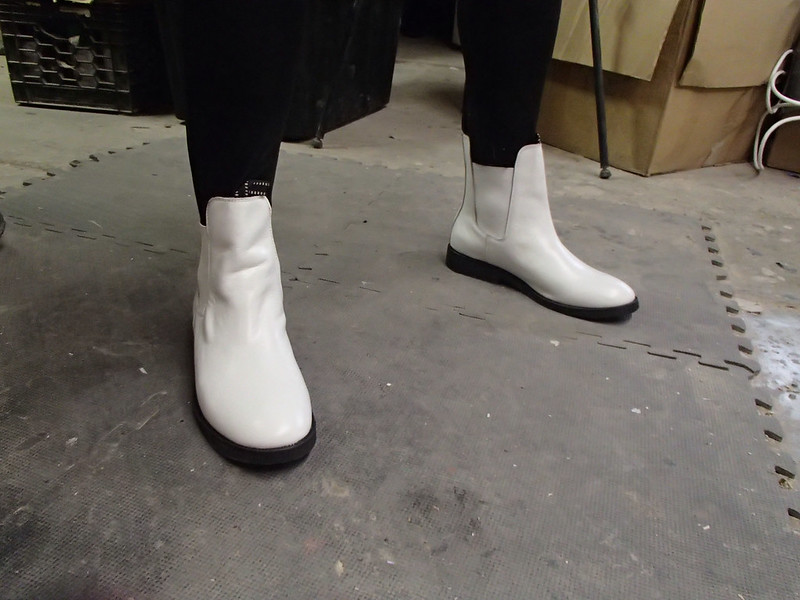
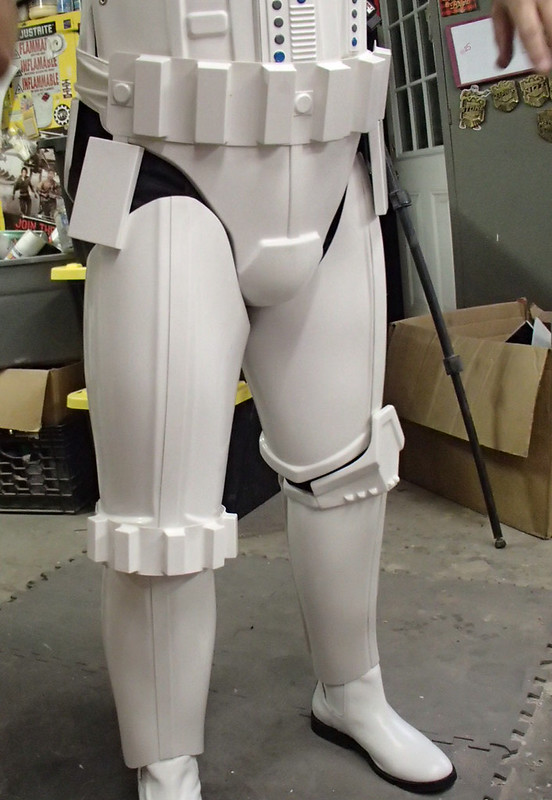
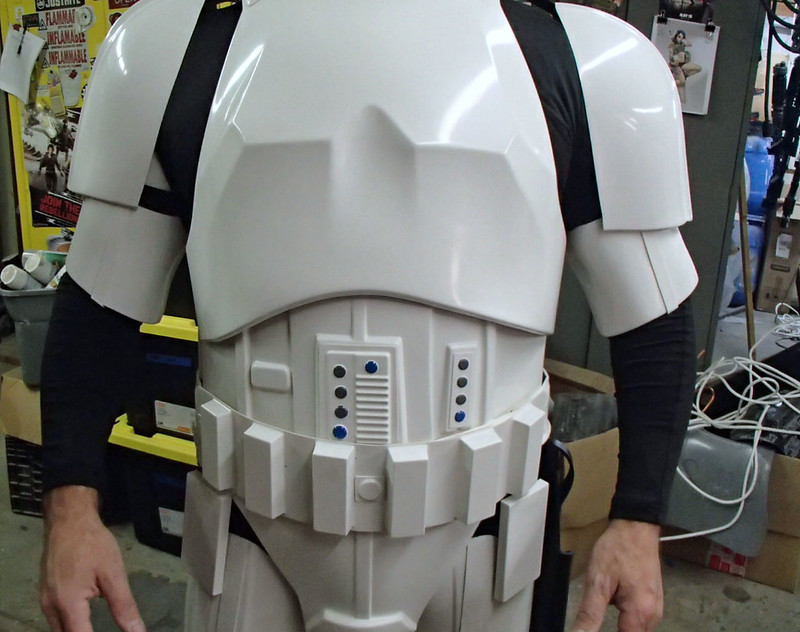
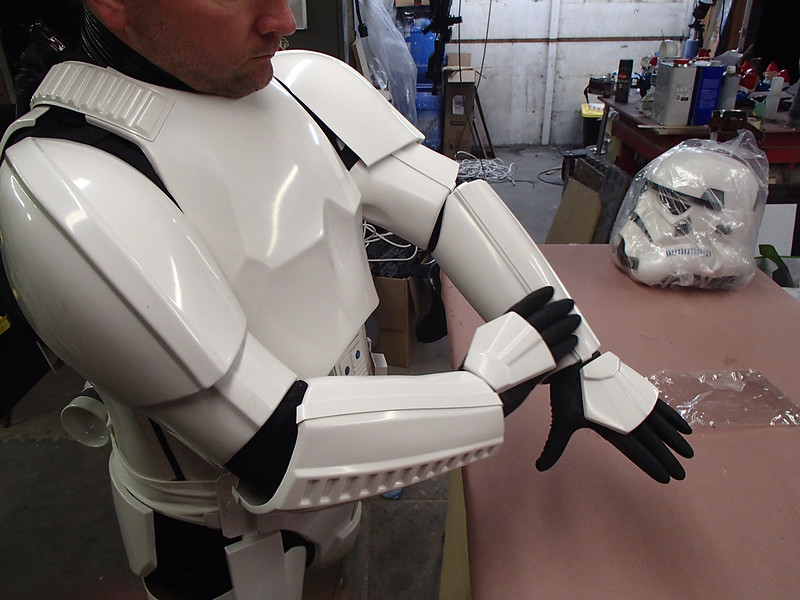
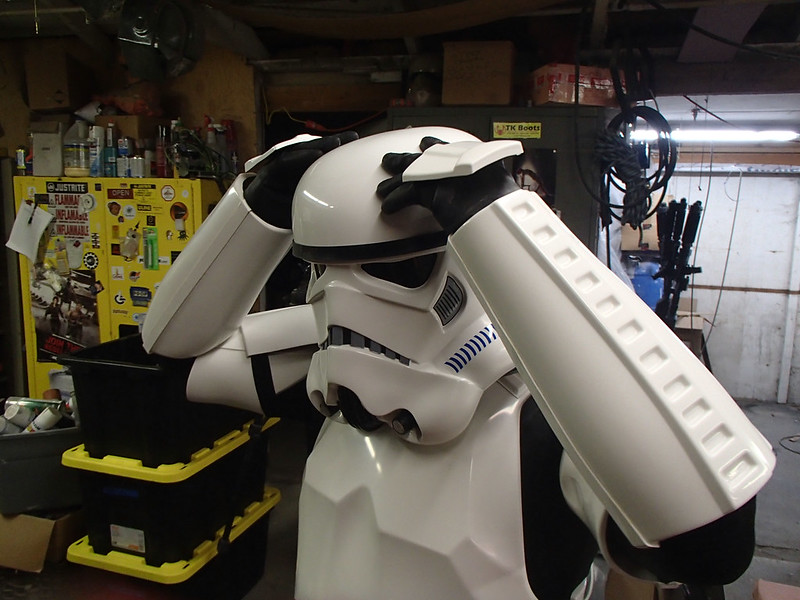
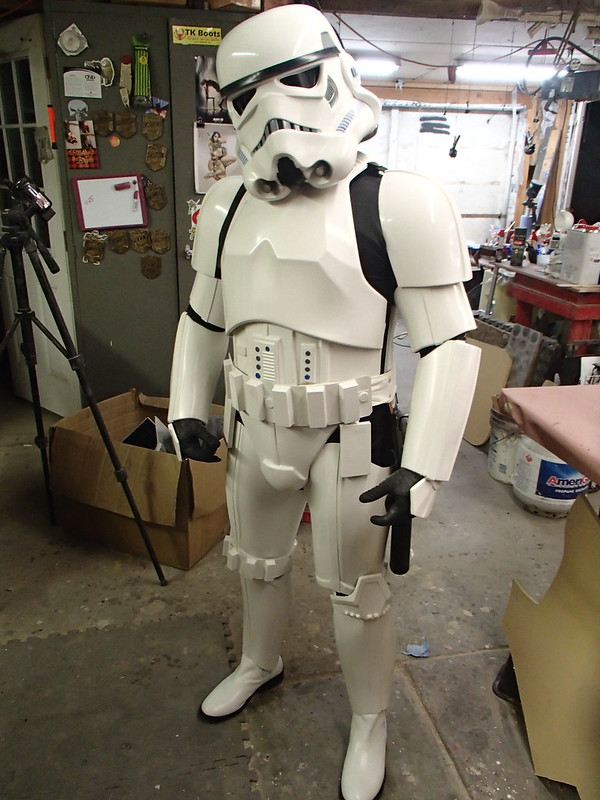
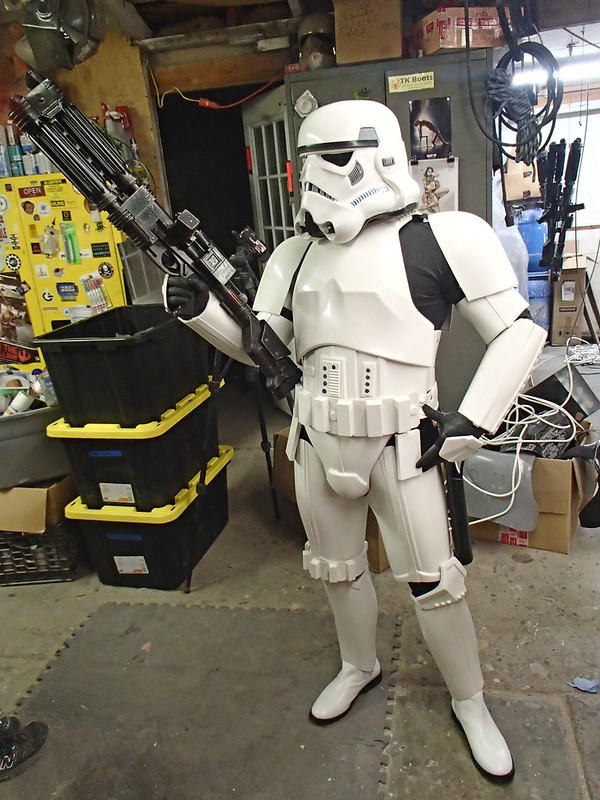
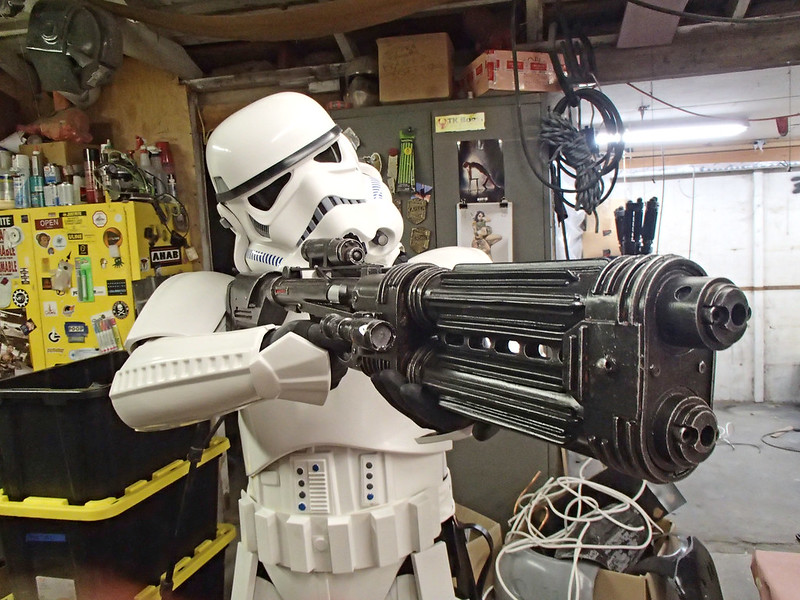
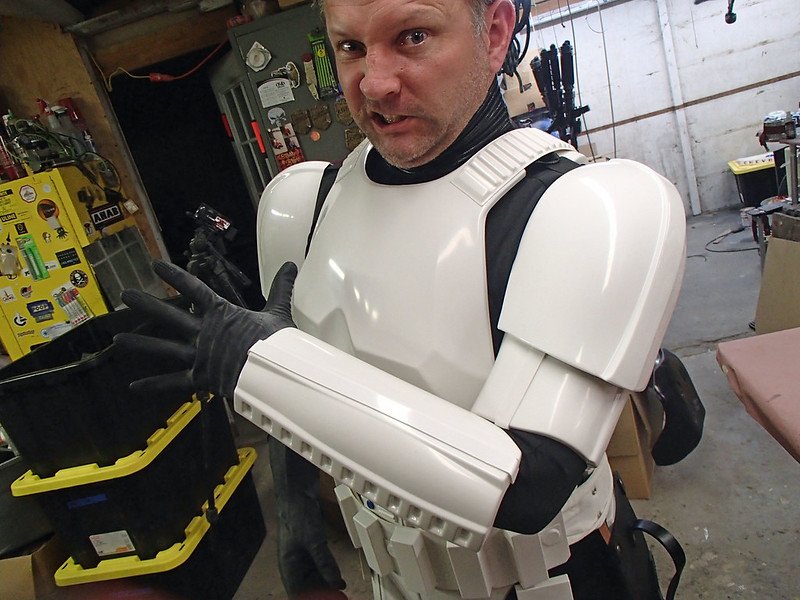
After snapping the belt in place, the back gets velcro'ed together and the overlap is covered by the Thermal Detonator: At this point, bending down was tough, but with a bit of help I was able to wiggle into the boots: Once the shins were in place, the lower half was done: The next step was to slide into the chest/back/upper arm assembly like a rigid, uncomfortable t-shirt: Now it's just a matter of pulling on the Imperial dishwashing gloves: Then I slide on the forearms and handplates: The helmet has to go on sideways first because the chin overhang doesn't leave enough room for your nose. Here's a shot of the bottom of the helmet showing some of the weirdness of the factory assembly and asymmetry: So the last step was to screw the helmet onto my head: That's the whole deal: Now it's just a matter of finding appropriately awesome places to post myself dressed as a stormtrooper. I also need to make myself a proper E-11 blaster that fits into the riveted on holster. For now, I have to settle for wielding one of me E-22 Heavy Blasters I made a while ago: You can read about that build here: LINK. I think it looks okay: Also, you can see one of these carried by a regular stormtrooper on Corellia in the opening scenes of Solo, so it's not exactly wrong. Anyhow, that's that. I now have myself a set of screen accurate stormtrooper armor. Or at least close enough as to not be noticeable from the outside. I'm still a little short for a stormtrooper, but there's not much I can do about that. Or is there? SHORT GUY MODIFICATIONS: According to Anovos, "Stormtrooper armor is designed to fit a person that is between (but not limited to) 5 ft. 8 in. to 6 ft. (1.7m to 1.8m) in height, with a mesomorphic body type." At 5 ft. 7 in. I'm a little short for a stormtrooper. For the most part, this isn't a major problem. The only place it becomes noticeable is at the knees, hips, and elbows. The knees: Making the knees easier to bend is simply a matter of increasing the size of the gap between the thigh parts and the lower leg parts. Since the edges at the knee are riddled with all kinds of details and trim, the only way to get more space is to cut a bit off the top of the thighs and the bottom of the ankles and slide those pieces farther apart. I could also use more elbow room: Just like the knees, the elbows can be made bigger by taking a bit off the top of the upper arm and the bottom of the forearm, then spacing them farther apart to increase the gap at the elbow.
One of these days I'll get around to making those tweaks as well as adding a voice amplifier and fans inside the helmet.* But at least the hinged codpiece works: Stay tuned for more...
*I'll probably never get around to making any upgrades. This kit is mostly going to be parked in storage for the foreseeable future.