
Once I'd completely determined the scale I was going to use, the next step was to turn bits and bytes into pieces and parts. For the littler parts, I'm resigned to using my 3D printers. But since most of this build is going to be really damned big, printing everything would end up taking three quarters of forever.
Instead, the exact right piece of hardware to handle the big parts of this decidedly big build was my team of Carvewright CNC machines. If you've been reading my blog for any length of time, you've probably heard me mention Lopez* the Robot Whittler. What you may not realize is that somewhere along the way I picked up another Carvewright which I named "Lopez Dos Point Oh*." Then, about a year ago, I picked up a third one which was dubbed "Maria*." Some time since the arrival of Maria, I also got a good deal on a fourth machine which has yet to be named.
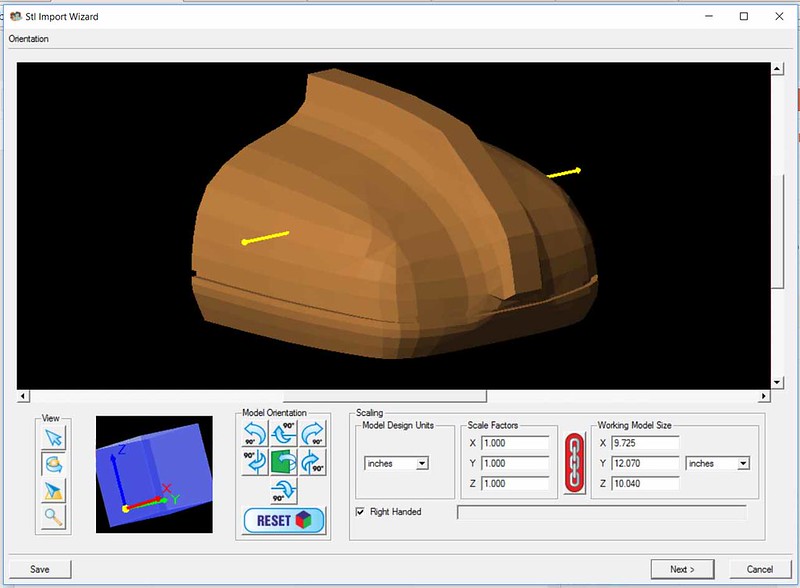
The Carvewright was originally intended to help hobby woodworkers step up their game by making simple relief carvings into pieces of wood. What makes it awesome for me is the STL Importer plugin for the proprietary Carvewright Designer software. This plugin allows me to import a 3D model into the program. For example, here's the beginning of importing the lower sholder piece:
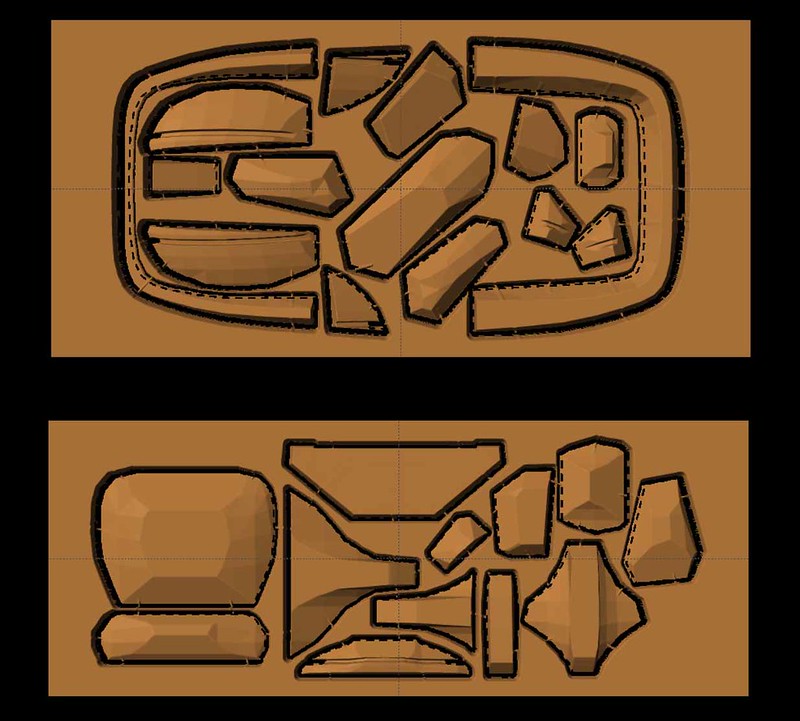
Once the model is imported, it's a simple matter of slicing it into piece that the 3-axis Carvewright CNC can actually carve. It takes a bit of experience to know what will work and what won't, but after a few of these projects, I've developed a knack. Here's the two separate boards that will be carved in order to make the shoulder:
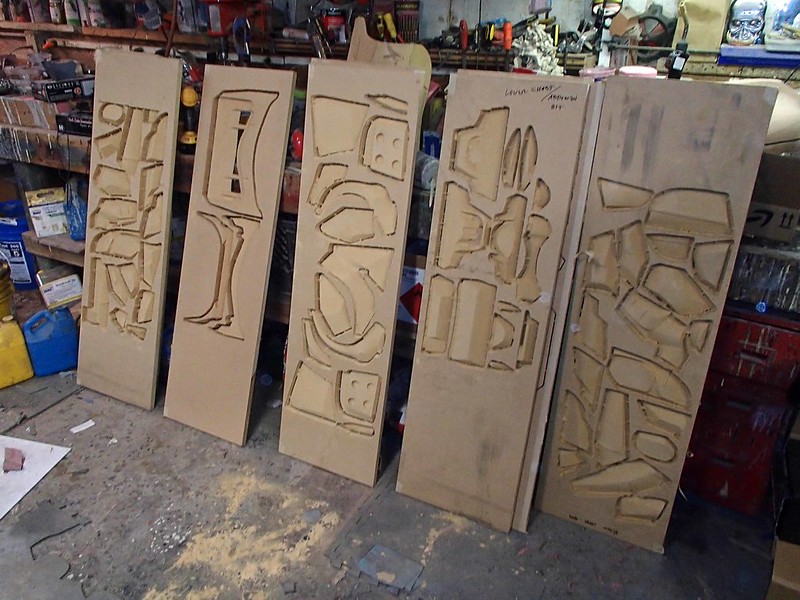
The Carvewright CNC machines are a bit on the noisy side. It used to was, I had to just accept the fact that whenever they were running I would either have to leave the room, wear double-layered ear protection, or just count down the days to my inevitable deafness. But due to a recent expansion of the workshop, the screaming machines get their own insulated room. Now they can make all the noise I want. I don't have to go deaf and I can still be there to hear if there's anything going wrong with the carving. So, after a few hours, Lopez Dos Point Oh and Maria would spit out boards that look like this:

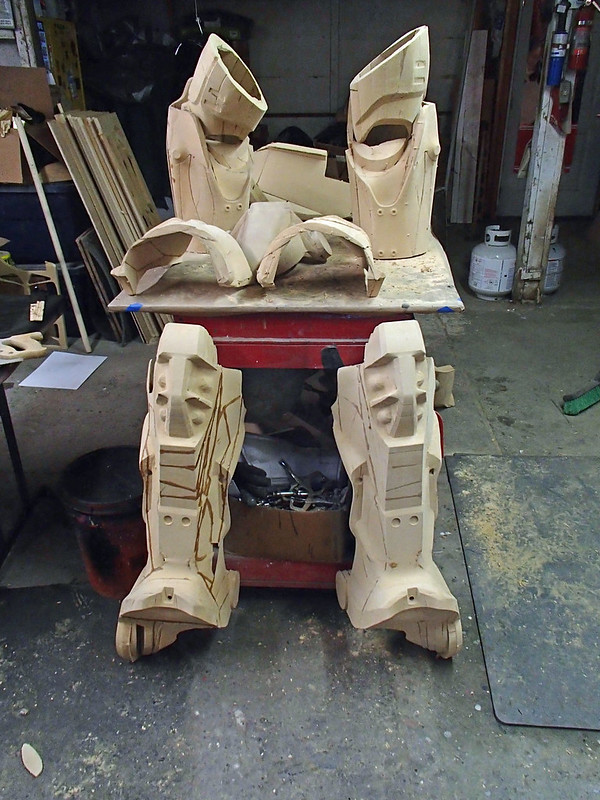
Over the past few months, whenever I had some down time where the machines weren't busy with anything more important, I'd have them whittle out more parts. Eventually, the boards started stacking up:
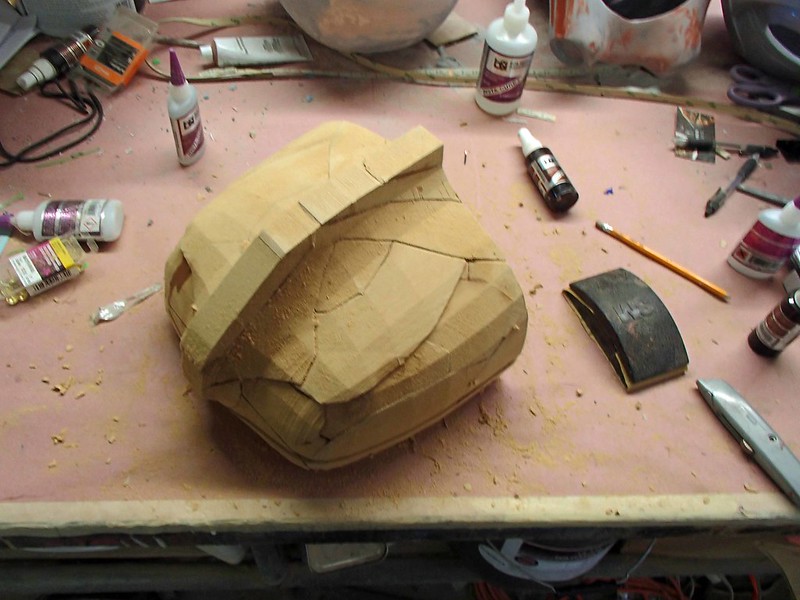
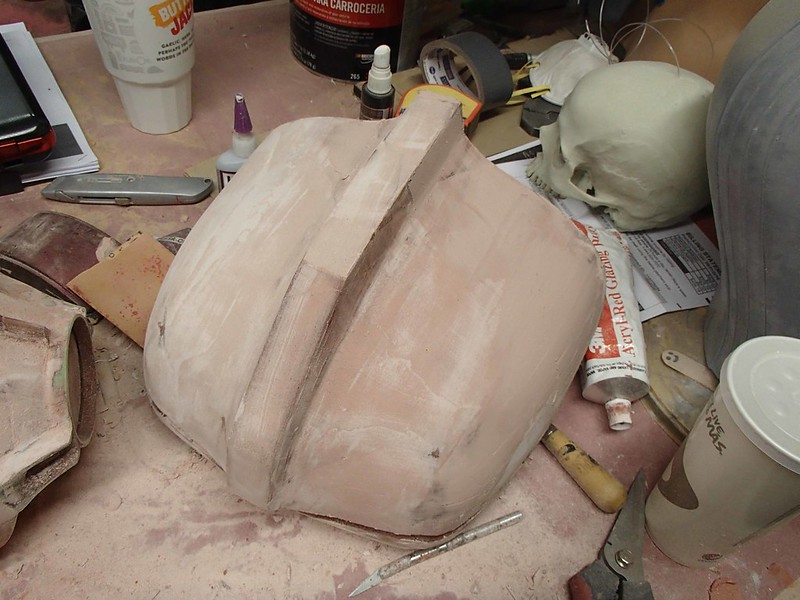
When I got tired of looking at the stack of carved boards, I spent a few minutes removing waste and assembling parts. Here's the lower shoulder that I mentioned earlier:
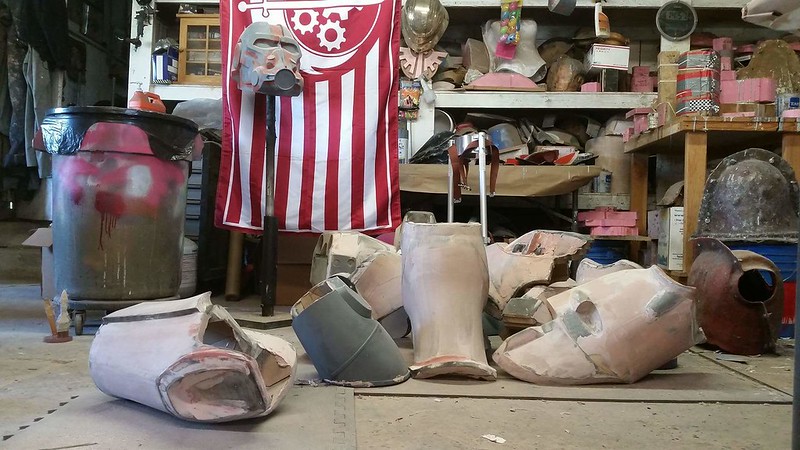
After a while, parts start stacking up:
Goofing around happens from time to time:
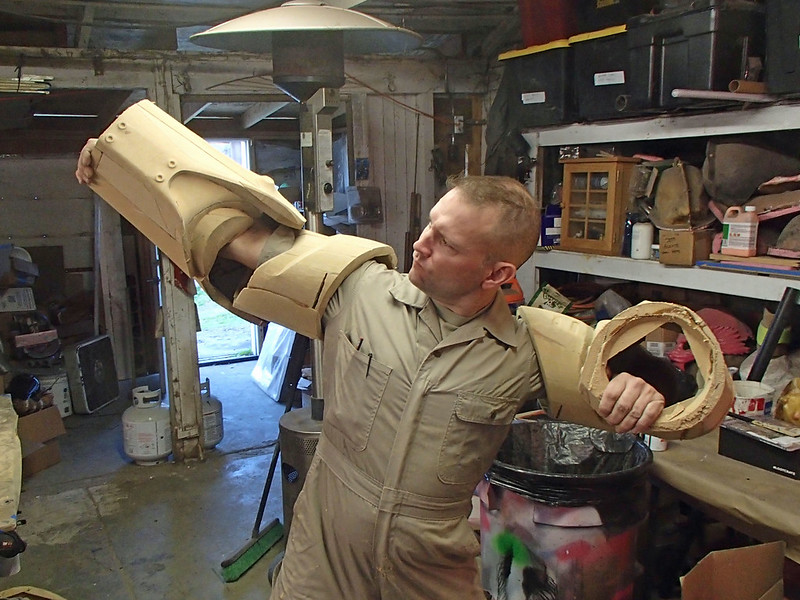
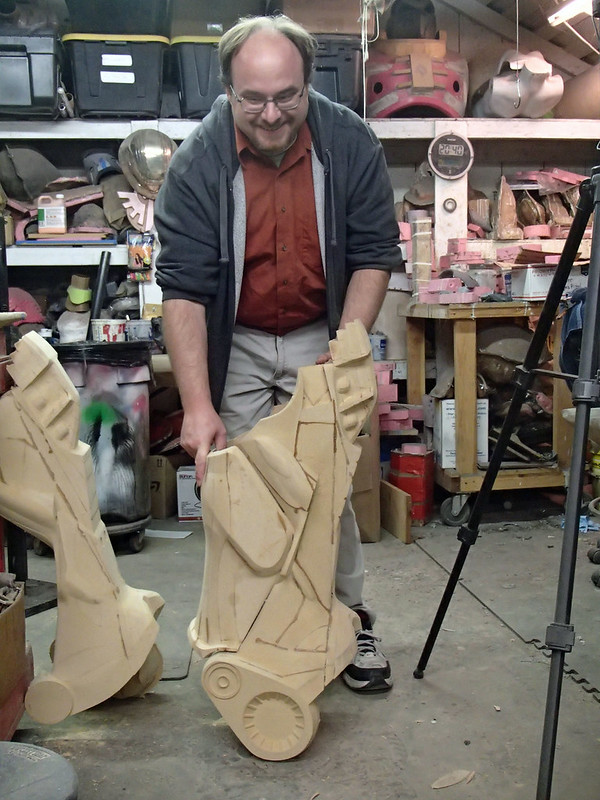
The most striking part about this build is how insanely huge most of the parts are. Here's my friend Matt with one of the lower legs:
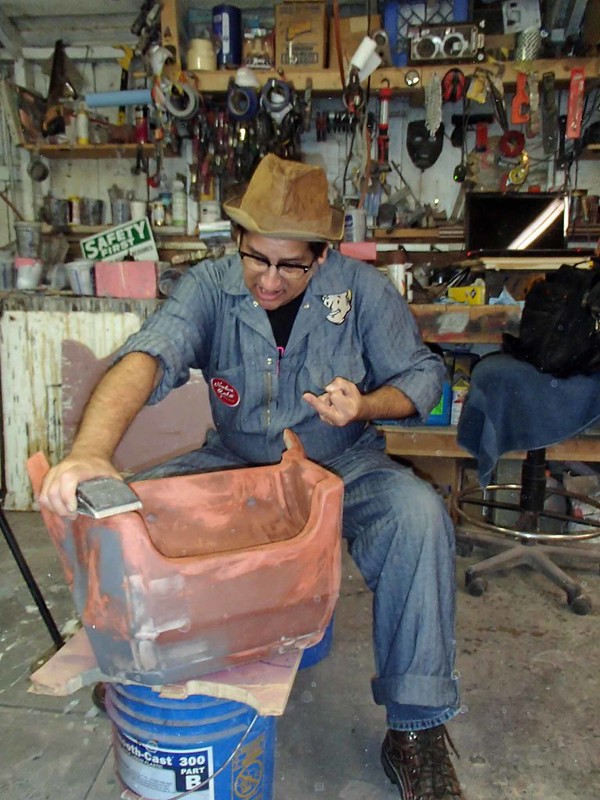
After a while, I got tired of having huge stacks of pieces sitting around and decided it was time to make more progress with them. I started by rough sanding them in order to get the basic shapes smoothed out. Then I'd spray the assembled parts with primer. Then more primer. Then more primer until no more primer could soak into the surface. Here's the shoulder again somewhere in the middle of the primer soaking process:
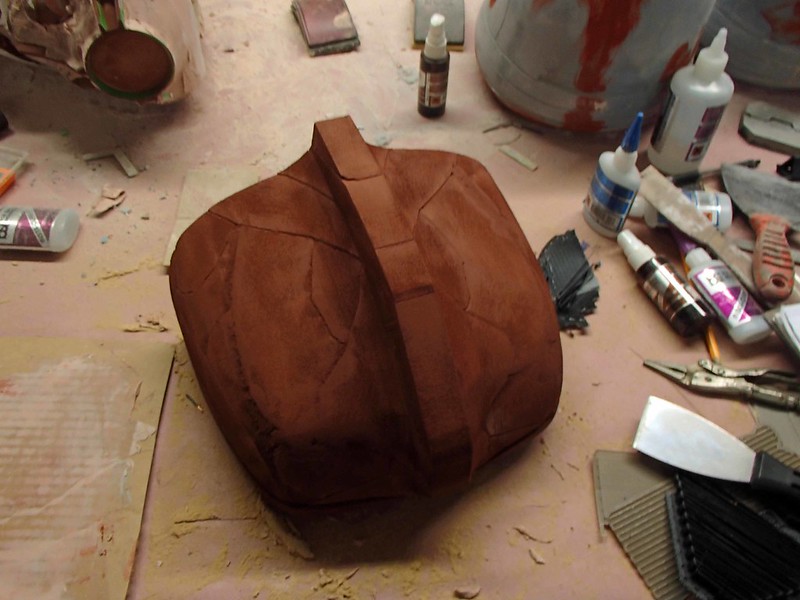
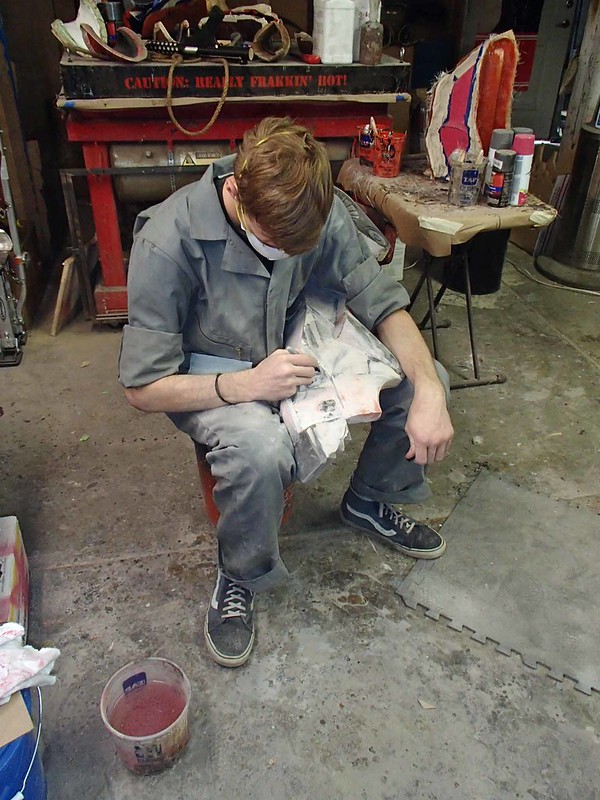
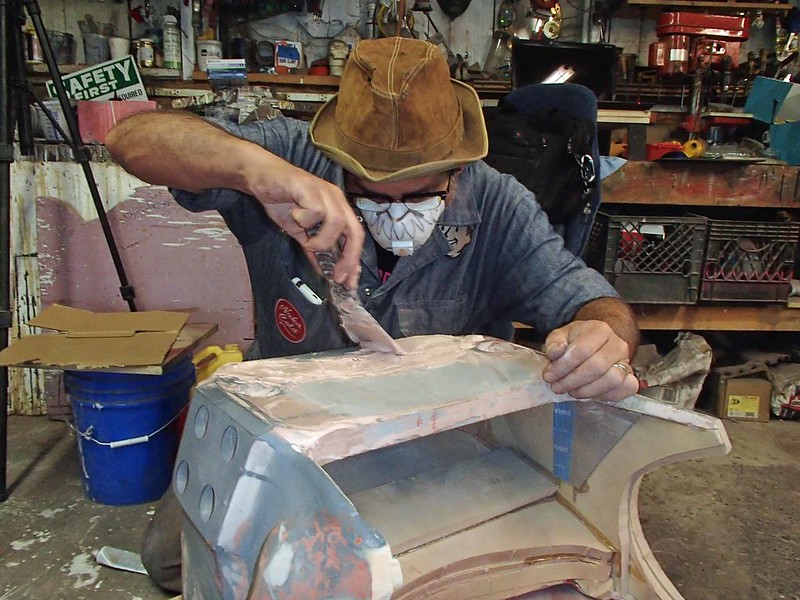
With the primer dry, primed parts would get filler treatment and a lot of sanding:
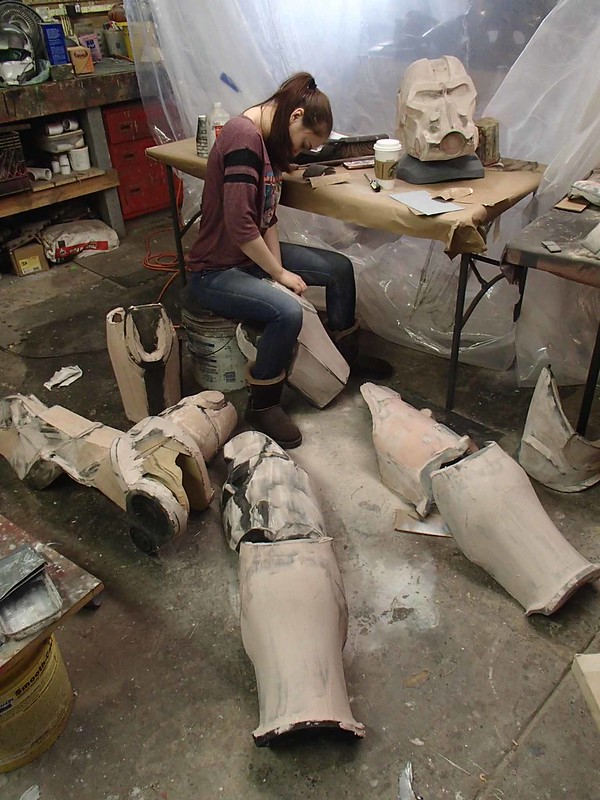
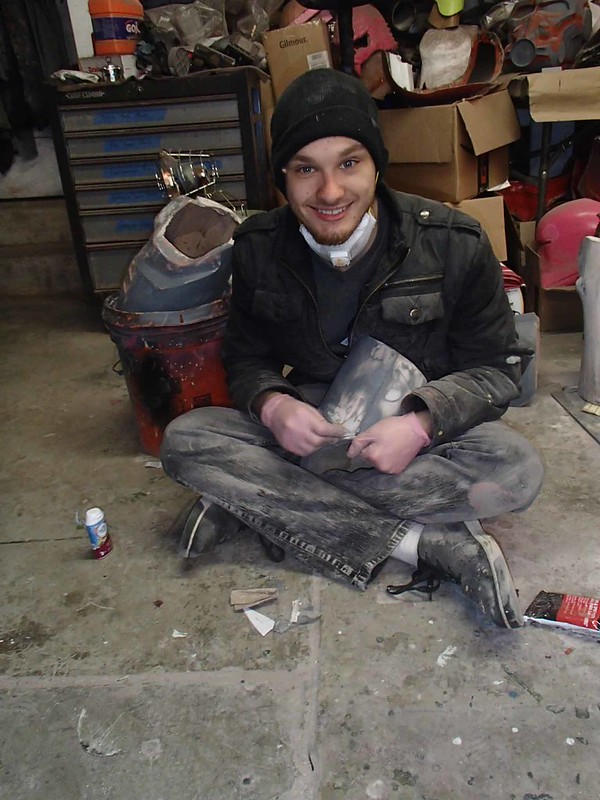
At this point, my friend Mallory started hanging out in the shop again. She was content to sit in the shop and spend all day sanding pieces, so I left her to it:
Eventually, Lewis and his wife Noelle start helping out with the project as well. Here they are smoothing out some leg parts:
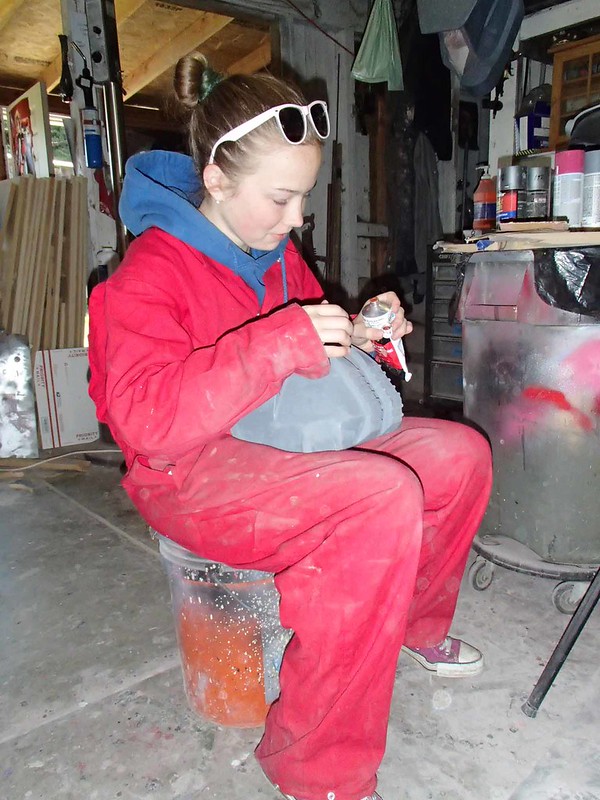
Then there were a few more folks who got on board. Here's Sierra smoothing out a shin:
Freddy filing down a groove on an upper arm part:
Charlotte adding spot putty to a toe:
Loki sanding the knee end of a shin:
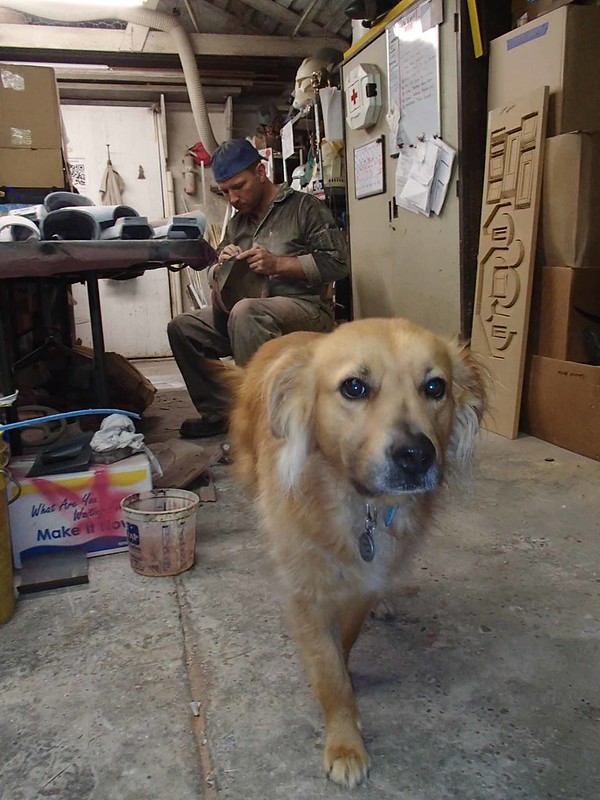
I tried to get my dog Leeloo to try sanding:
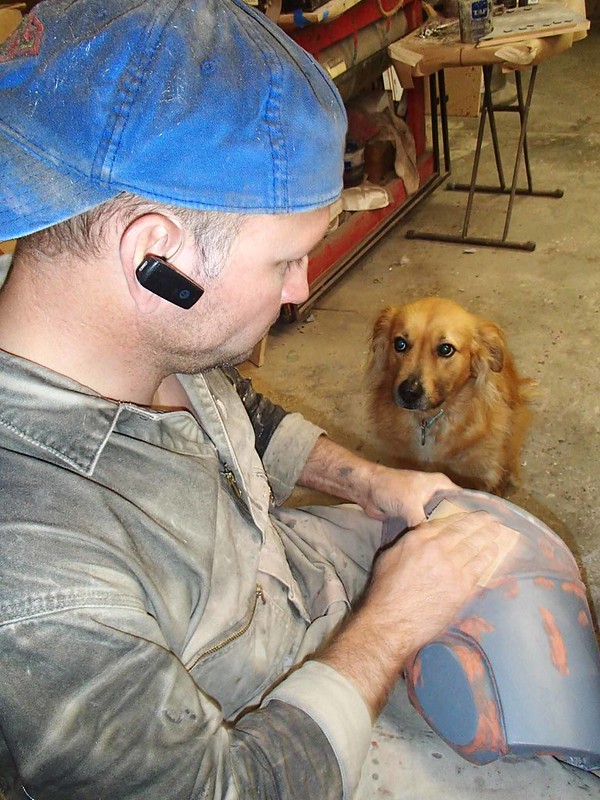
But she was having none of it:
As time went by, the huge pile of rough parts slowly became smooth:
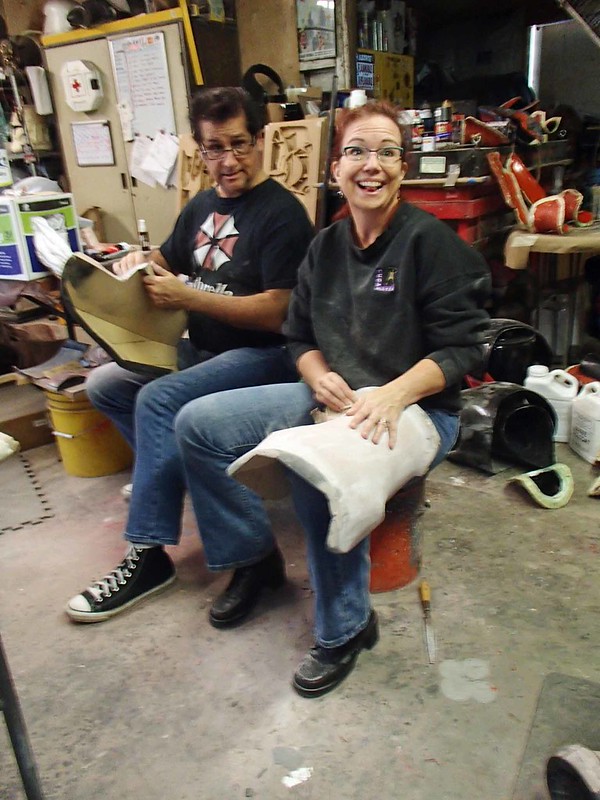
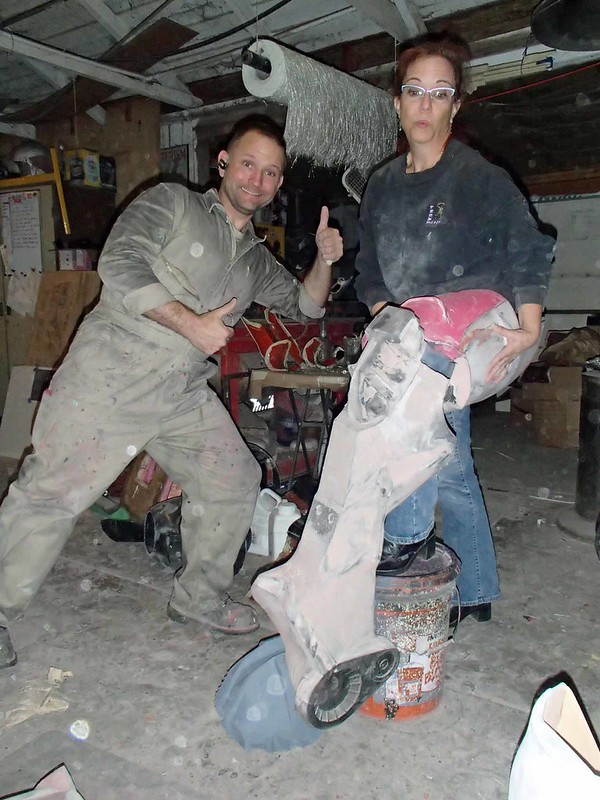
Along the way, there was still plenty of goofing around:
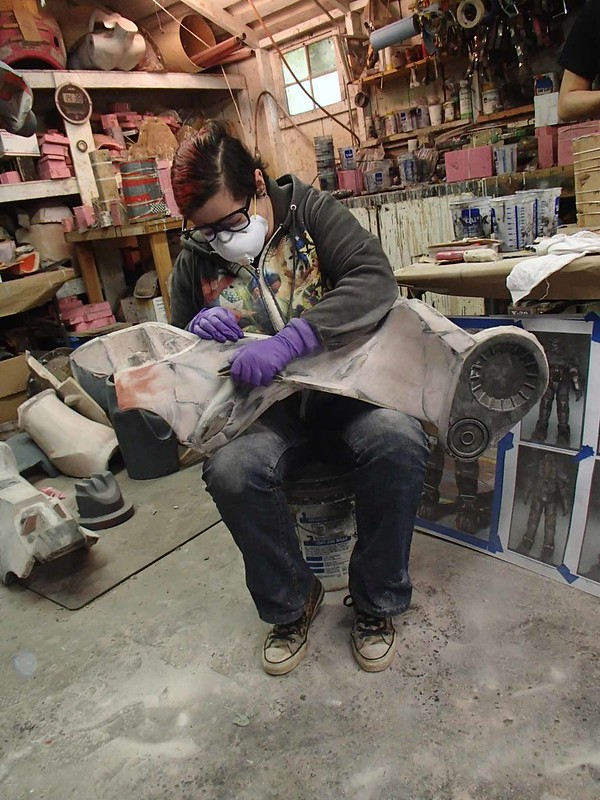
Lewis decided to adopt the chest box as his own personal project. He put an awful lot of focus on that one part:
But it seemed to make him happy:
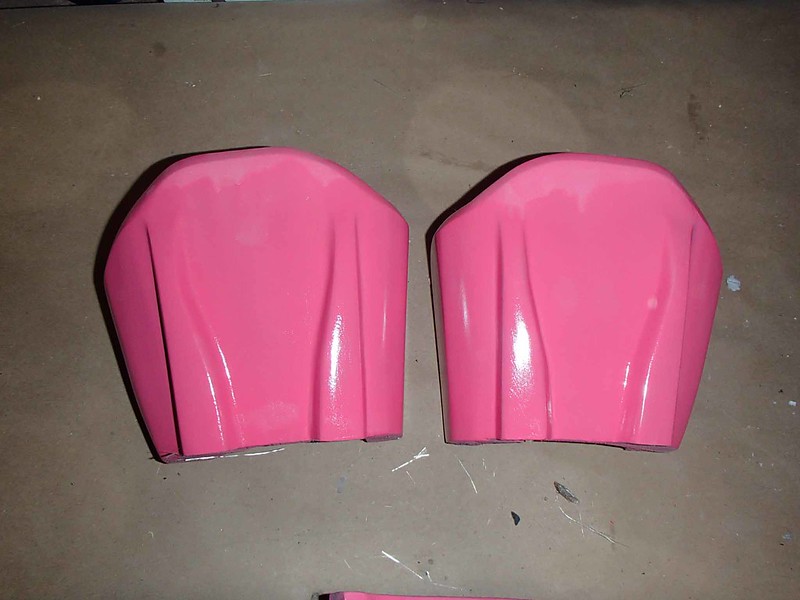
Once the parts are smooth, they get a nice, glossy coat of paint. In this case (like all my other projects) it's pink. Here's the handplates as an example:
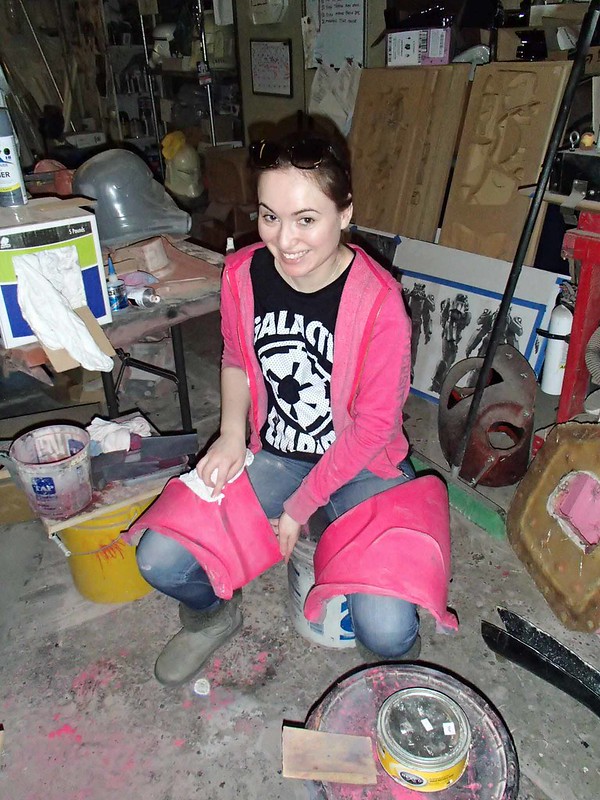
Then they get polished up and prepped for molding:
But that's a story for another blog entry.
Next up: pink parts get molded and turned into fiberglass!
*All of the robots in my shop have names. They're all taken from the names of robots or computers in popular culture. Lopez was the robot soldier in the popular web series called Red vs. Blue. Lopez Dos Point Oh was his replacement. Maria was the gynoid robot from Fritz Lang's "Metropolis." I also have "Jarvis" my Objet30 3D printer, the two Zortrax printers named Johnny Five and Seven of Nine, and a couple of other 3D printers that I've yet to name since they're in use yet (just like my fourth Carvewright).
You should name the 4th CNC machine either Epsilon, or Church. Keep with the RVB theme
ReplyDeleteWhat about Rosie?
ReplyDeleteCorrect me if I am wrong but that Fallout 4 Atom Cats Jacket seems to be from the 80s? I love how the game developers add creativity to the wardrobe of characters certainly when it is inspired by vintage style.
ReplyDeleteI have decided to play Joker this year at the costume party. I will make up my face similar to Joker but my wardrobe selection will be the Fallout 4 Atom Cats Jacket
ReplyDelete