
This is the eighth article in the series detailing the
building of a whole bunch of Death Watch and Night Owl Mandalorians from the
Clone Wars animated series in preparation for Star Wars Celebration: Anaheim.
If you're just now tuning in to this project, be sure to check out the previous
parts:
Those parts were fun, but nothing compared to making the
jetpack:
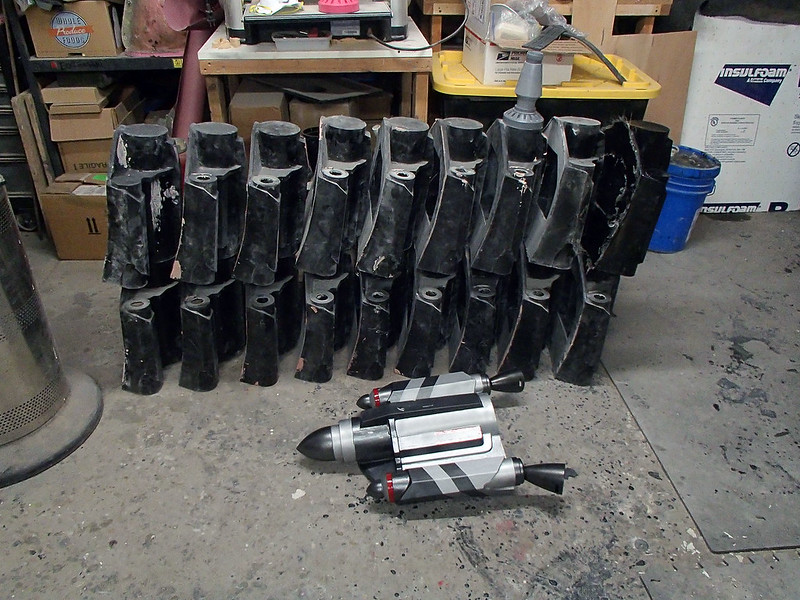
Not to mention making over a dozen of them:
Years ago I made myself a very bad, very rushed Boba Fett costume:
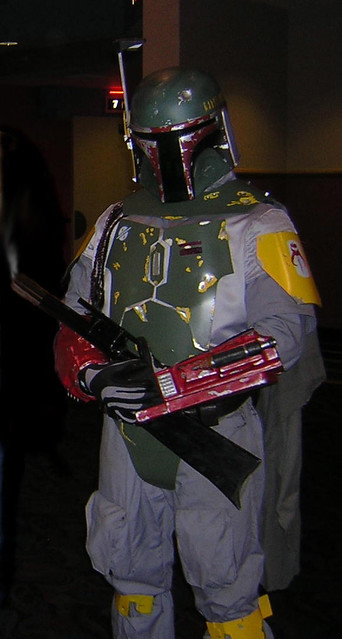
I built it over the course of four days so I could join a few friends in costume at the premiere of Episode III at the local theater (which, incidentally, was having its grand opening that very night):

Our armored butts were the very first ones to ever touch
those seats. Thank goodness all of my paint had dried.
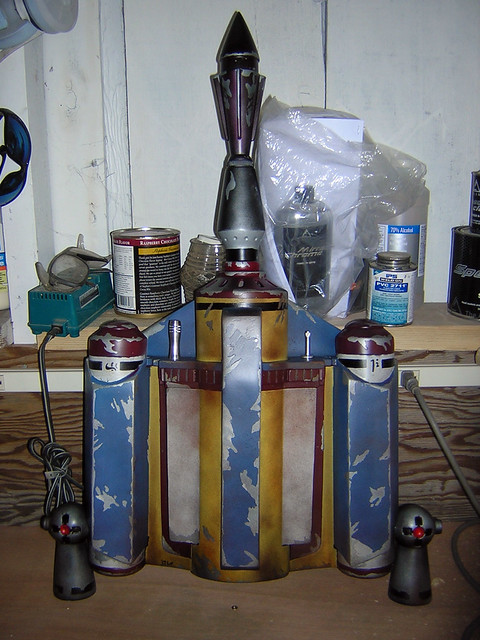
While most of my high-speed Fett costume was pretty
horrible, I was at least pretty happy with the jetpack (which I'd purchased as
an unpainted kit from a member of the Dented Helmet forums)
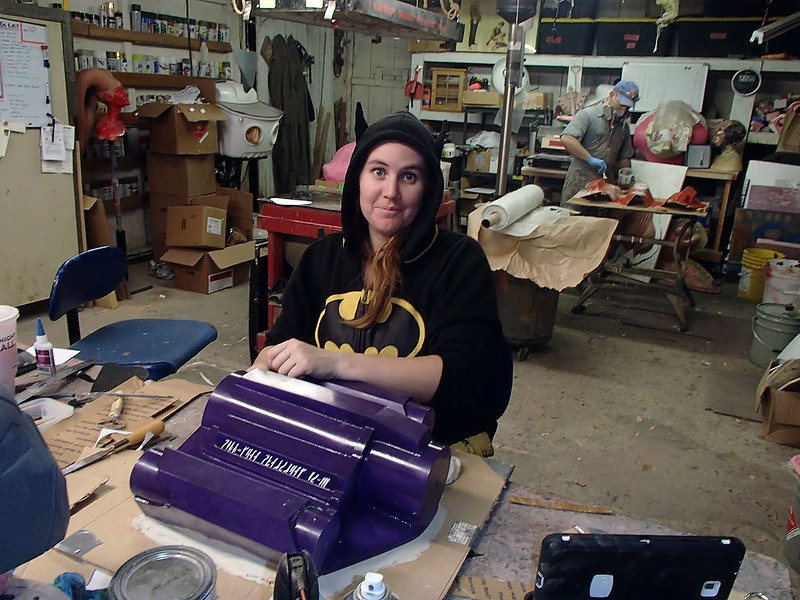
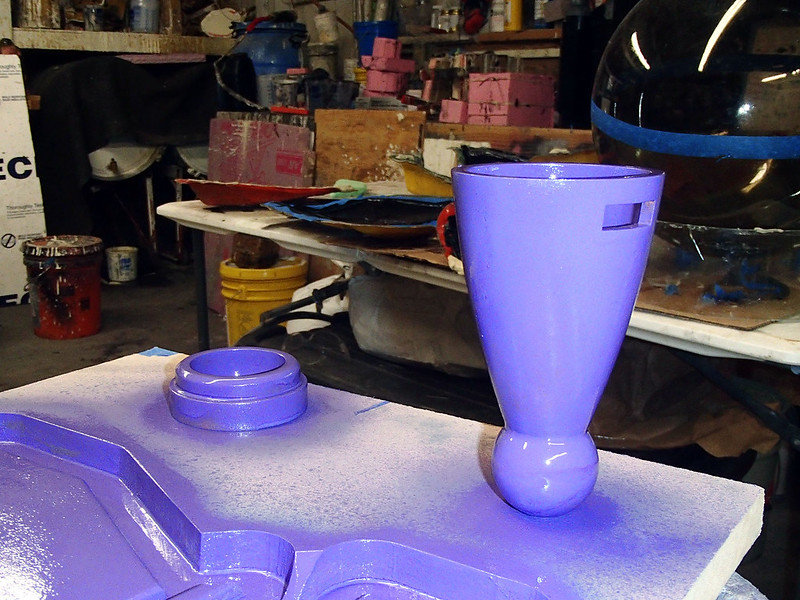
Fast forward a decade or so and my friend Matt had goaded me into taking on this Death Watch project. Fortunately, he was willing to put in a lot of time in the prototyping stage. Late one particular evening I walked into the workshop to discover that he'd started on this piece:
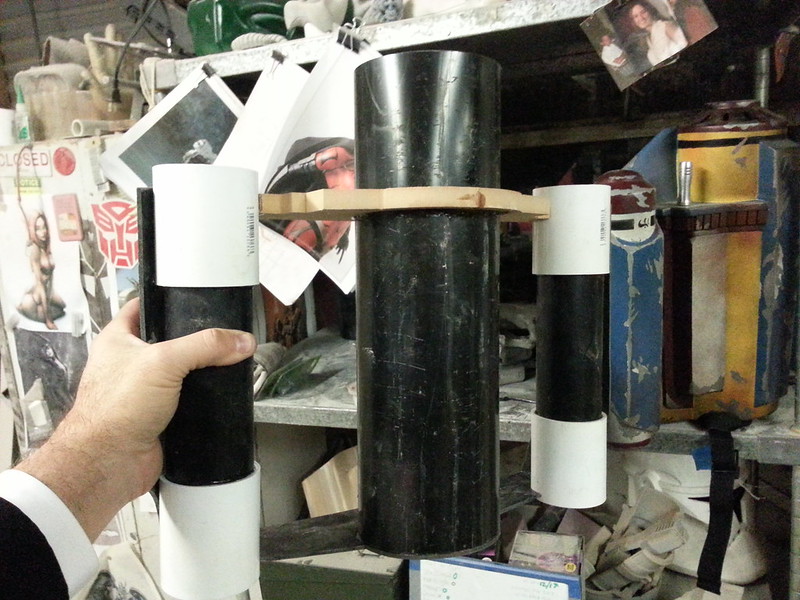
The basic shapes were cobbled together with scraps of ABS and PVC pipe, MDF, and random bits of plastic sheet that I had laying around the workshop. Here's Matt making a bit more progress the next day:
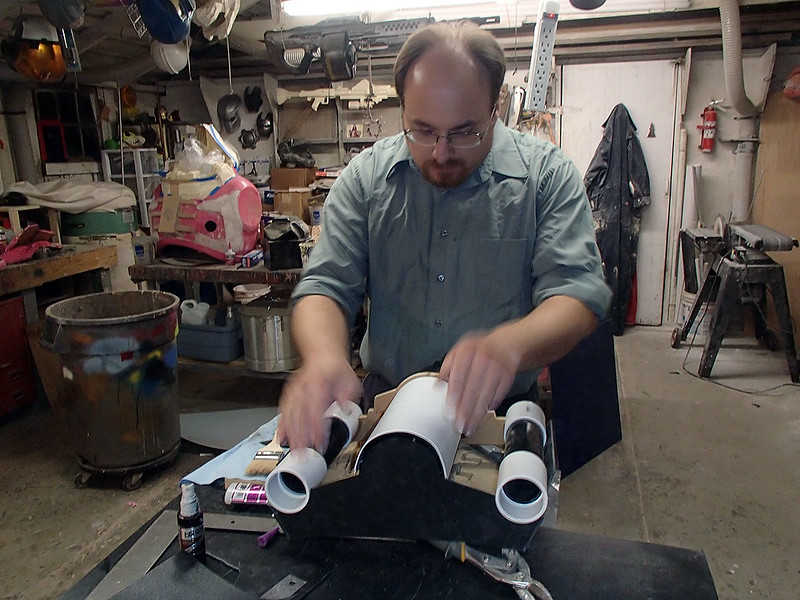
When he wasn't around, I tinkered with it a bit too. Mostly filling in the gaps and edges:

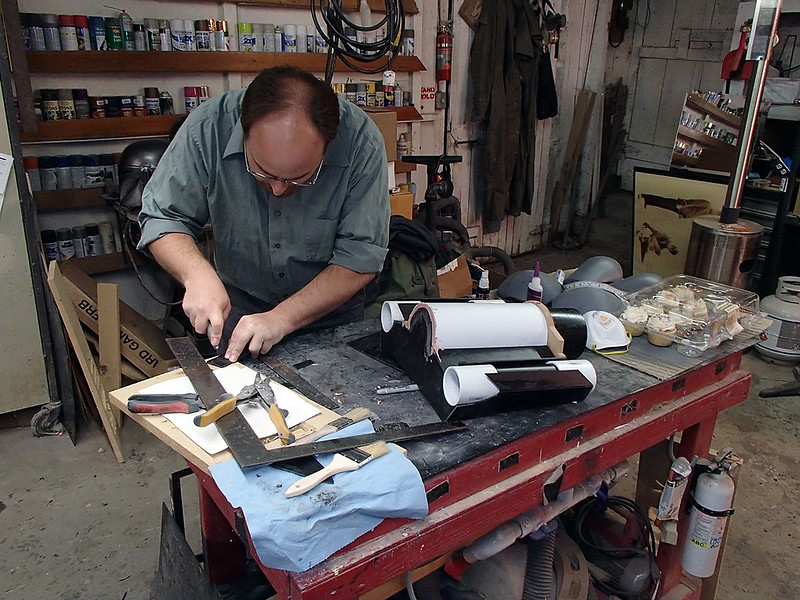
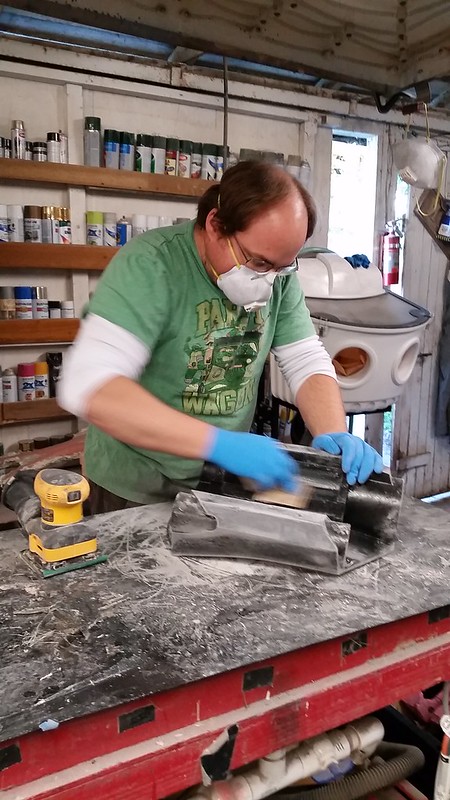
I left most of the sanding to Matt:

He did an okay job:
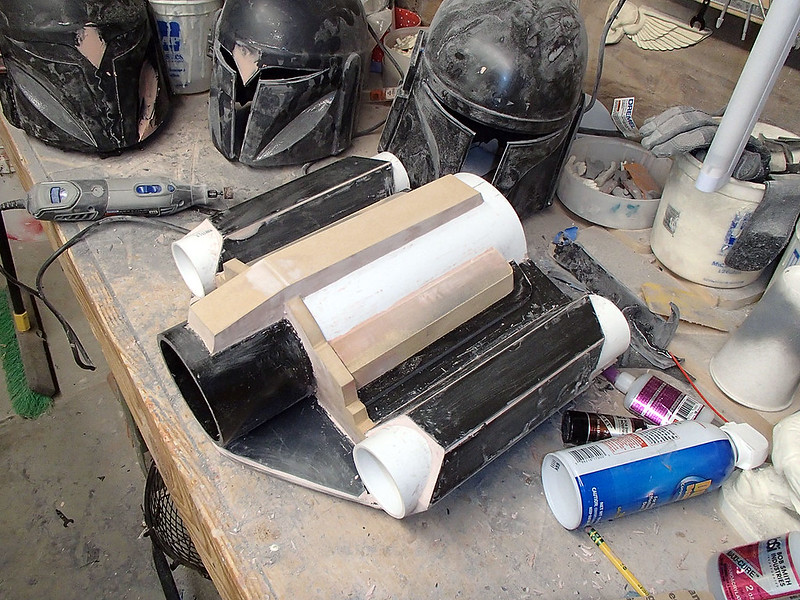
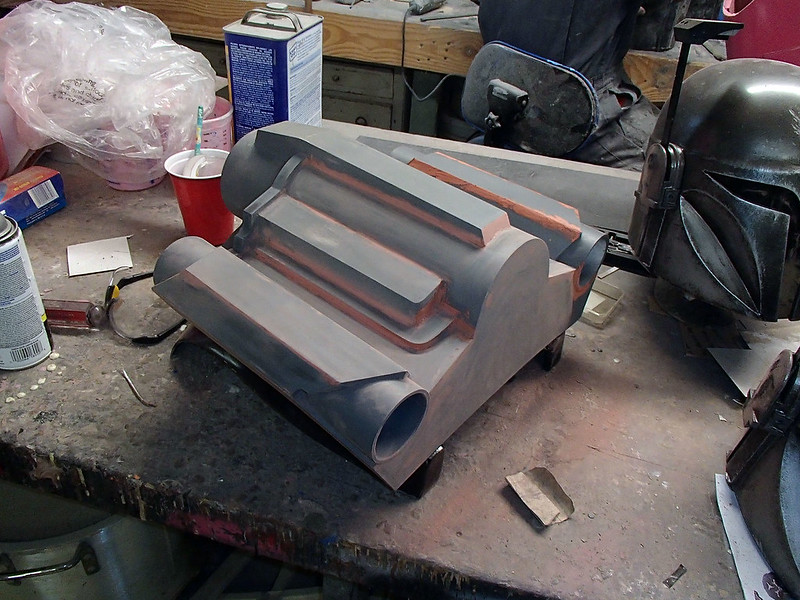
After a couple of rounds of filling and sanding, it was time to try on a coat of primer:

At this stage, the primer was mostly to help make the flaws more obvious. Once I knew where they all were, I filled them with some spot putty:
Then sanded them smooth:
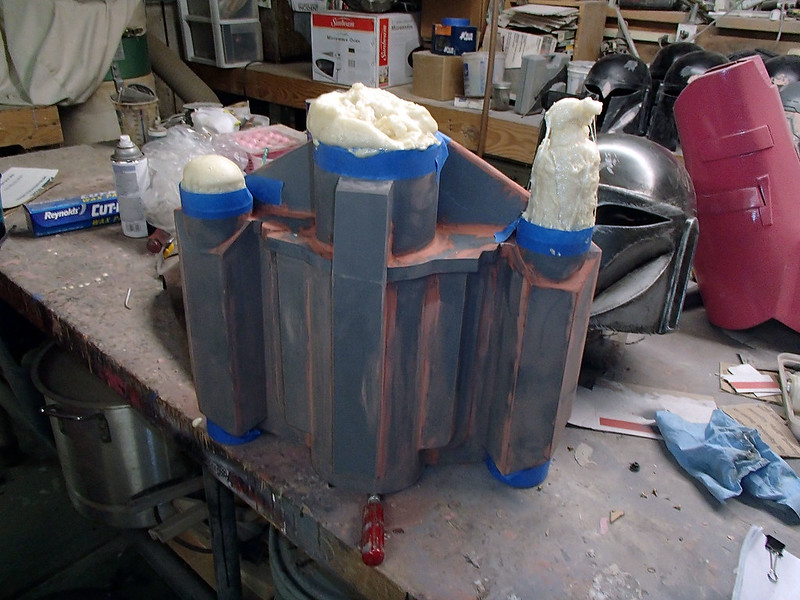
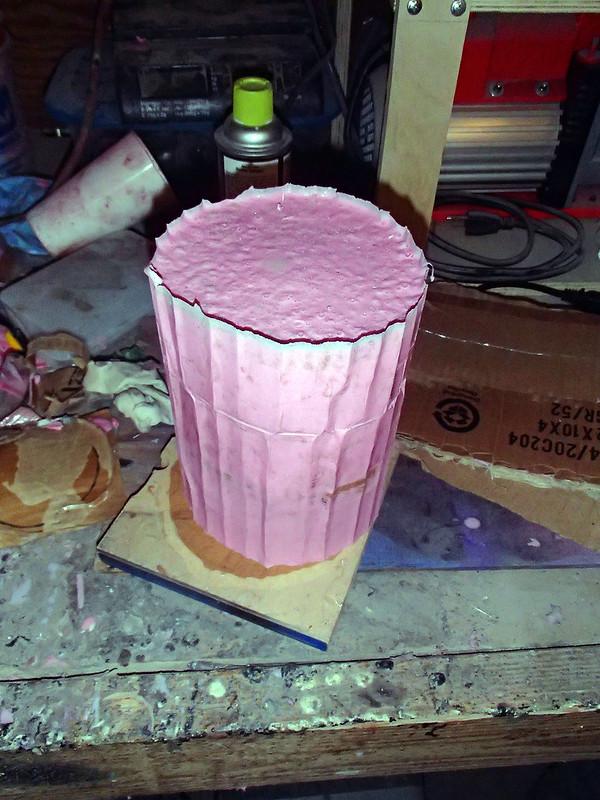
In order to cap off the ends, I decided the best course of action was to fill them first with a bit of urethane expanding foam:
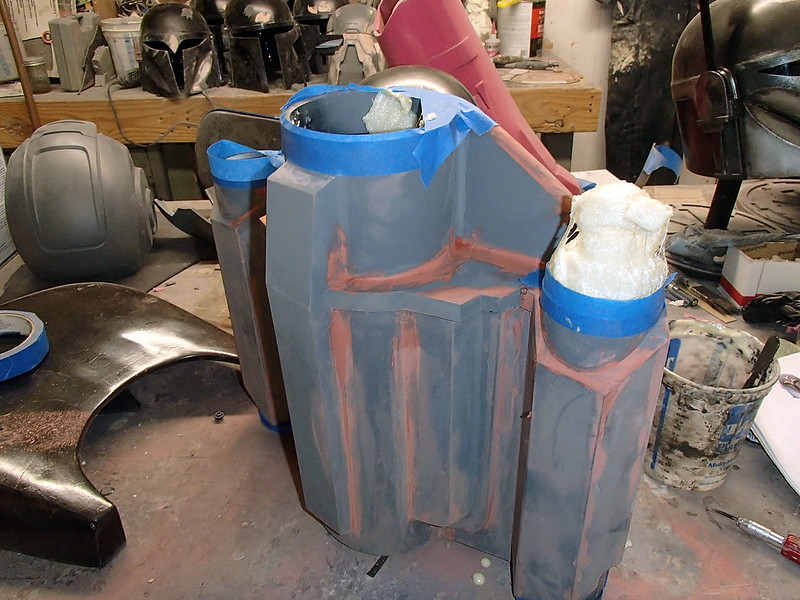
I may have mixed a tiny bit too much:
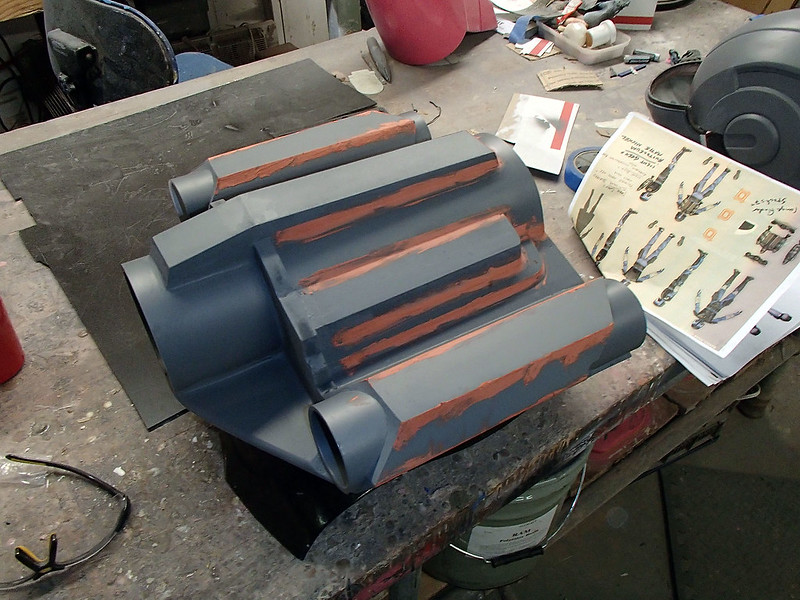
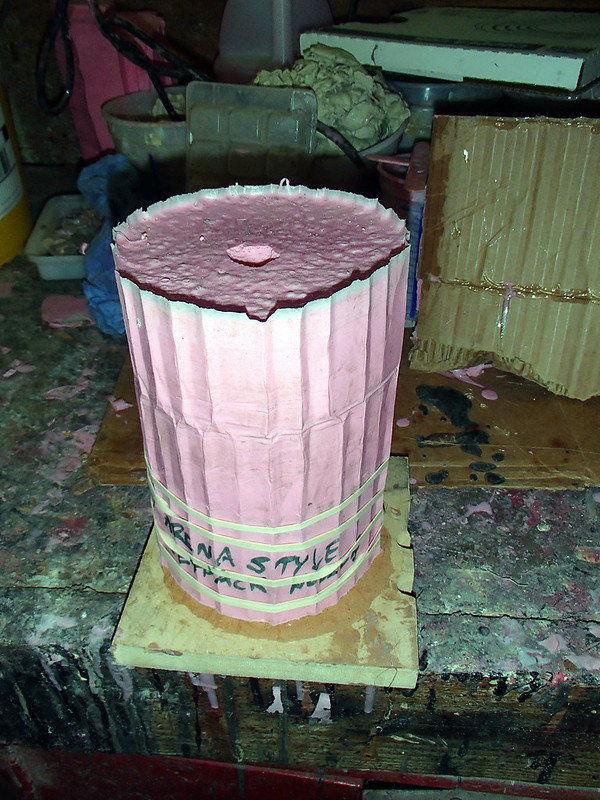
After trimming off the excess, I coated the tops of the tubes with some auto body filler:

Then it was time for more primer:

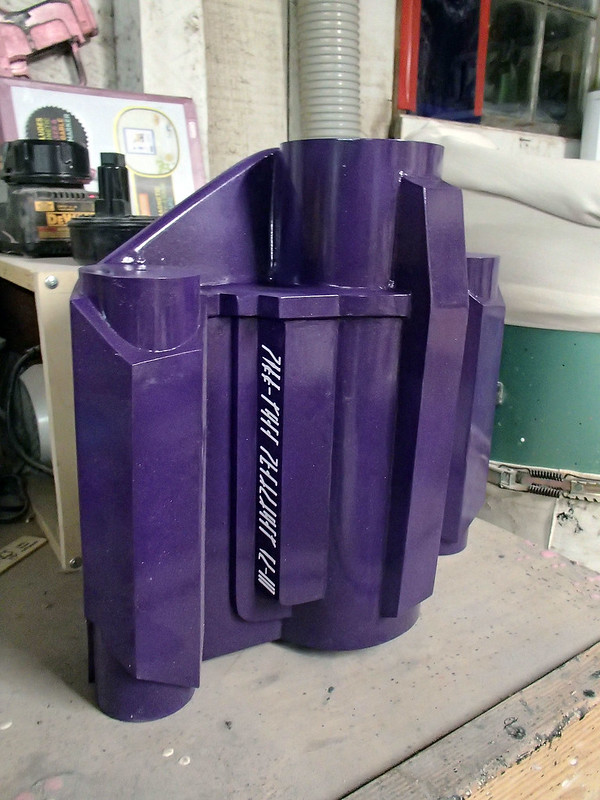
Satisfied that the whole thing was adequately smooth, it was time for a nice glossy coat of paint:
About that same time, Matt decided to add some custom cut vinyl decals written in the Mandalorian alphabet:
Once the whole thing is molded, the vinyl lettering leaves a barely-perceptible raised trace behind that can be easily sanded off if it's not wanted. For some reason Matt decided we needed writing all over these things.
I don't know what most of them actually say. But there's this one:
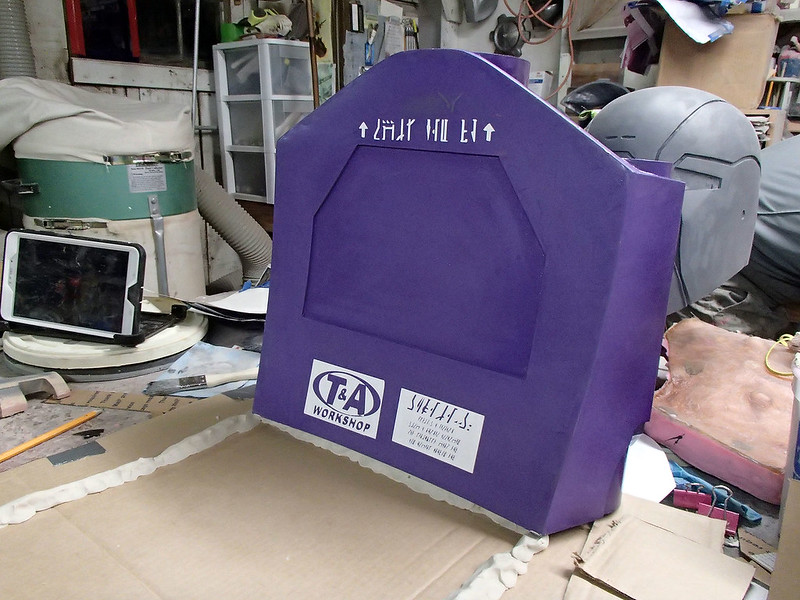
That bit at the top of the recessed area reads "this end up."
Cute.
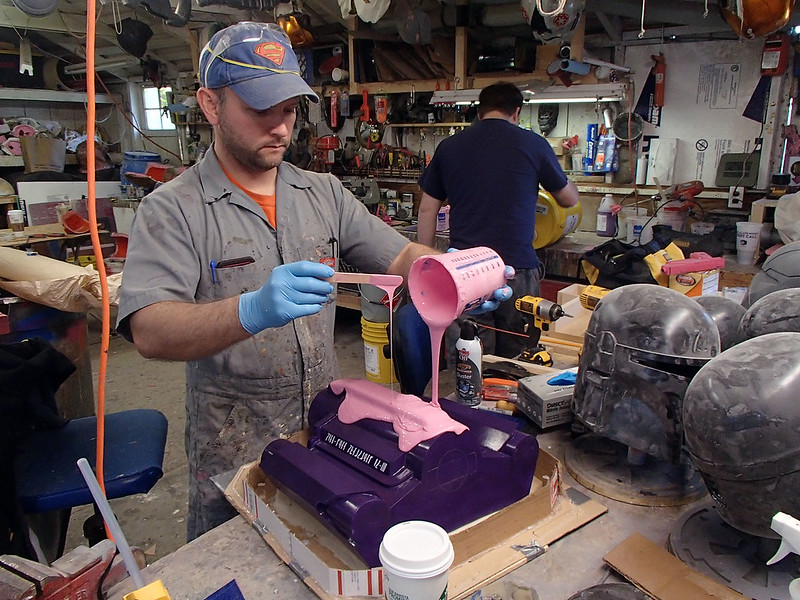
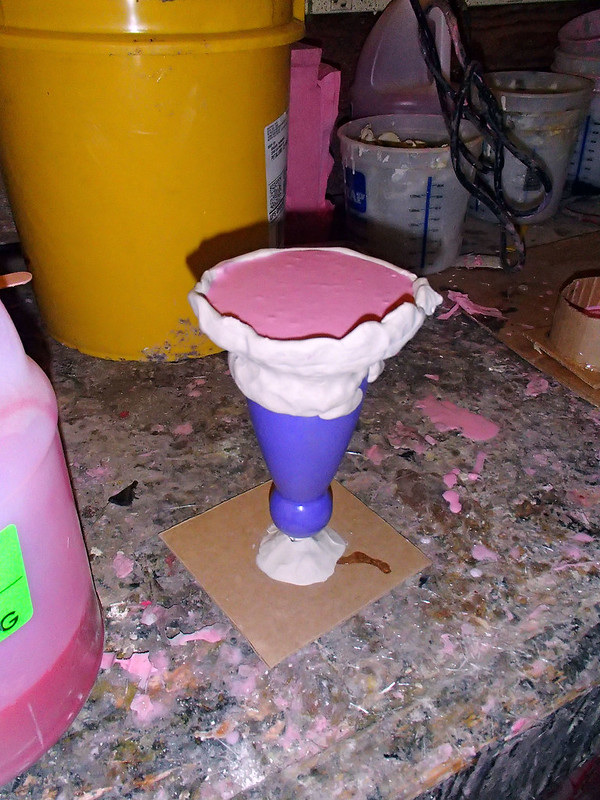
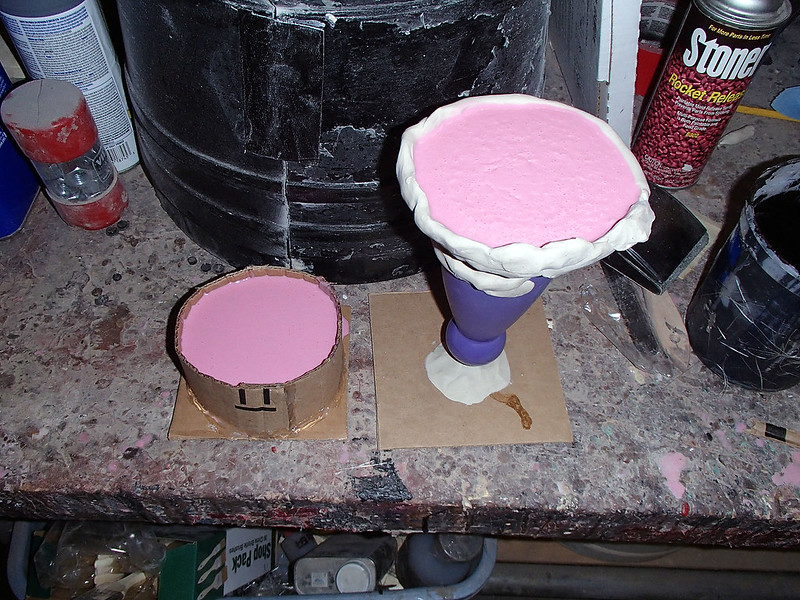
A little while later, Matt's wife Jen set to work building
up some mold walls with oil-based clay:
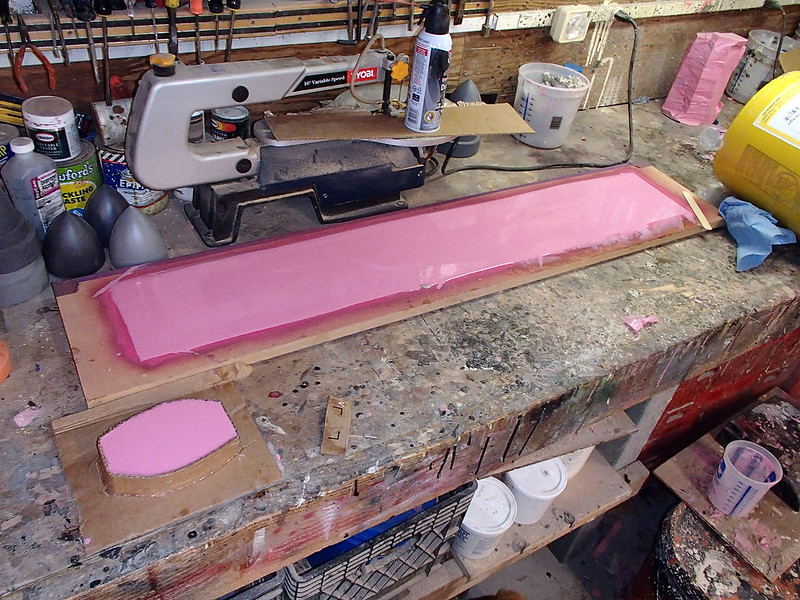
Once she'd done that, I poured on a silicone print coat:
Which settled out nicely:
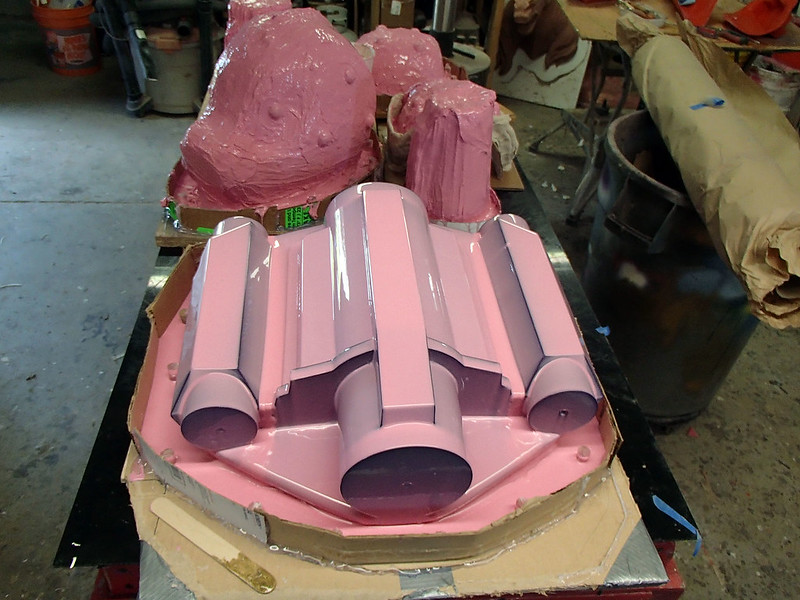
With the print coat cured, I added a bit more thickness:
And a bit more:
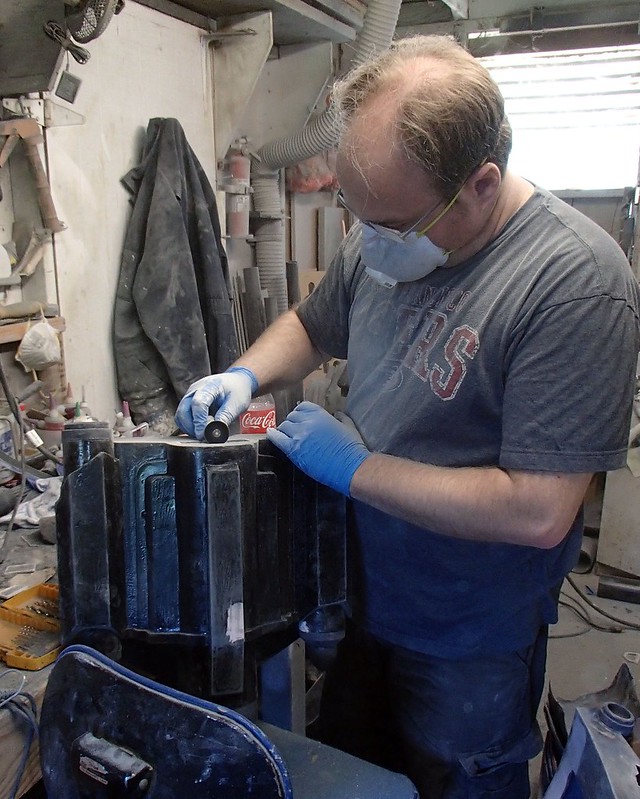
Once I was sure that the rubber was at least 3/8" thick all over, I started adding pre-cast silicone rubber registration bumps:
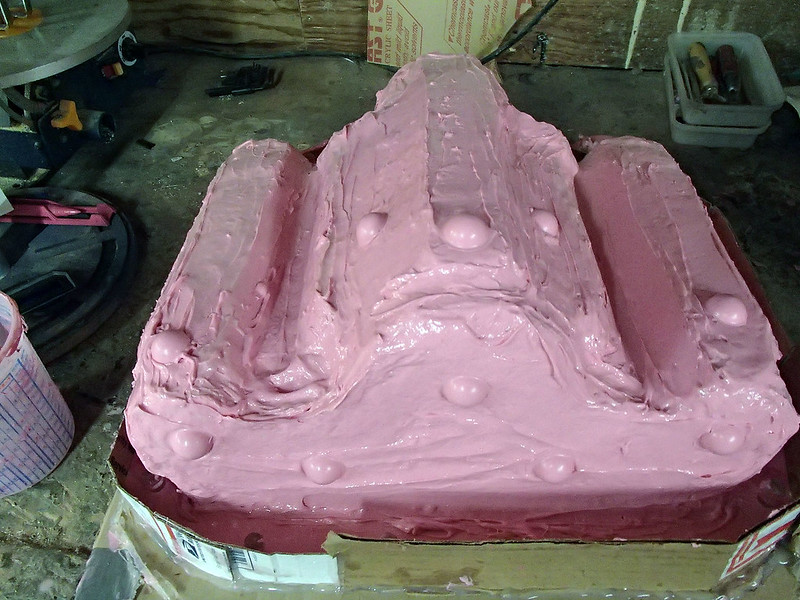
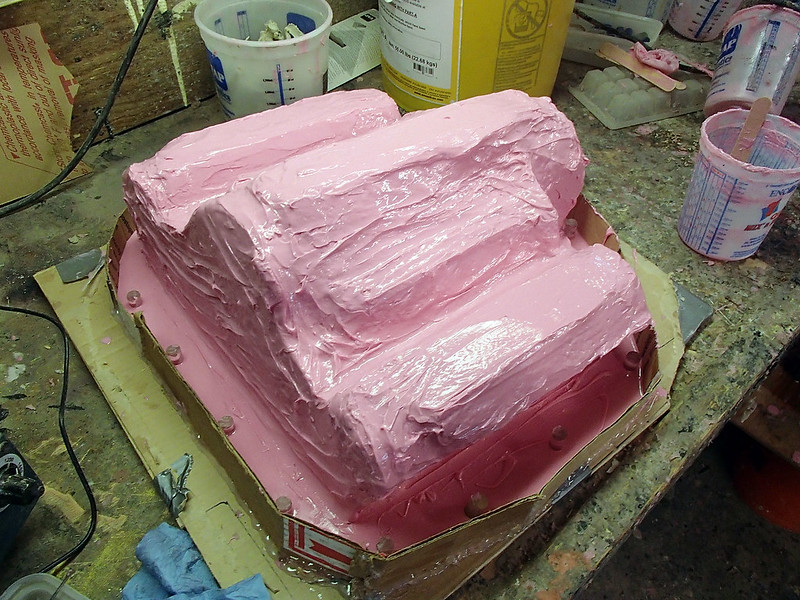
Then I gave the whole thing one more coat of silicone just to help smooth it out:
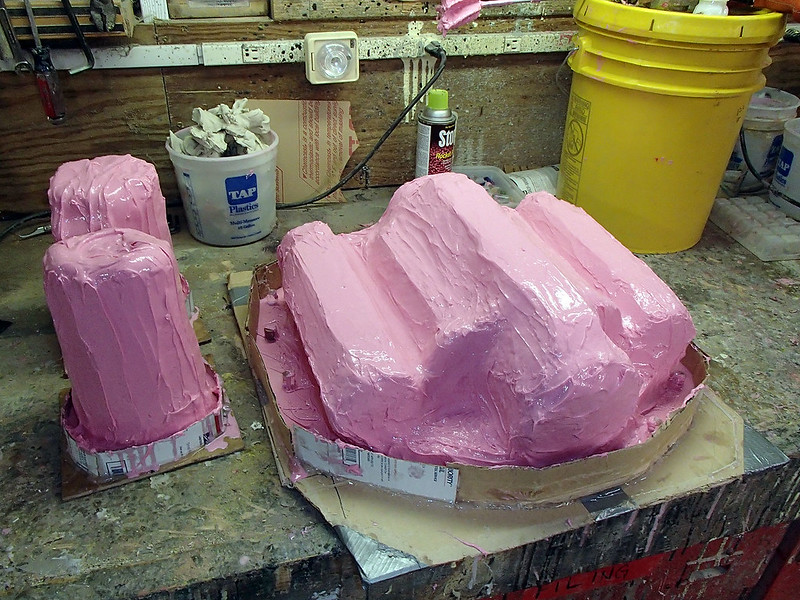
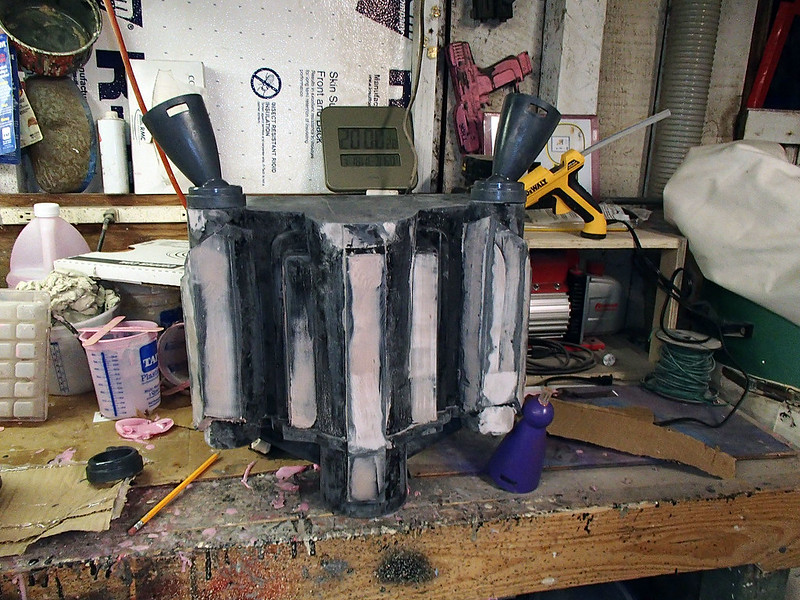
Once that had set up, the mothermold for the outside was made in four parts. I started by building up some clay parting walls. Then I started laying up the fiberglass mothermold:
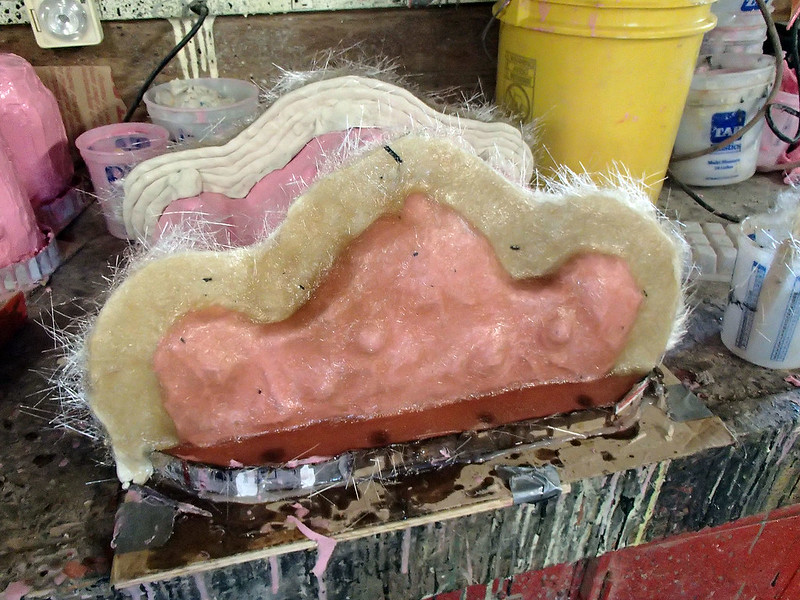
Once the top and bottom ends of the mothermold were set, I made a parting wall down the middle and made the two sides:
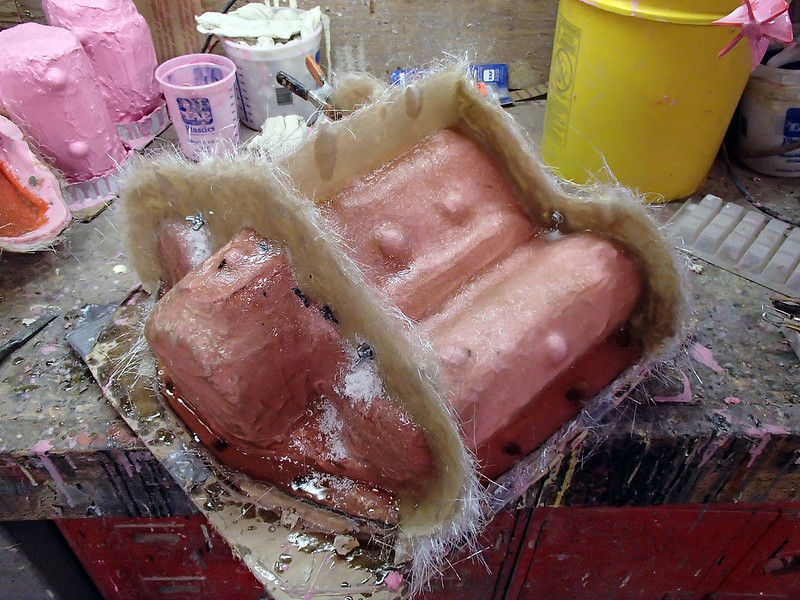
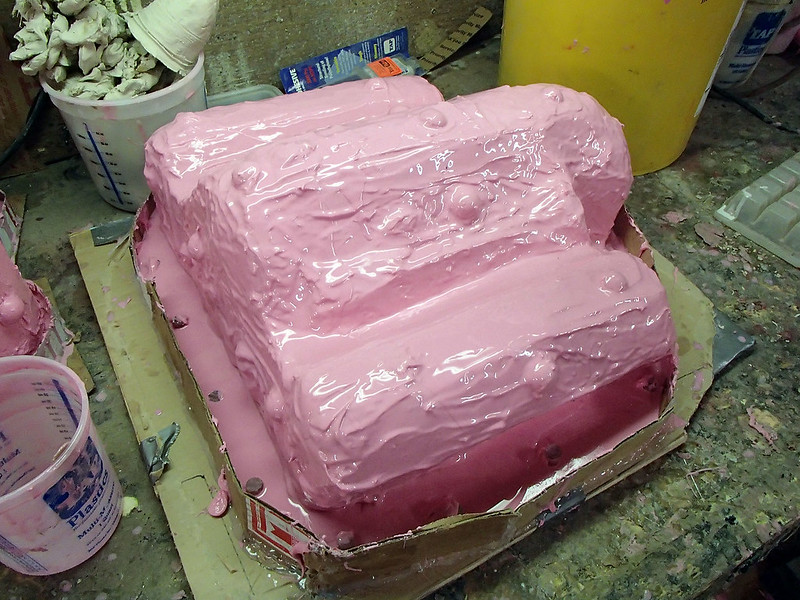
Once that side of the mold was done, the whole thing was flipped over so the other inner side of the mold could be made. I started by coating it all with a liberal dose of release agent before pouring on more rubber:
The next day Matt stopped by and added even more silicone as well as some more registration keys:
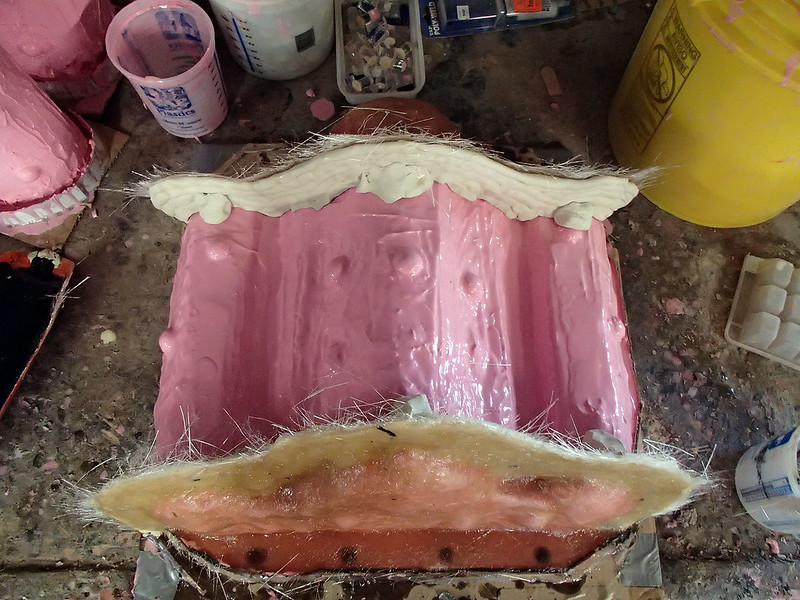
Once that had cured, I laid up the fiberglass mothermold for that side as well:
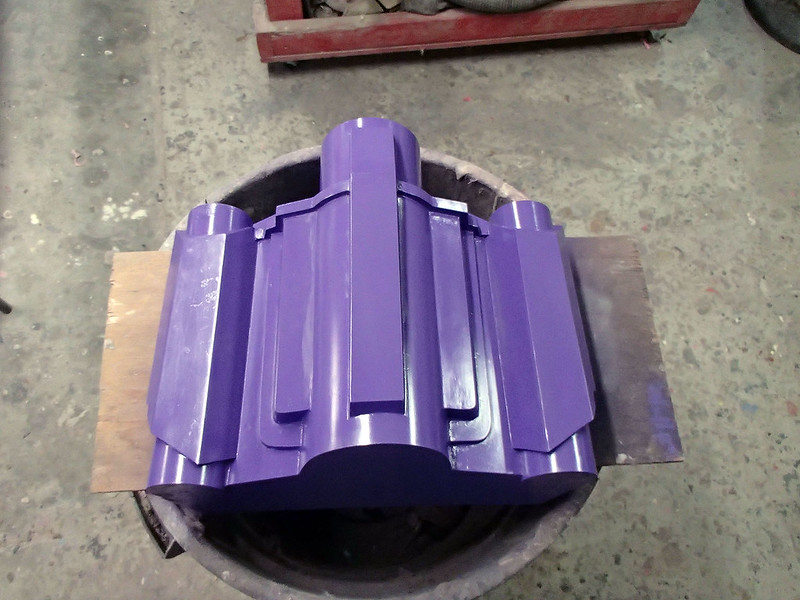
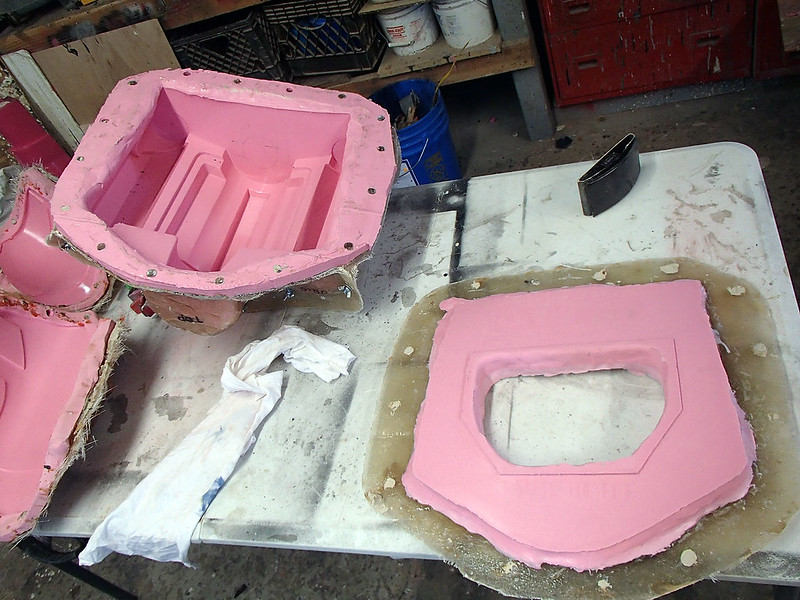
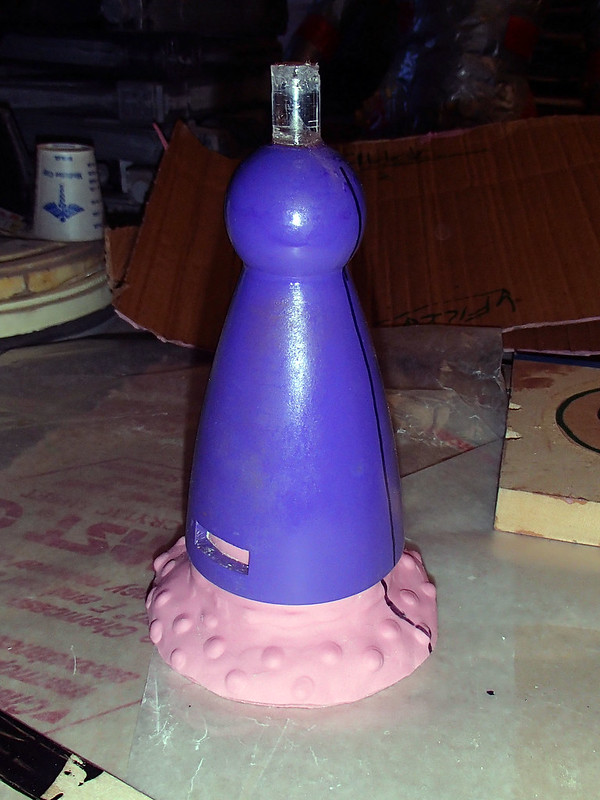
With all of the parts made, it was time to pull everything apart, remove the purple prototype, and trim down all of the edges. Here's the complete mold all bolted together and ready to make the first casting:

I was pretty happy with it:
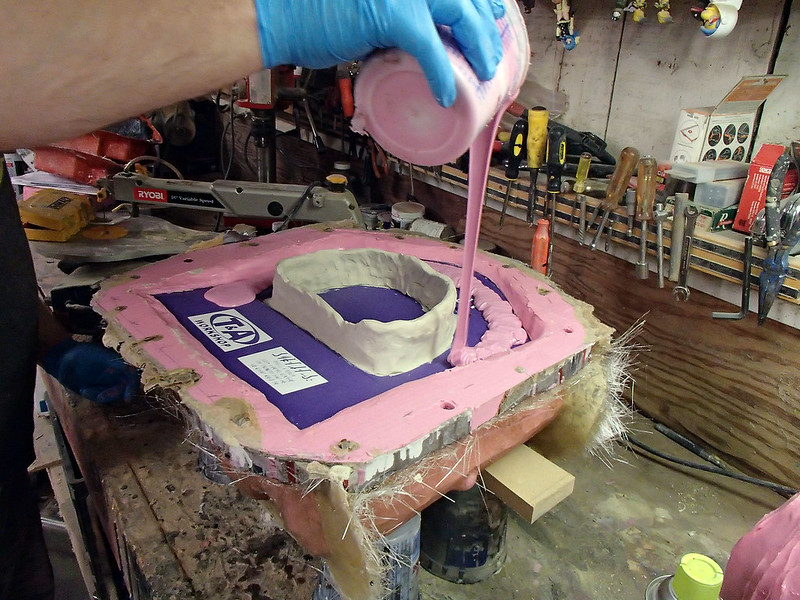
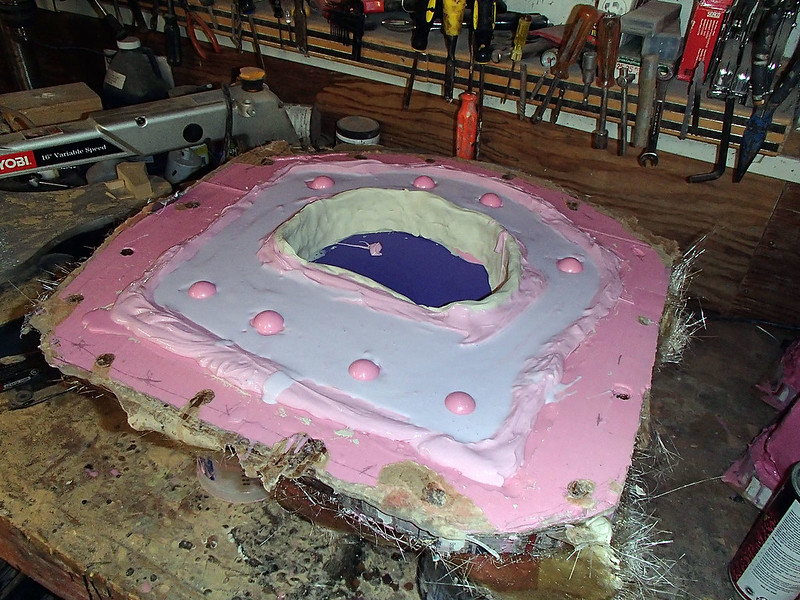
With the molds cured, the next step was to brush on a layer of stinky gelcoat:
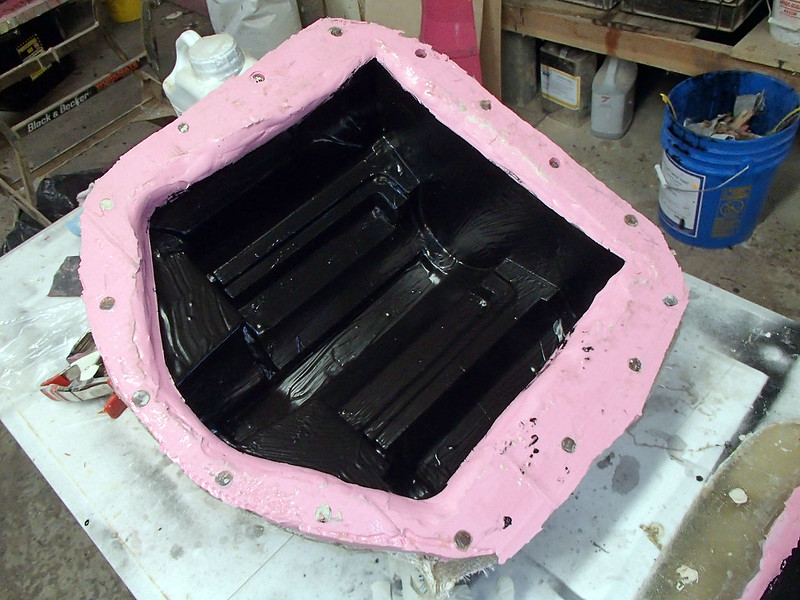
Next came the even stinkier fiberglass layup stage:
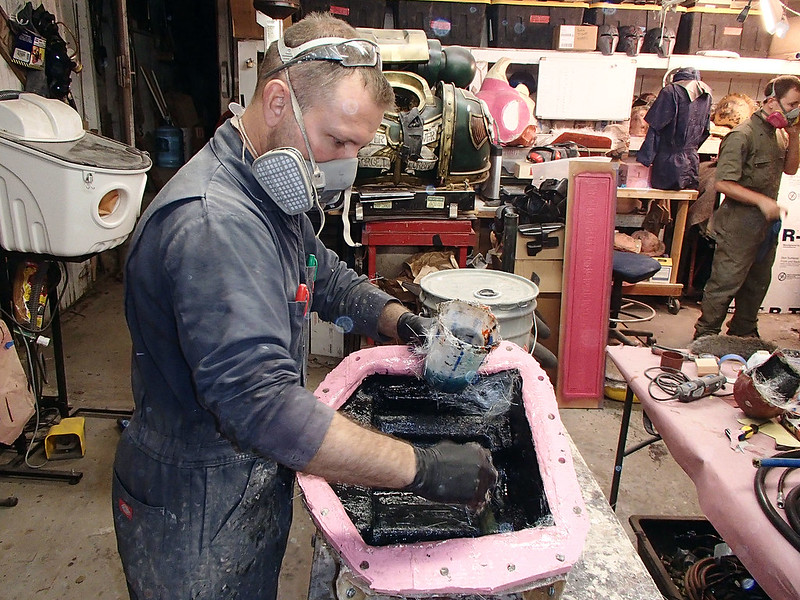
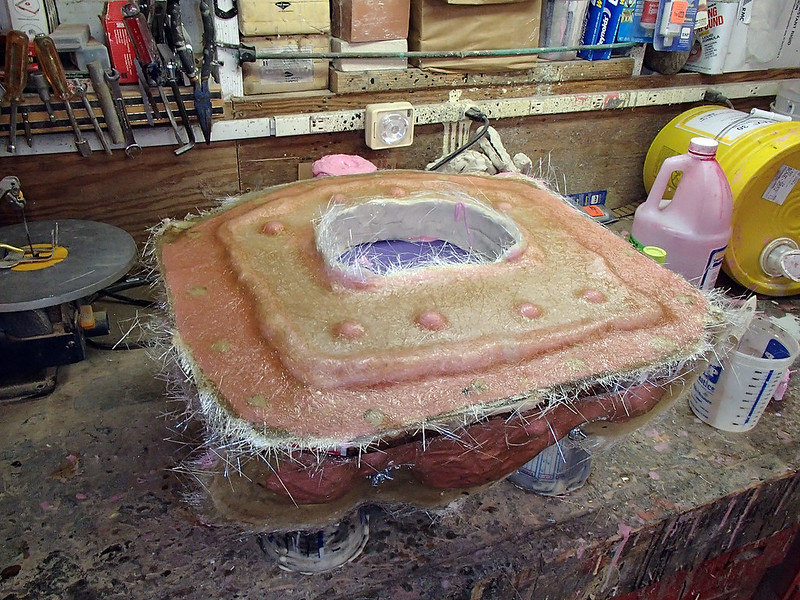
With three layers of 0.75-oz. fiberglass mat laid up and cured, it was just a matter of peeling the rubber mold off of the finished part:
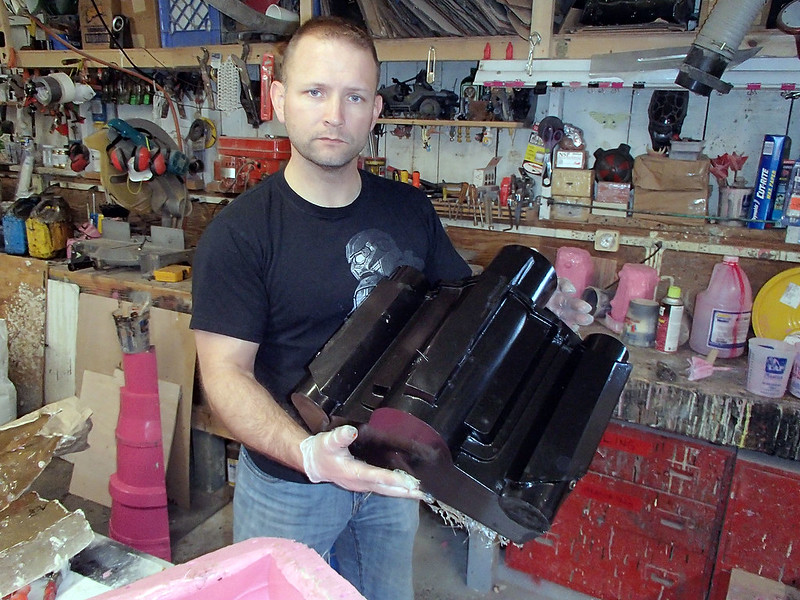
Here's the first copy next to the prototype:

For all of the littler detail parts, we turned to the 3D printer. In this case, I drew up all of the parts in Google Sketchup and then we used a Makerbot 2.0 that belongs to Matt's twin brother Chris to make super-inexpensive bits and pieces. Here's the nosecone prototypes:

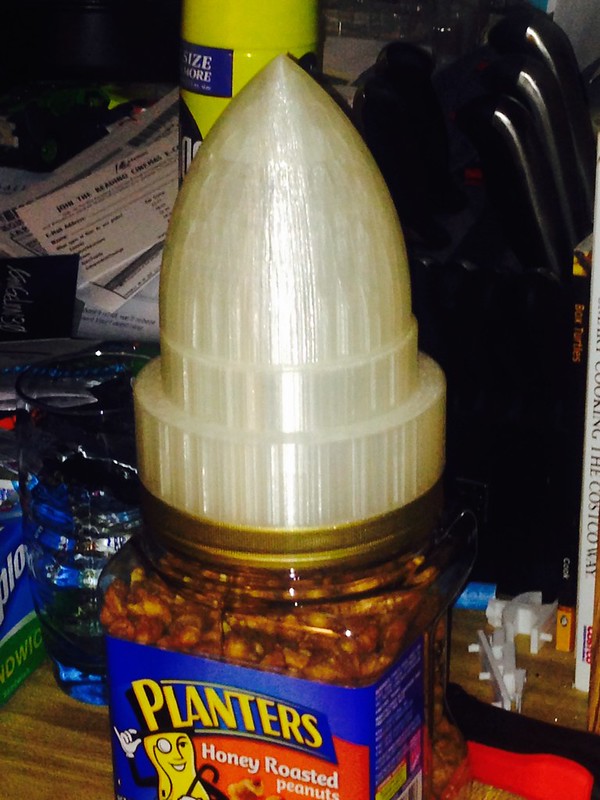
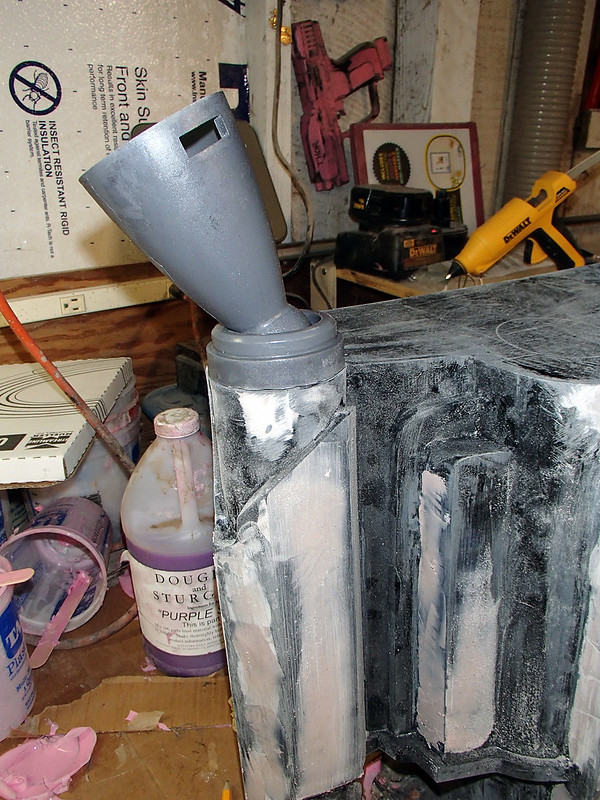
Here they are fitted to the top of the fiberglass jetpack:
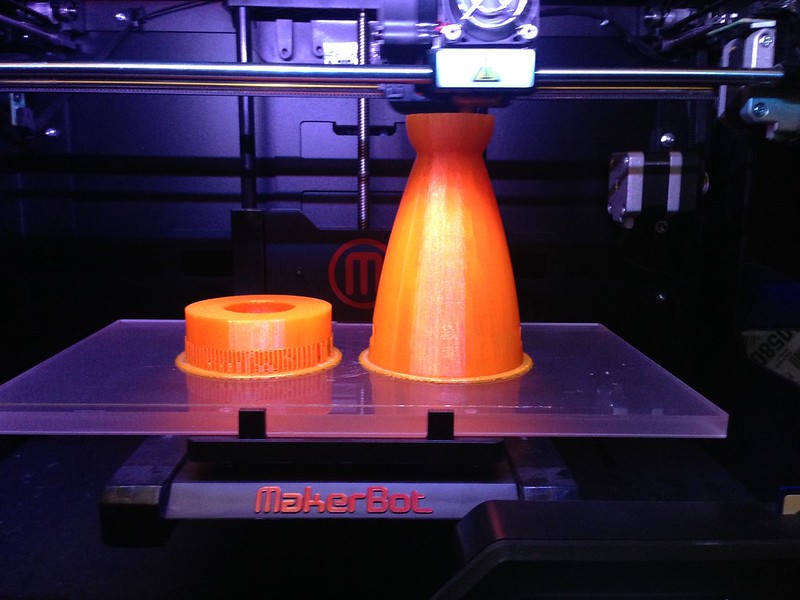
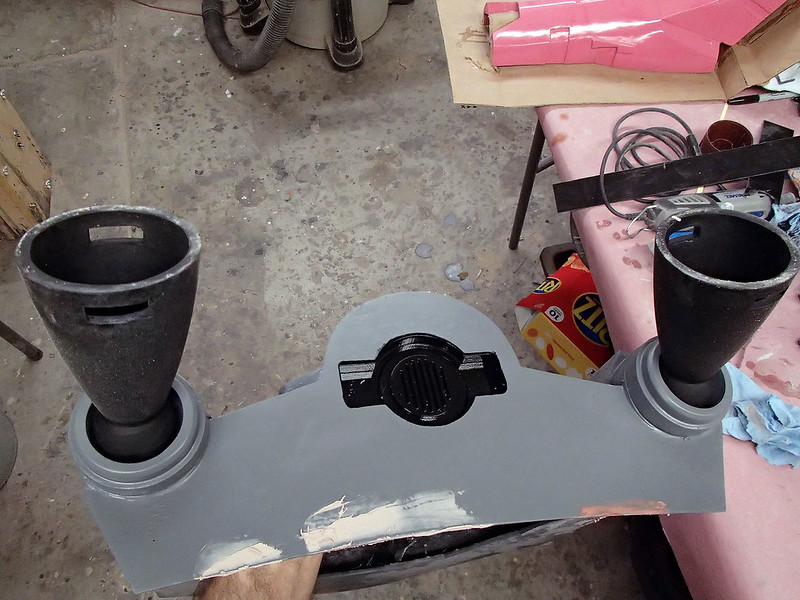
For the opposite end of things, I drew up a quick exhaust nozzle and a socket to fit it into:

Then Chris printed them:
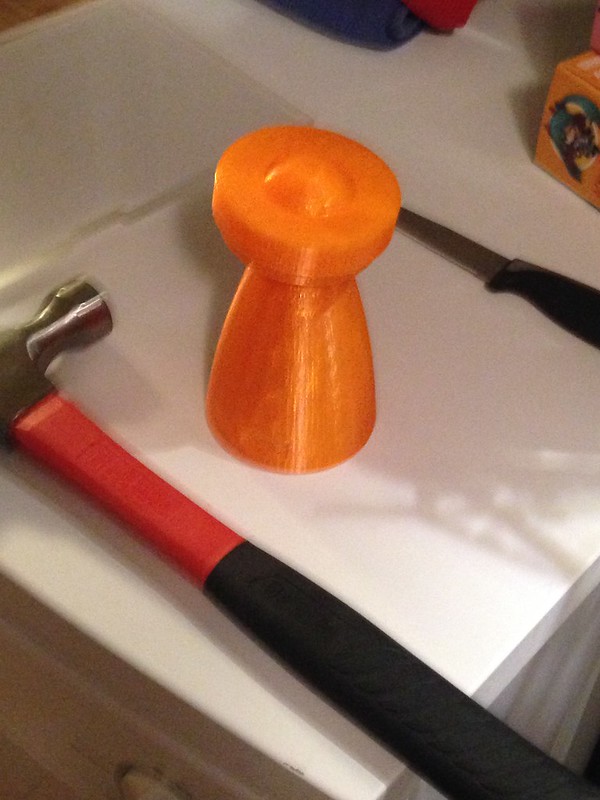
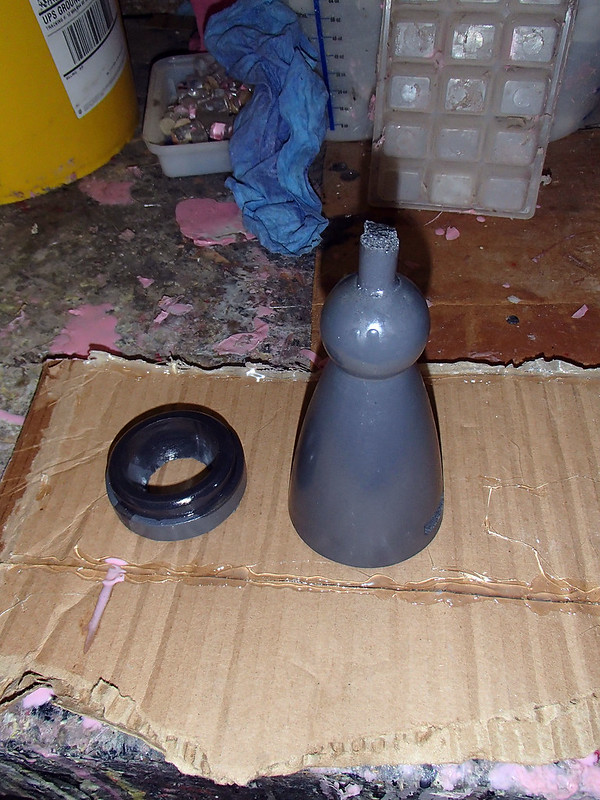
I was concerned that having these breakable cast parts hanging off of the bottom of the pack would make it really easy to knock them off. So they were designed around a ball and socket joint that would allow them to move if they got bumped instead of breaking. Here's the printed prototypes fitted together:
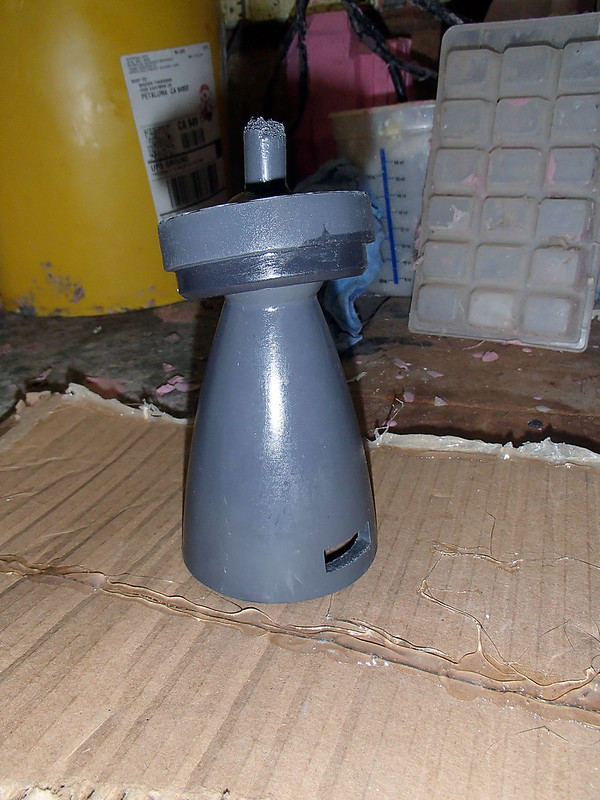
Molding the nozzle was an interesting exercise. I started by mounting the pieces to a scrap of MDF:
Then I made a hollow clay cone on the bottom of the nozzle (the top while it was mounted upside-down) and filled it with silicone:
The socket mold (shown below at left) was a simple block mold:
Once the silicone had cured, I removed the clay and flipped the whole thing over. Then glued a piece of 1/2" acrylic rod to the ball end to act as a pour spout:
The whole arrangement was coated with a release agent and set inside of a cardboard tube, then the tube was filled with silicone. Once it had cured, the cardboard was peeled off:
Here's the outer mold and the inner mold once the prototype had been removed:

Placing the inner mold plug back in the bottom of the mold, the whole thing was strapped together and set upright again before pouring resin into the spout:
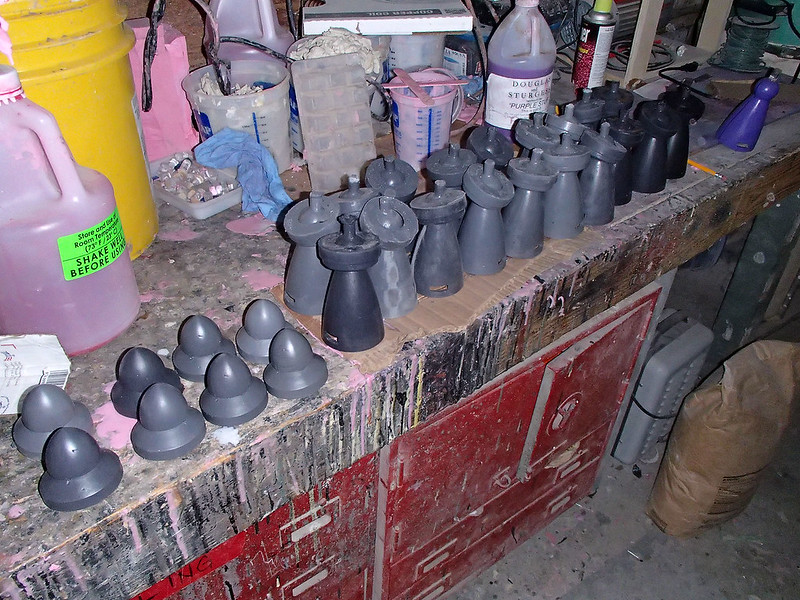
Here's the first set of cast parts:
And after putting them together:
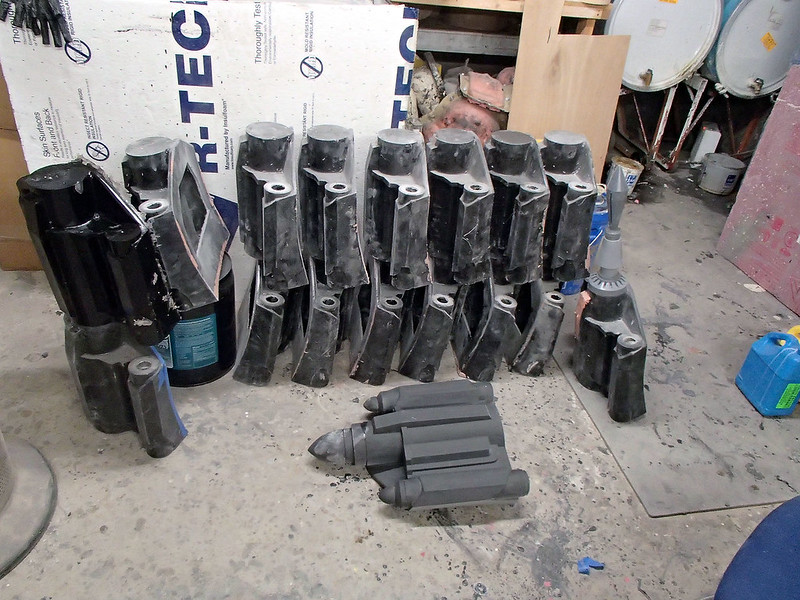
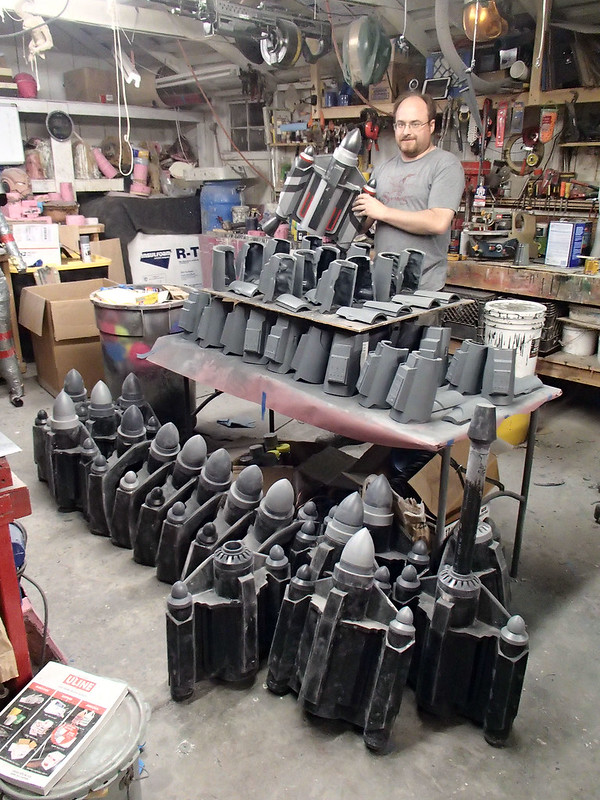
Next we cast a whole lot more of them:
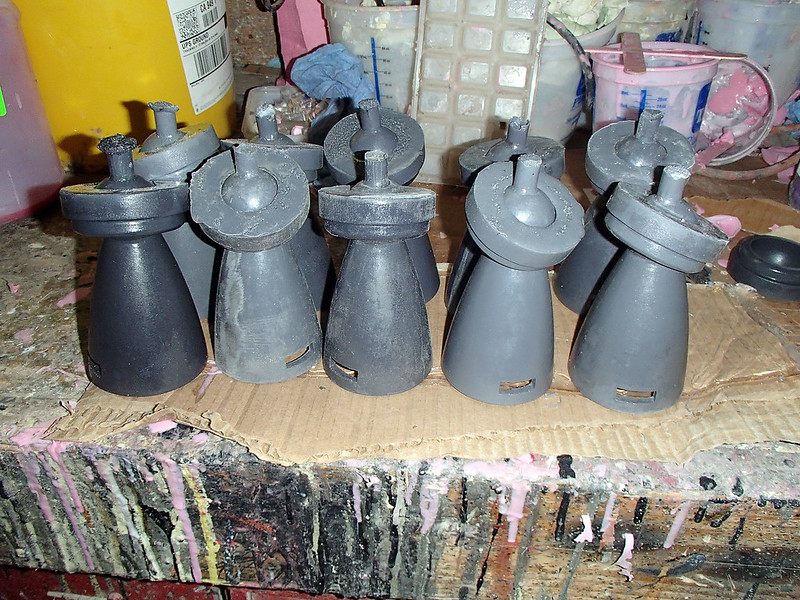
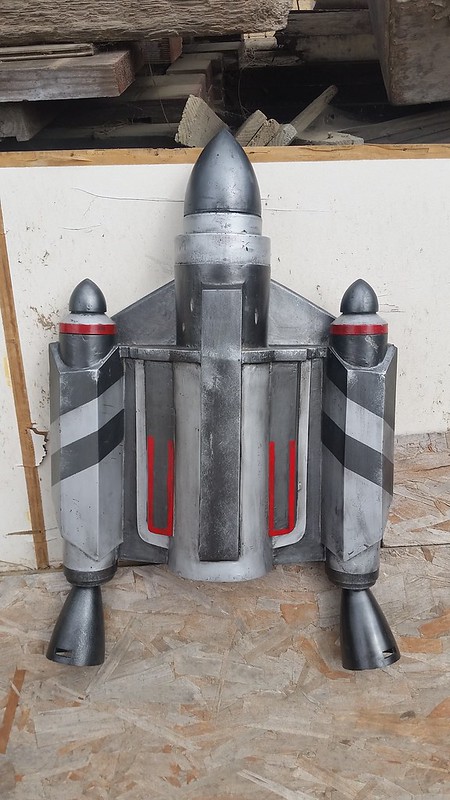
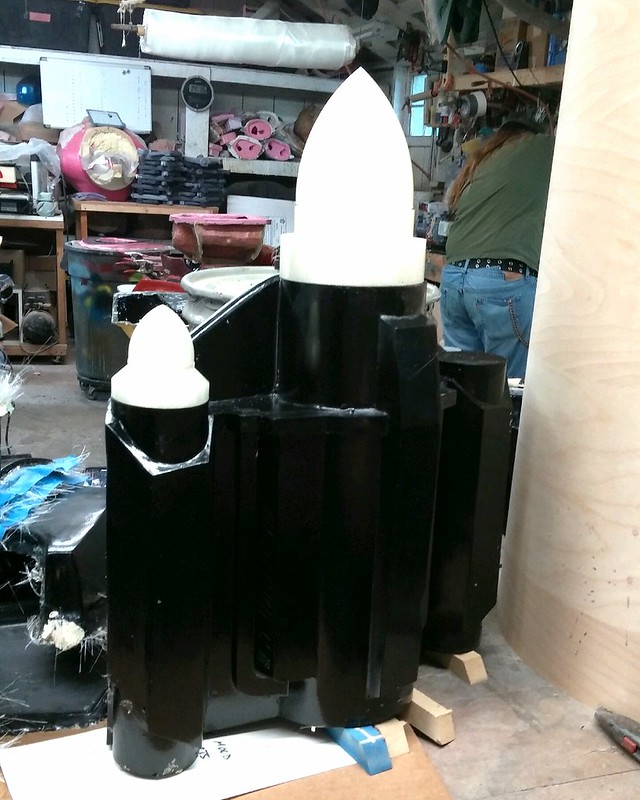
Here's the first set fitted onto a fiberglass body:
Not too shabby:
More casting continued for quite a while:
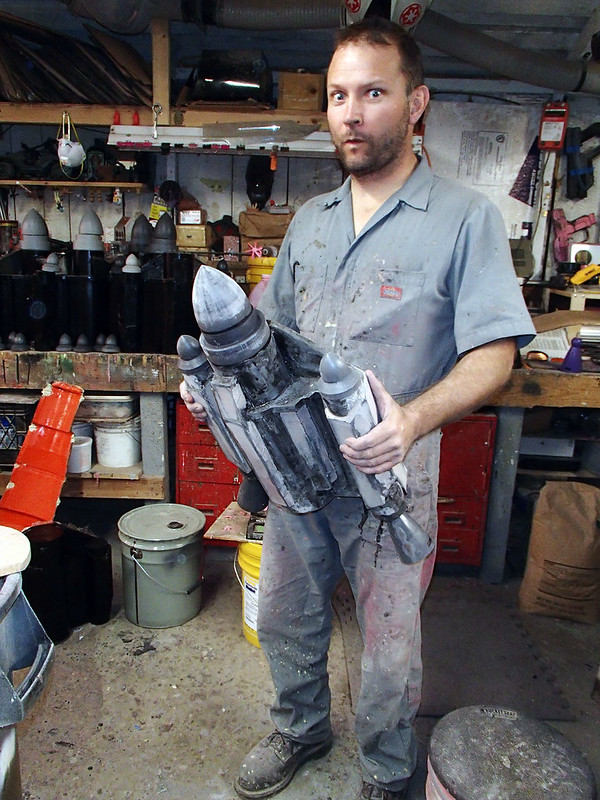
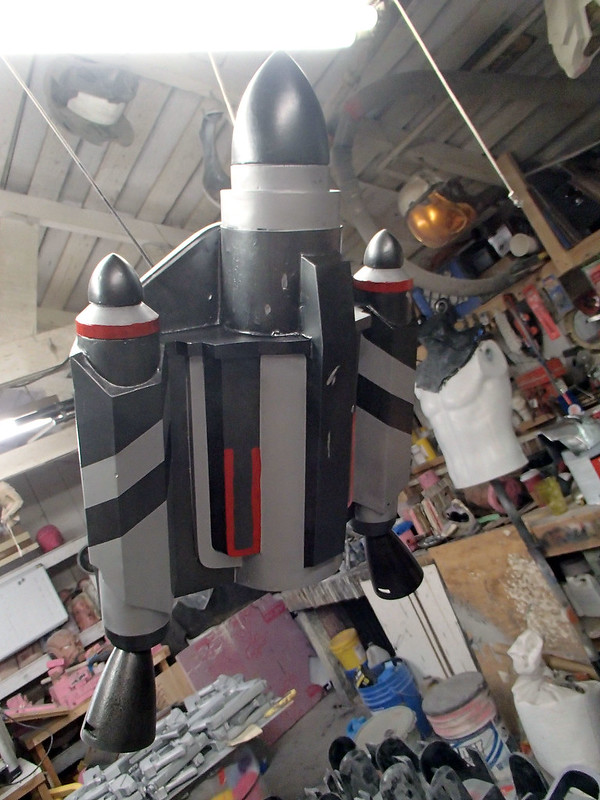
I was pretty happy with the first assembled pack:
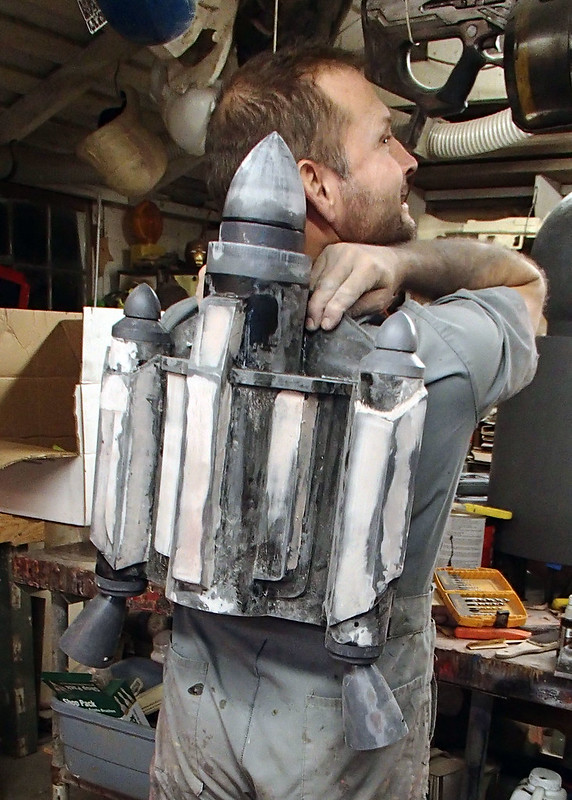
Possibly too happy:
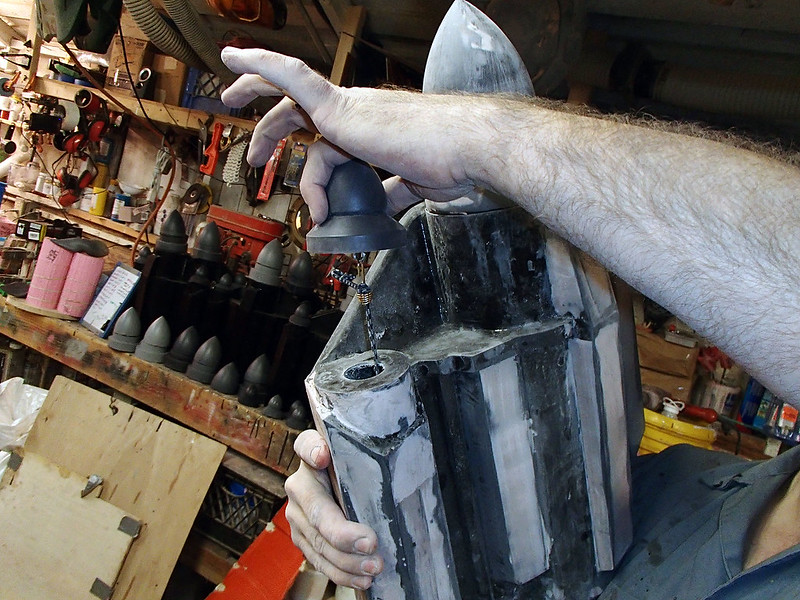
In order to allow the nozzle to move freely without falling out, the ball was fitted with an eye screw and attached to a length of bungee cord:
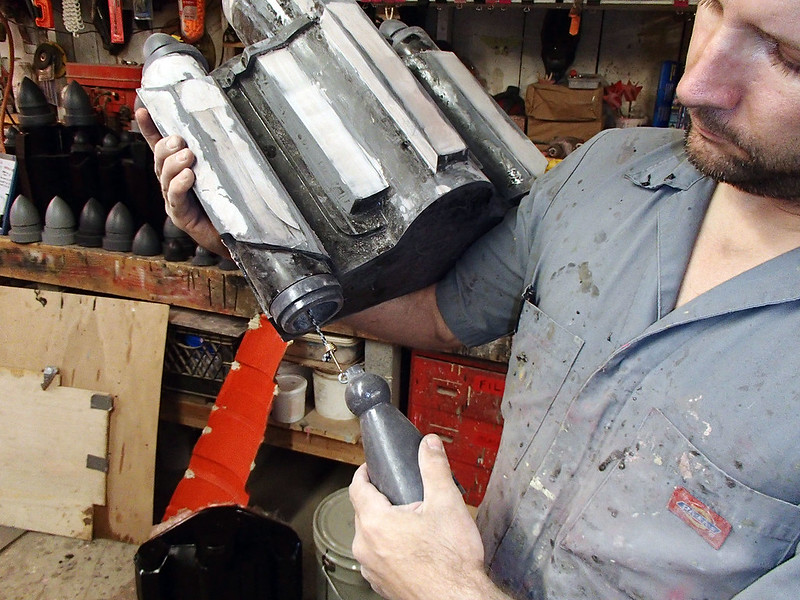
The other end was attached to an eye screw in the bottom of the nose cone before the nose cone was glued in place:
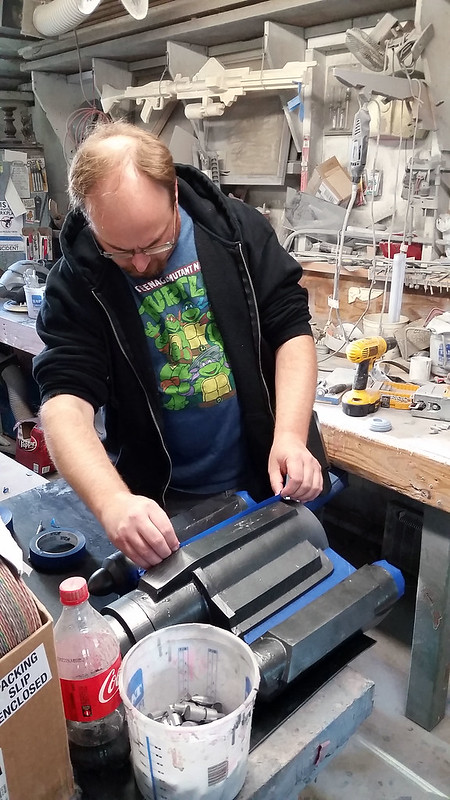
While we were aiming to make these suits look matched, we also figured it would make sense to have some variation in their equipment. This prompted us to make up a Boba Fett style rocket:
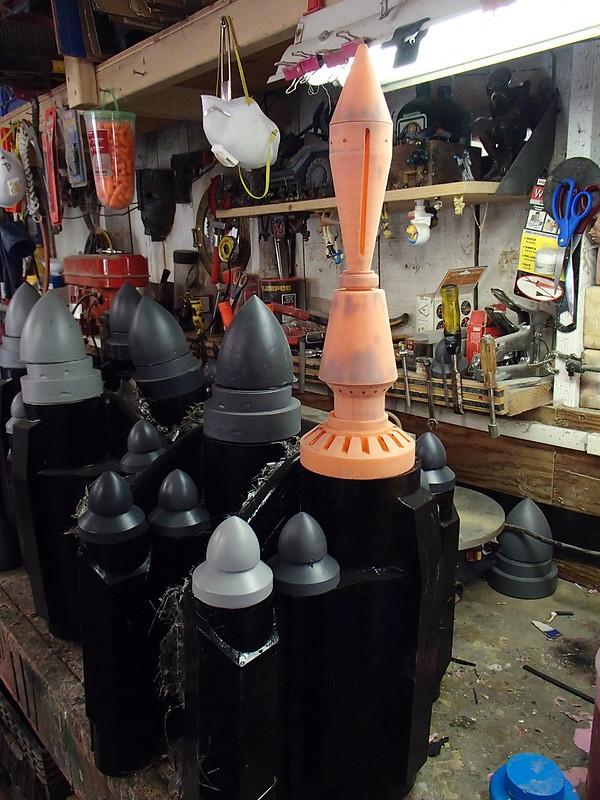
This was actually set up as a separately-cast part so the rocket itself could be removed from the launcher in the middle. One day I'll get a wild hair and make an updated version that actually launches a rubber rocket.
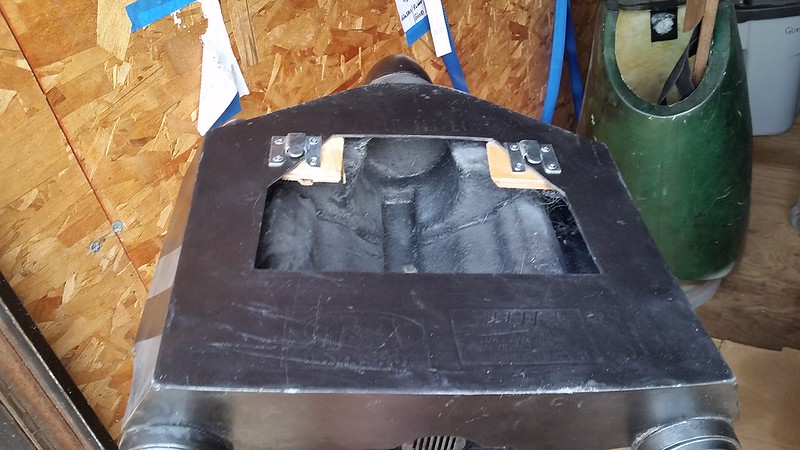
The last little detail to work out was the vent centered on
the bottom of the pack:
Here's the 3D printed prototype prepped for molding:
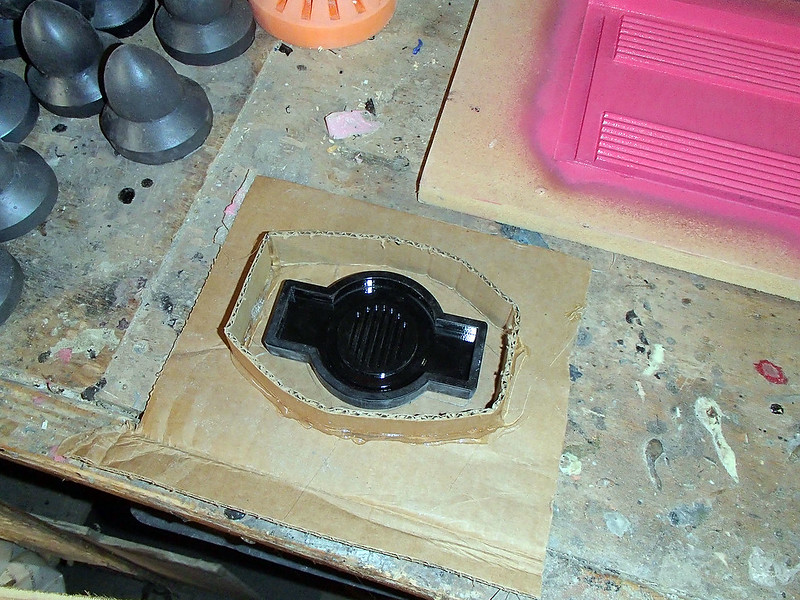
The mold for the little vent widget was poured at the same time as the mold for the girth belt:
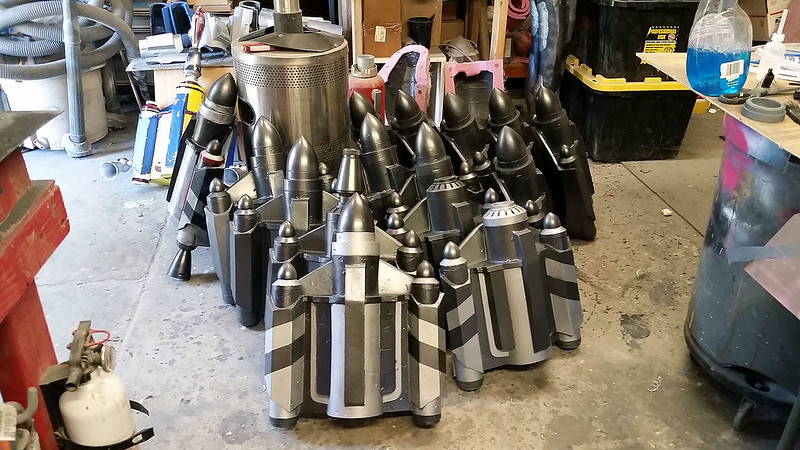
With all of the moldmaking done, all that was left was pulling a whole bunch of parts:
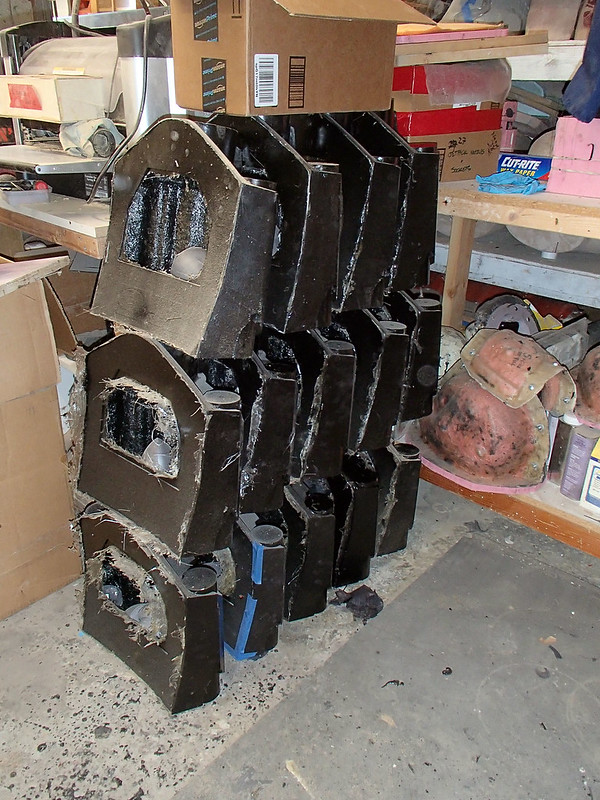
Then my friend Matt set up shop with a hole saw and started prepping the fiberglass bodies:
After trimming the fiberglass fuzz off of the edges and a bit of sanding, they were getting close to finished:
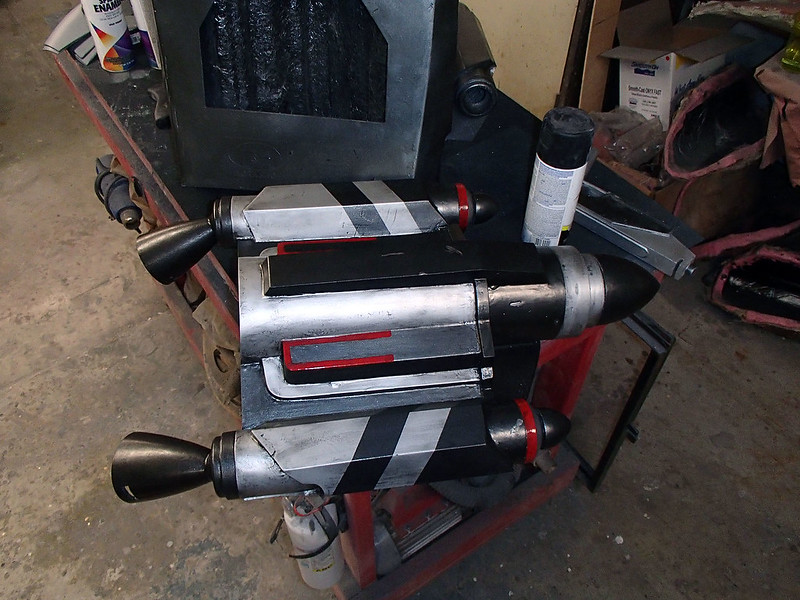
Since we were all desperate to see some part of this project that we could call "done," I went ahead and glued the details on one complete pack and painted it up in a rush:
With one finished, there were only eighteen more to go:
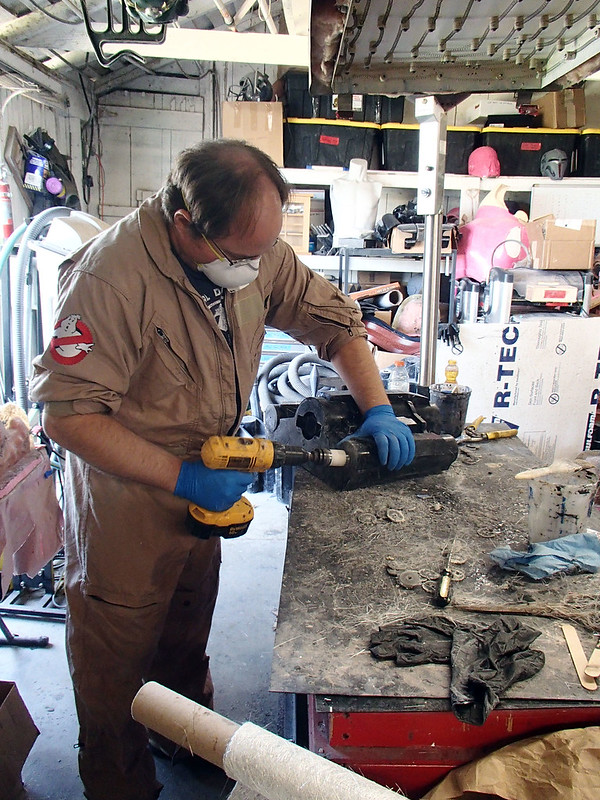
While I was focused on some of the other bits of this build, Matt took on much of the jetpack prep work:
There was a lot for him to do:
Once they were all prepped and primed, they got matching basecoats of a dark gunmetal metallic color. Then it was time to mask them and add the lighter aluminum colored stripes:

Again, I left it up to Matt to deal with that part:
At some point he mentioned that it might be a good idea to change things up a bit. So instead of all of the packs having matching chevrons and striping patterns, some of them got variations on that theme. I wish I'd gotten a photo of the whole stack lined up when they were done. He got a bit silly on some of them.
While he was busy screwing around with that, I went ahead
and finished the weathering on the first painted pack:
The last order of business was finding a way to actually attach them to everyone's backs. For this task, we settled on some heavy duty picture hanging brackets:
Backed with a scrap of plywood for strength, these brackets make for a pretty sturdy connection once the armor backplates were fitted with matching brackets. It also made taking them off pretty simple as well.
Once the paint was dry, it was time to load everything up
for the trip south:
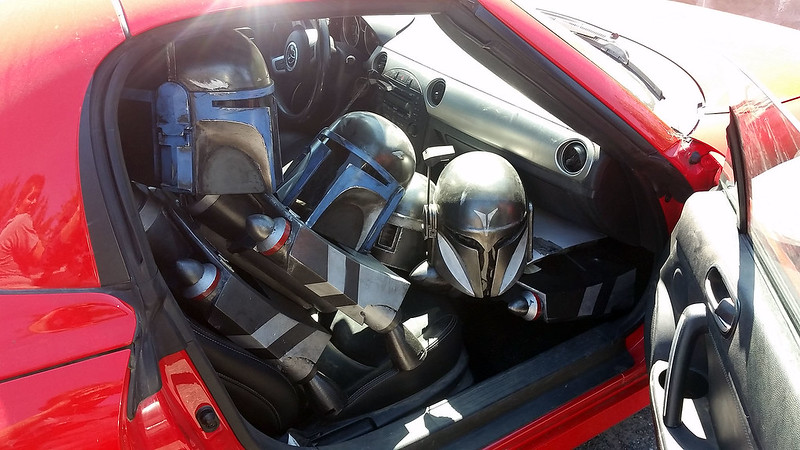
They didn't all fit in my car, so it's a good thing my friend Alex was going too. Here's a bunch of the jetpacks and a few other pieces of Mandalorian gear loaded into his truck:

Astute readers of my blog will notice that the pack on the left was fitted with a harpoon instead of the missile. Longtime readers might recognize the harpoon itself as a leftover casting from the Evolve project that was done the previous year. Details here: LINK.
In any case, after we'd spent a couple of days at the
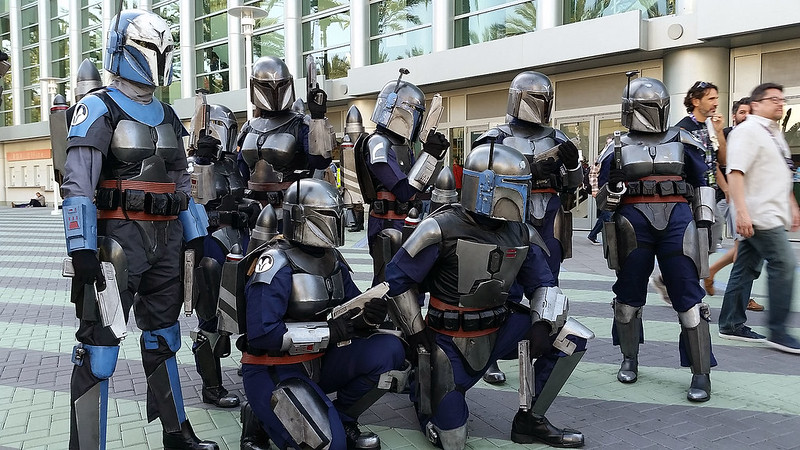
convention, it was time to get everyone dressed out and head out to the show:
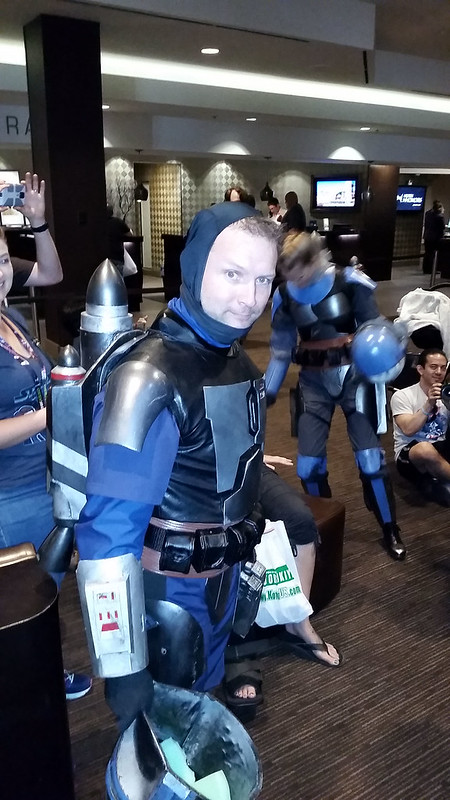
Here's me almost put together on my way through the lobby:
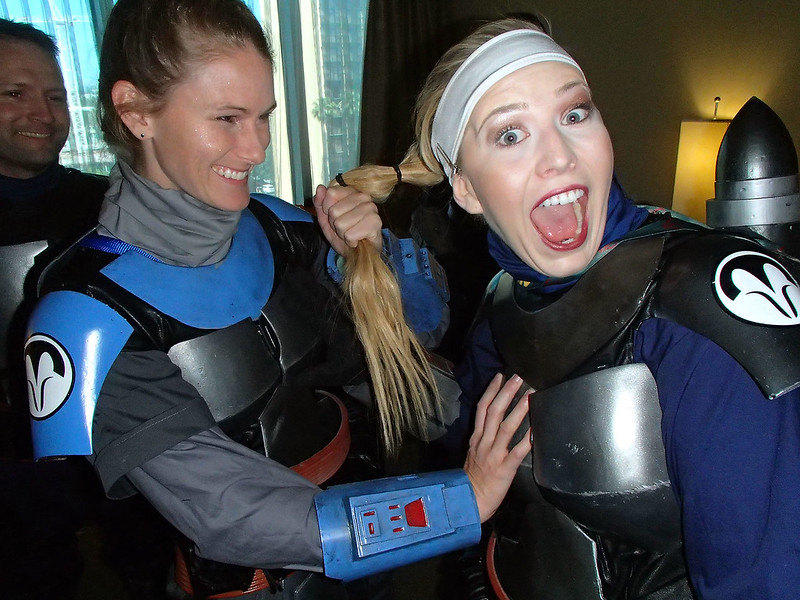
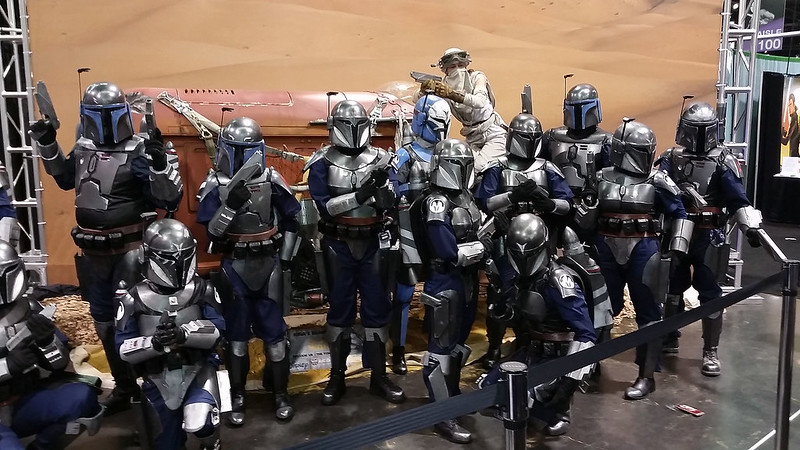
Keeping a group of this size together on a convention floor was a little like herding schizophrenic squirrels:
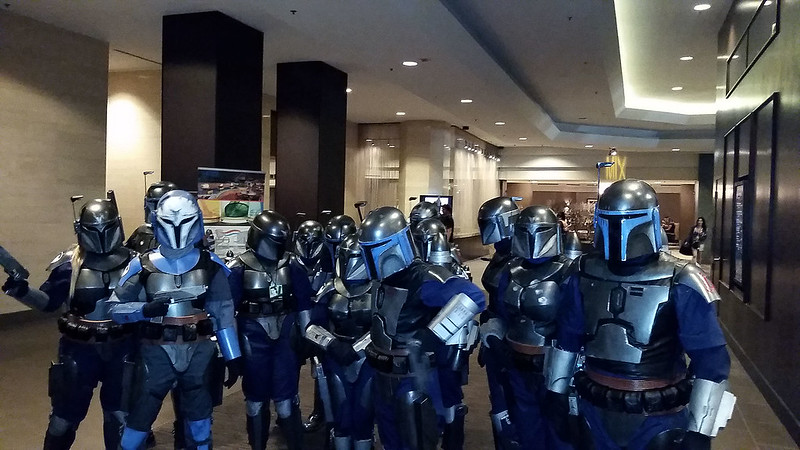
Still, we did manage to stay together for a few winning group portraits:
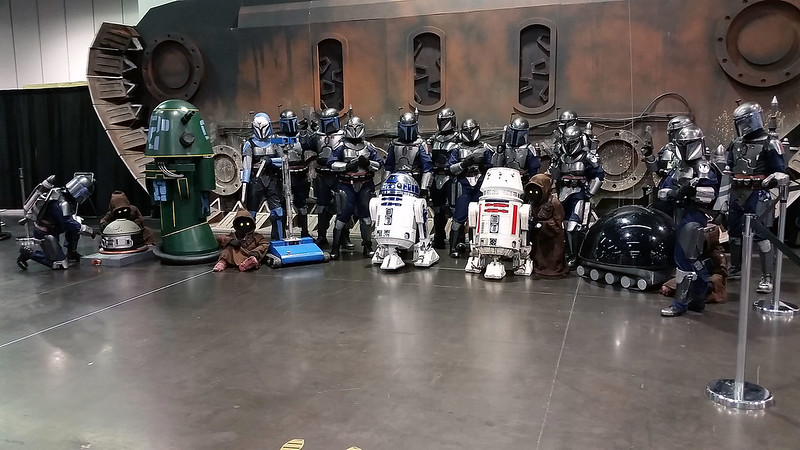
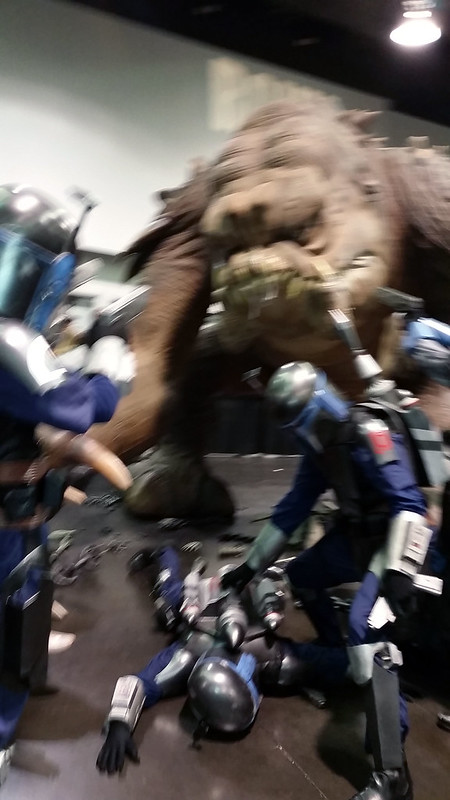
My favorites were with Roxy the Rancor:
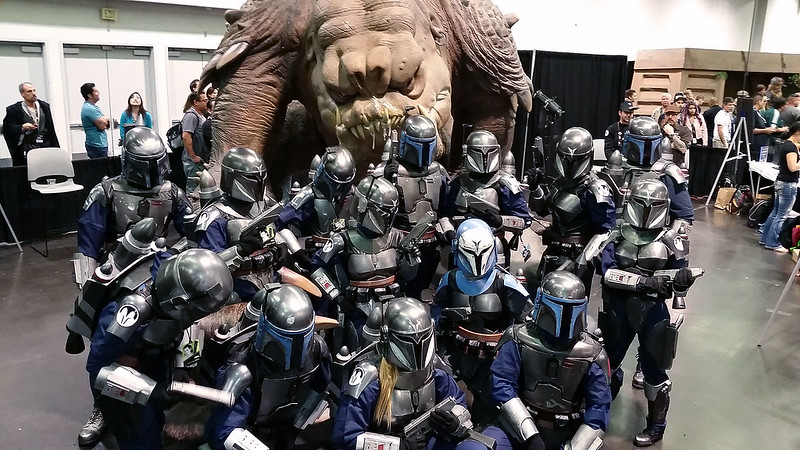
I really wish we'd had more time to mess around there:
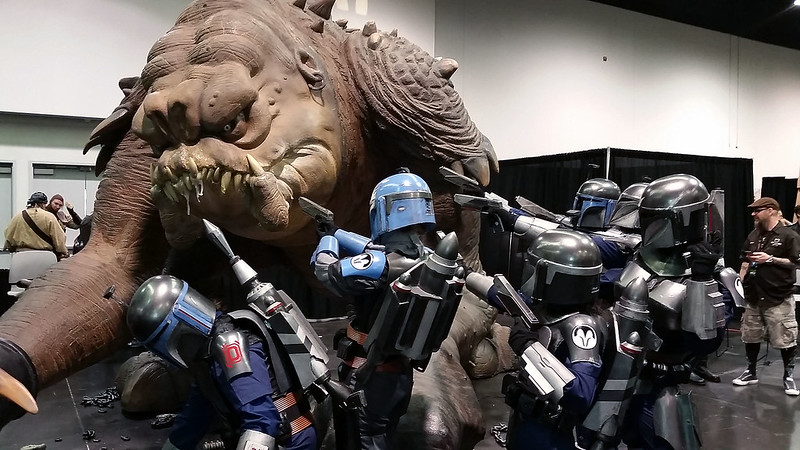
I'm the guy that didn't make it:
So that's the last major chunk of this particular flavor of insanity. Sooner or later I'll have free weekend and pull out my set of Death Watch armor for a tune-up. There's a few things I'd like to improve once I get a minute to leisurely complete this suit. Be on the lookout for LEDs added to the chest and gauntlets, smoking exhaust for the jetpack, a blinky addition to the rangefinder, and some kind of new and improved weapon to top it all off.
Stay tuned...
Do you make these available for purchase? Just the raw casts not the finished jetpacks
ReplyDeleteI still have the molds. If you'd like me to make one for you, shoot me an email at sthorsson99@yahoo.com for pricing.
DeleteWill you sell on to France ? :O
ReplyDeleteSure. Email me at sthorsson99@yahoo.com
Delete