
You can read the previous articles here:
Part1: the Death Watch Helmets
Part 2: the Night Owl Helmets
Part 3: the Armor
Part 4: the Soft Parts
Part 5: the Blaster Pistols
Part 6: the Nite Owl Armor
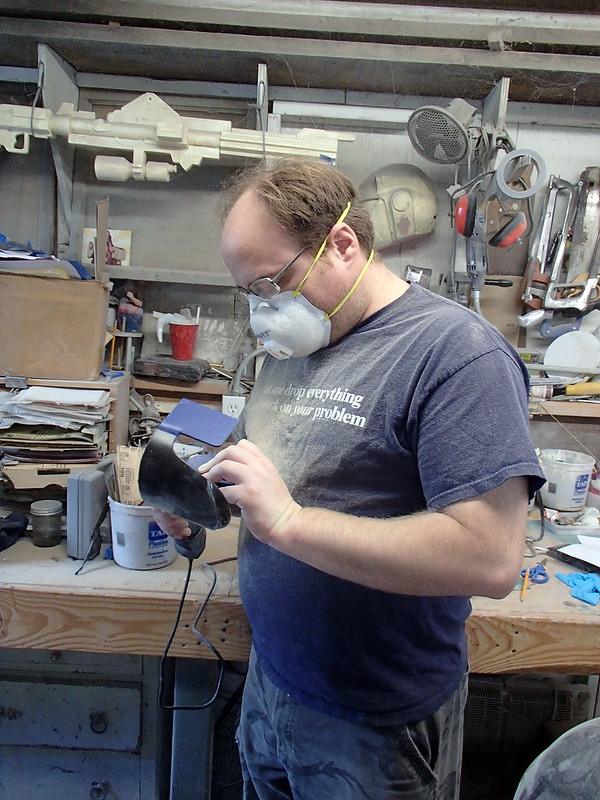
So with all of those pieces put together, it was time to work out the making of the gauntlet and knee pieces. Both came with their own unique challenges, but in the end we still made quite a lot of them:
For details and additional photos of how they were made, read on...
The Gauntlets:
These were kinda easy. A few years back, they may have actually required a bit of skill on my part, but nowadays anything this popular has been modeled and posted somewhere to use for free. In this case, there's a fairly screen-accurate set of models for the Clone Wars style Mandalorian gauntlets that have been put together by Thingiverse user April Storm. In fact, you can download the files and print a pair for yourself by clicking this LINK.
So we 3D printed the pieces in a couple of different sizes. Here's the first pair of prototypes:
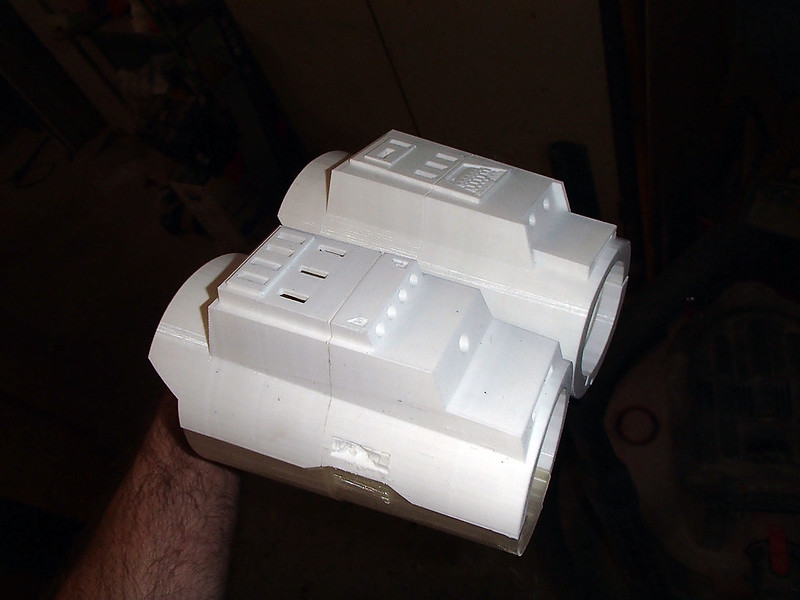
Once the parts were printed, they were glued together. Then it was time for a bit of filling and sanding to get rid of the build lines from the 3D printer:

Once they were smoothed out, they were given my usual coat of gloss paint:

Then I prepped them for molding:
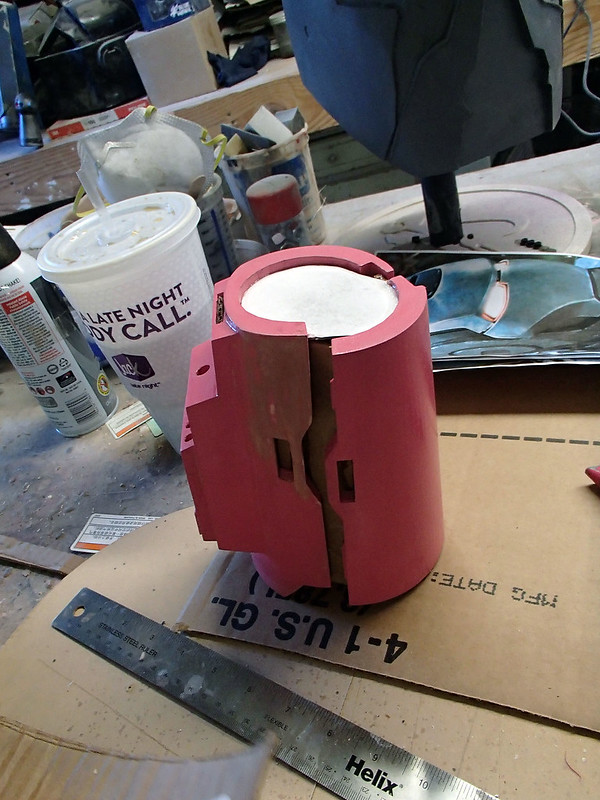
Here they are with the initial coat of silicone rubber:
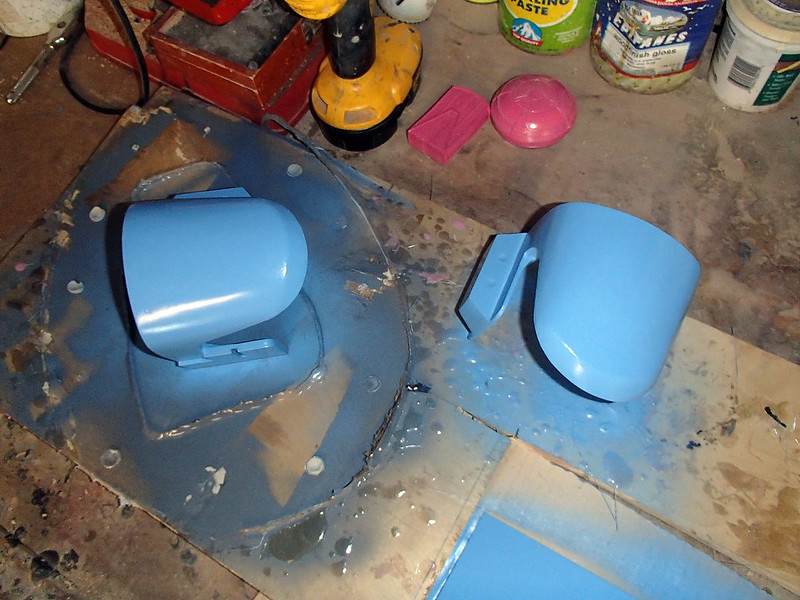
At that point we were very nearly done with the larger pair of gauntlet prototypes:

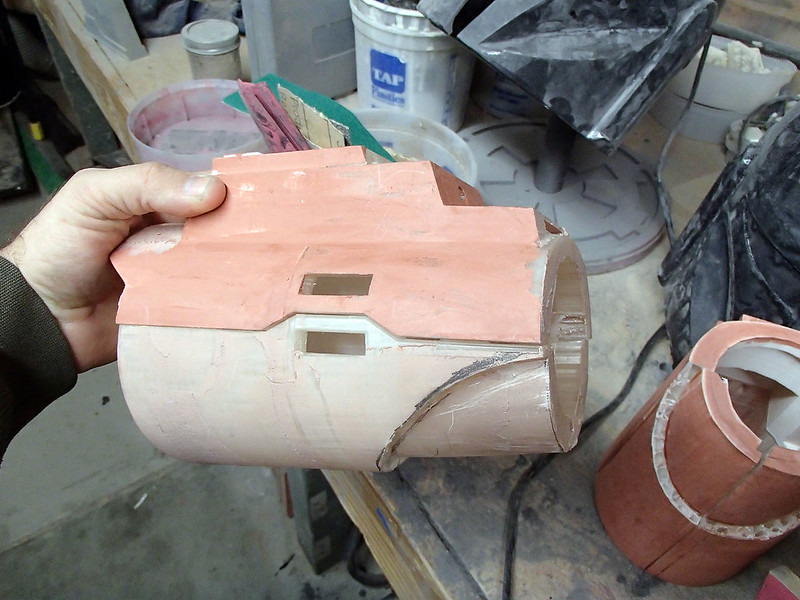
Since the plainness of the design was starting to bother me, we made the decision to depart from the on-screen look by adding a step to the inside of the wrist:
This made for a better fit and made them a bit more interesting to look at:
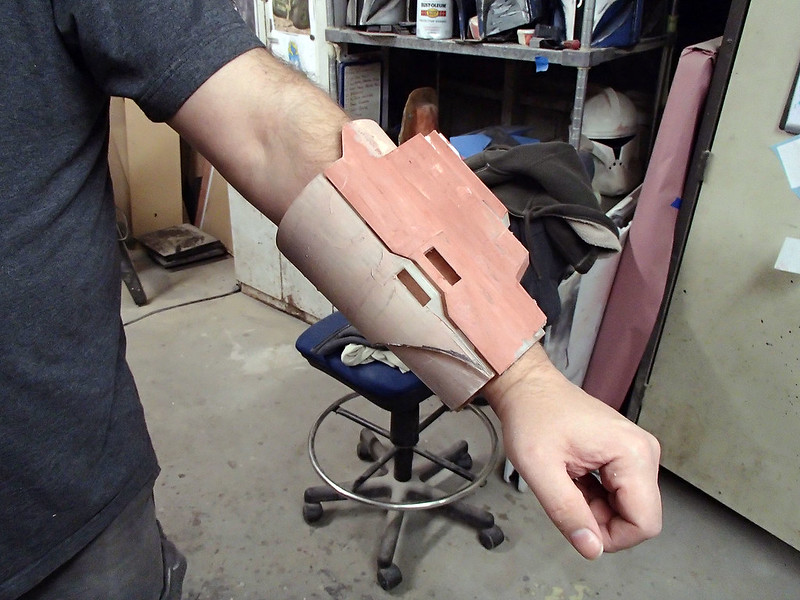
Here's Matt trying them on for size:
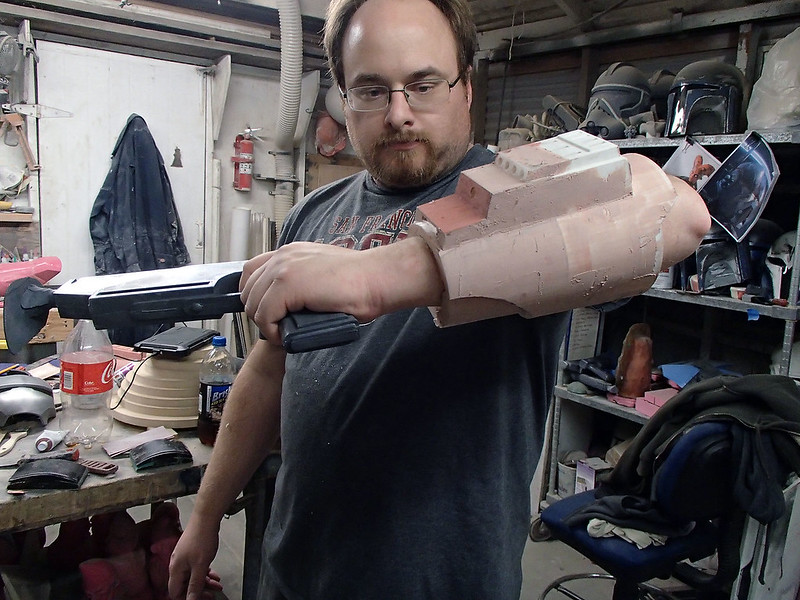
And test fitting with a pistol:
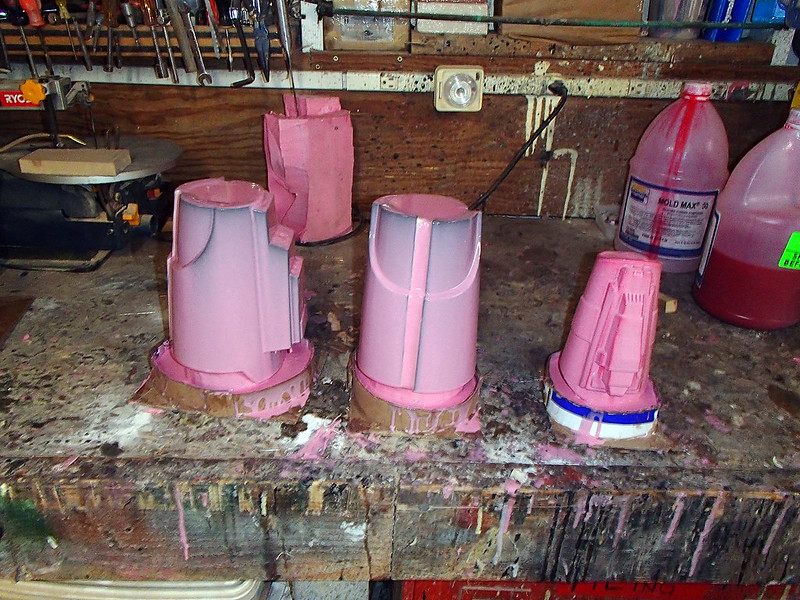
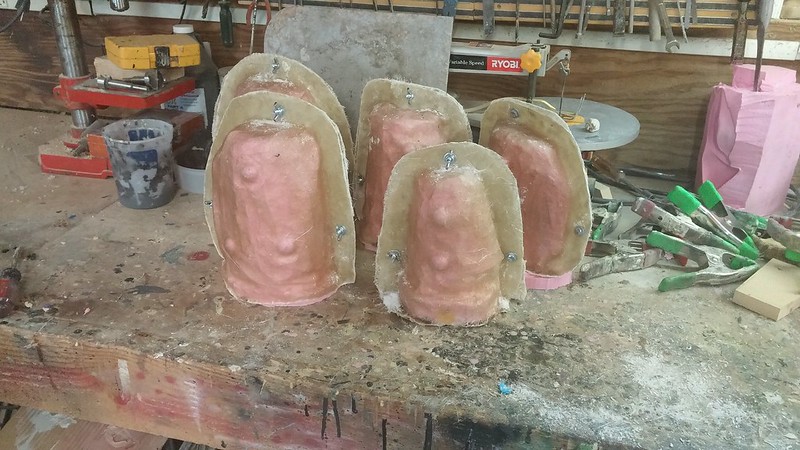
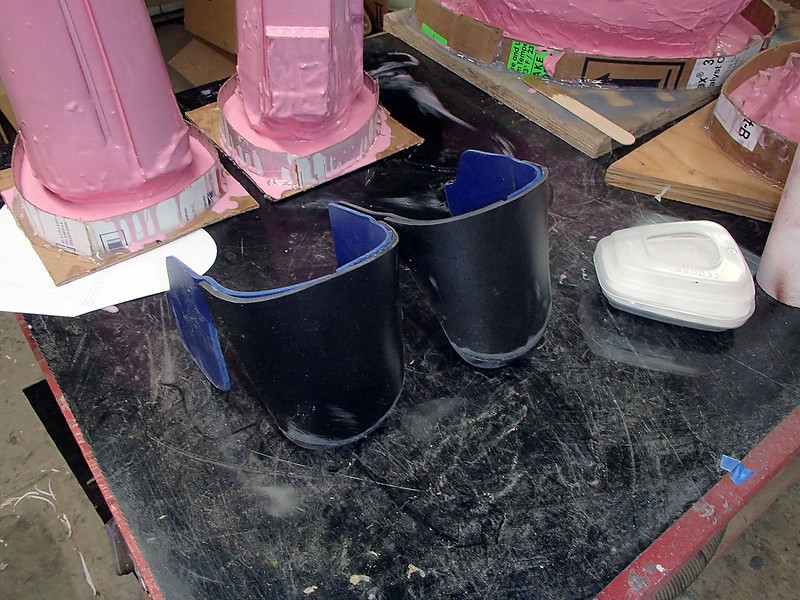
Once we'd finished smoothing them out, they were primed and prepped for molding:

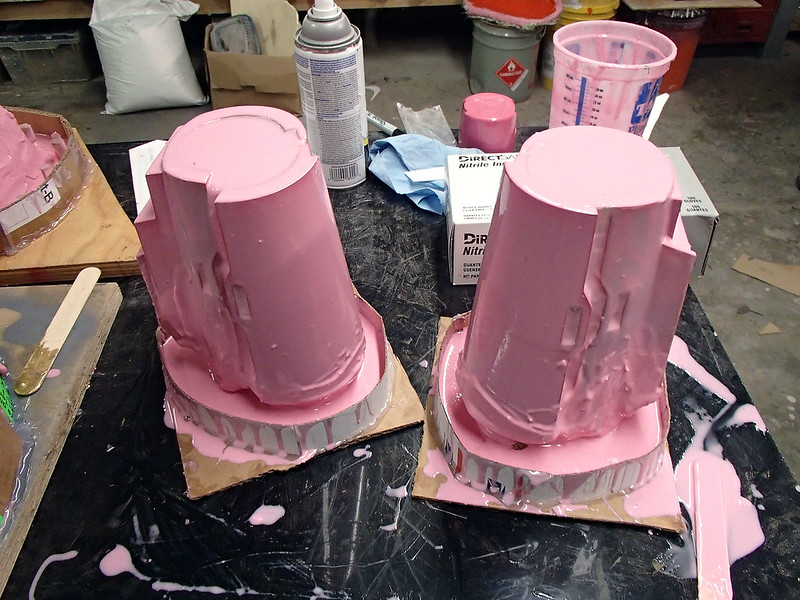
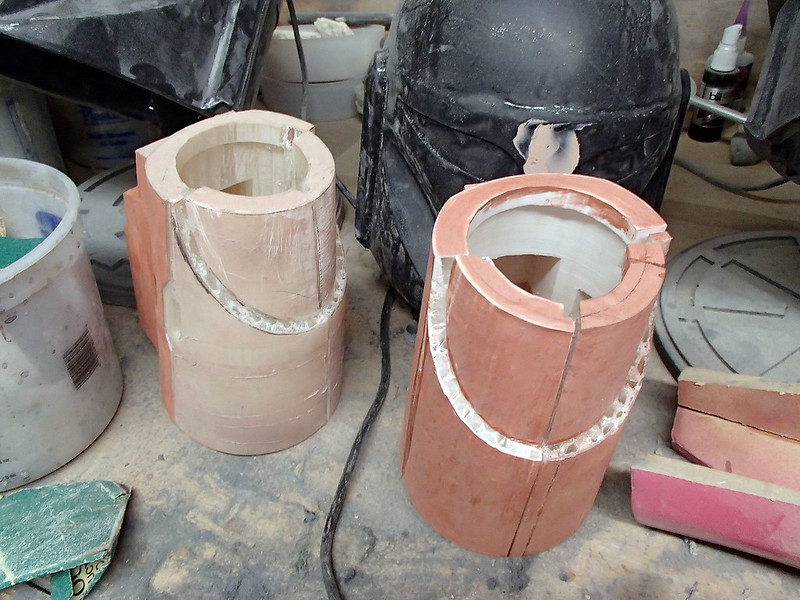
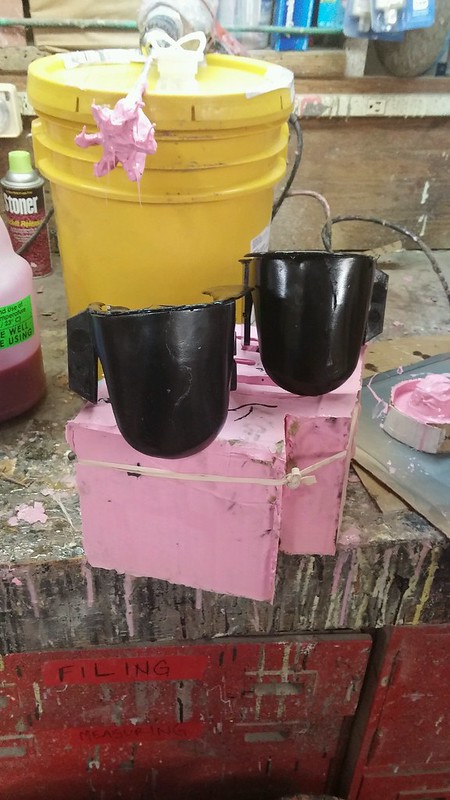
Then it was gauntlet molding time. Here's the bigger pair with their first silicone coats (including the one from the Shae Vizla project):
After building up the rubber to adequate thickness, the mothermolds were built. Here's the clay parting wall:
Here's Trevor laying up the first half of the mothermolds:
Then the clay wall was removed and he made the second half of the mothermolds:
Once all of the edges were trimmed, they were drilled and fitted with bolts:
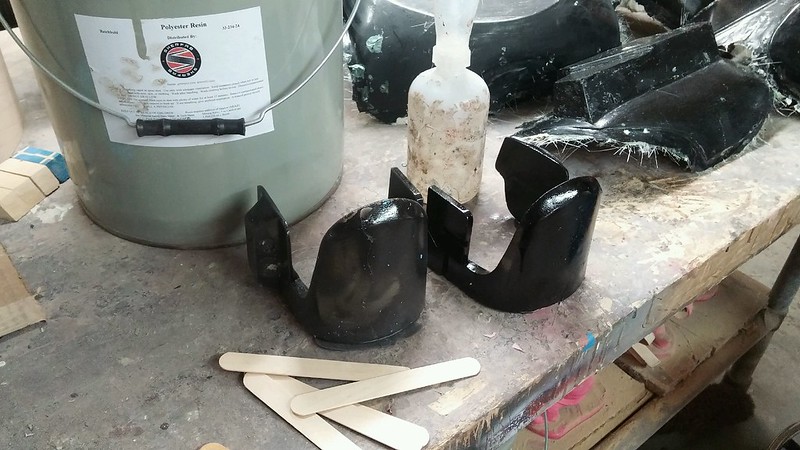
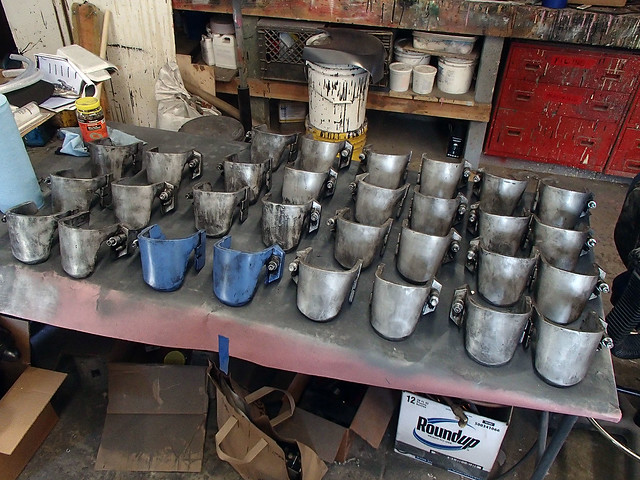
Then we started rotocasting copies:
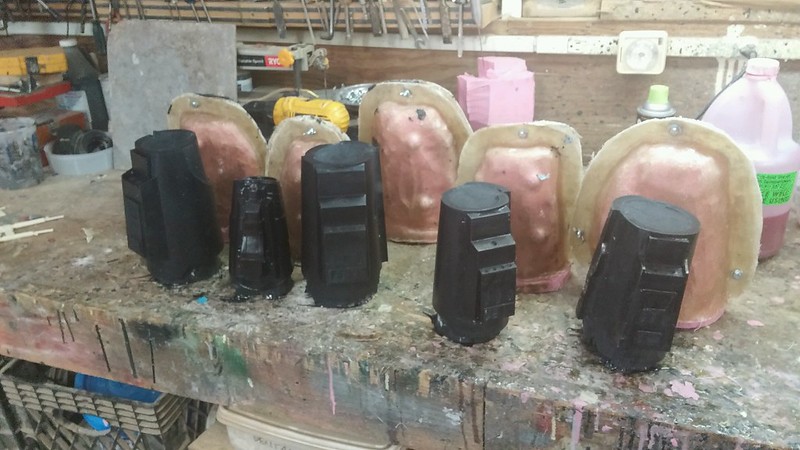
And more copies:
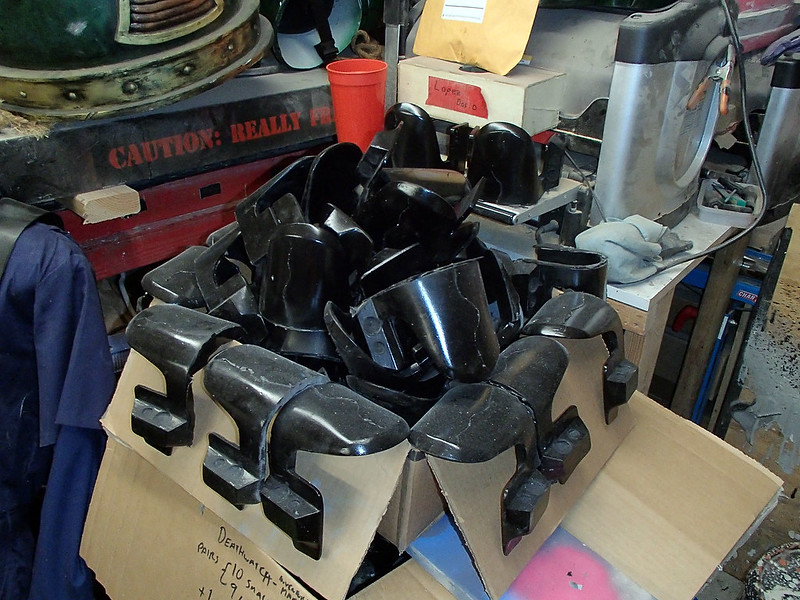
Eventually I just set Dani and Daniella up in the corner and asked them to just keep rotocasting until they couldn't:

I should have paid a bit more attention though. Before anybody knew it, they'd made all of the gauntlets we needed and a few extras as well.
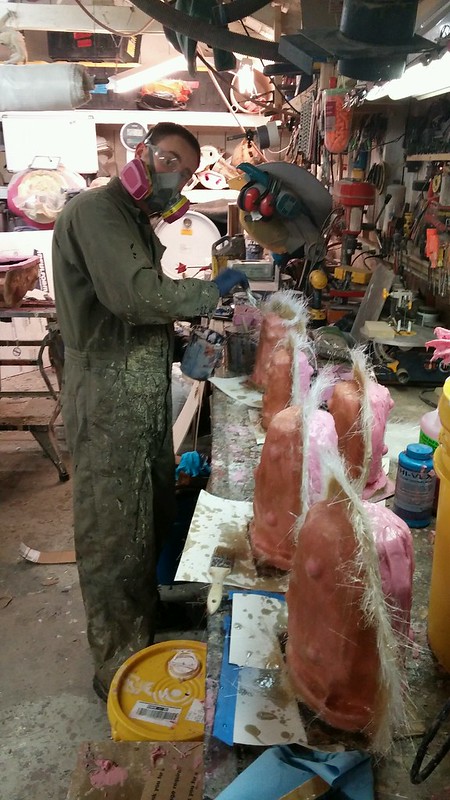
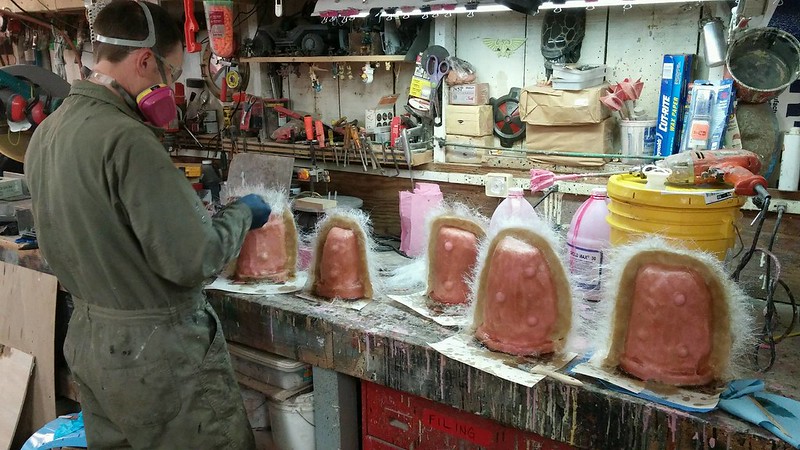
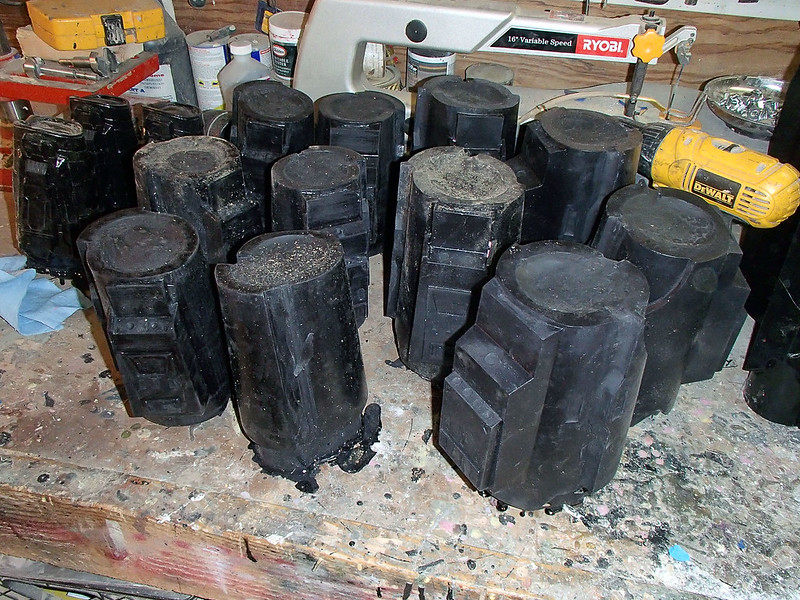
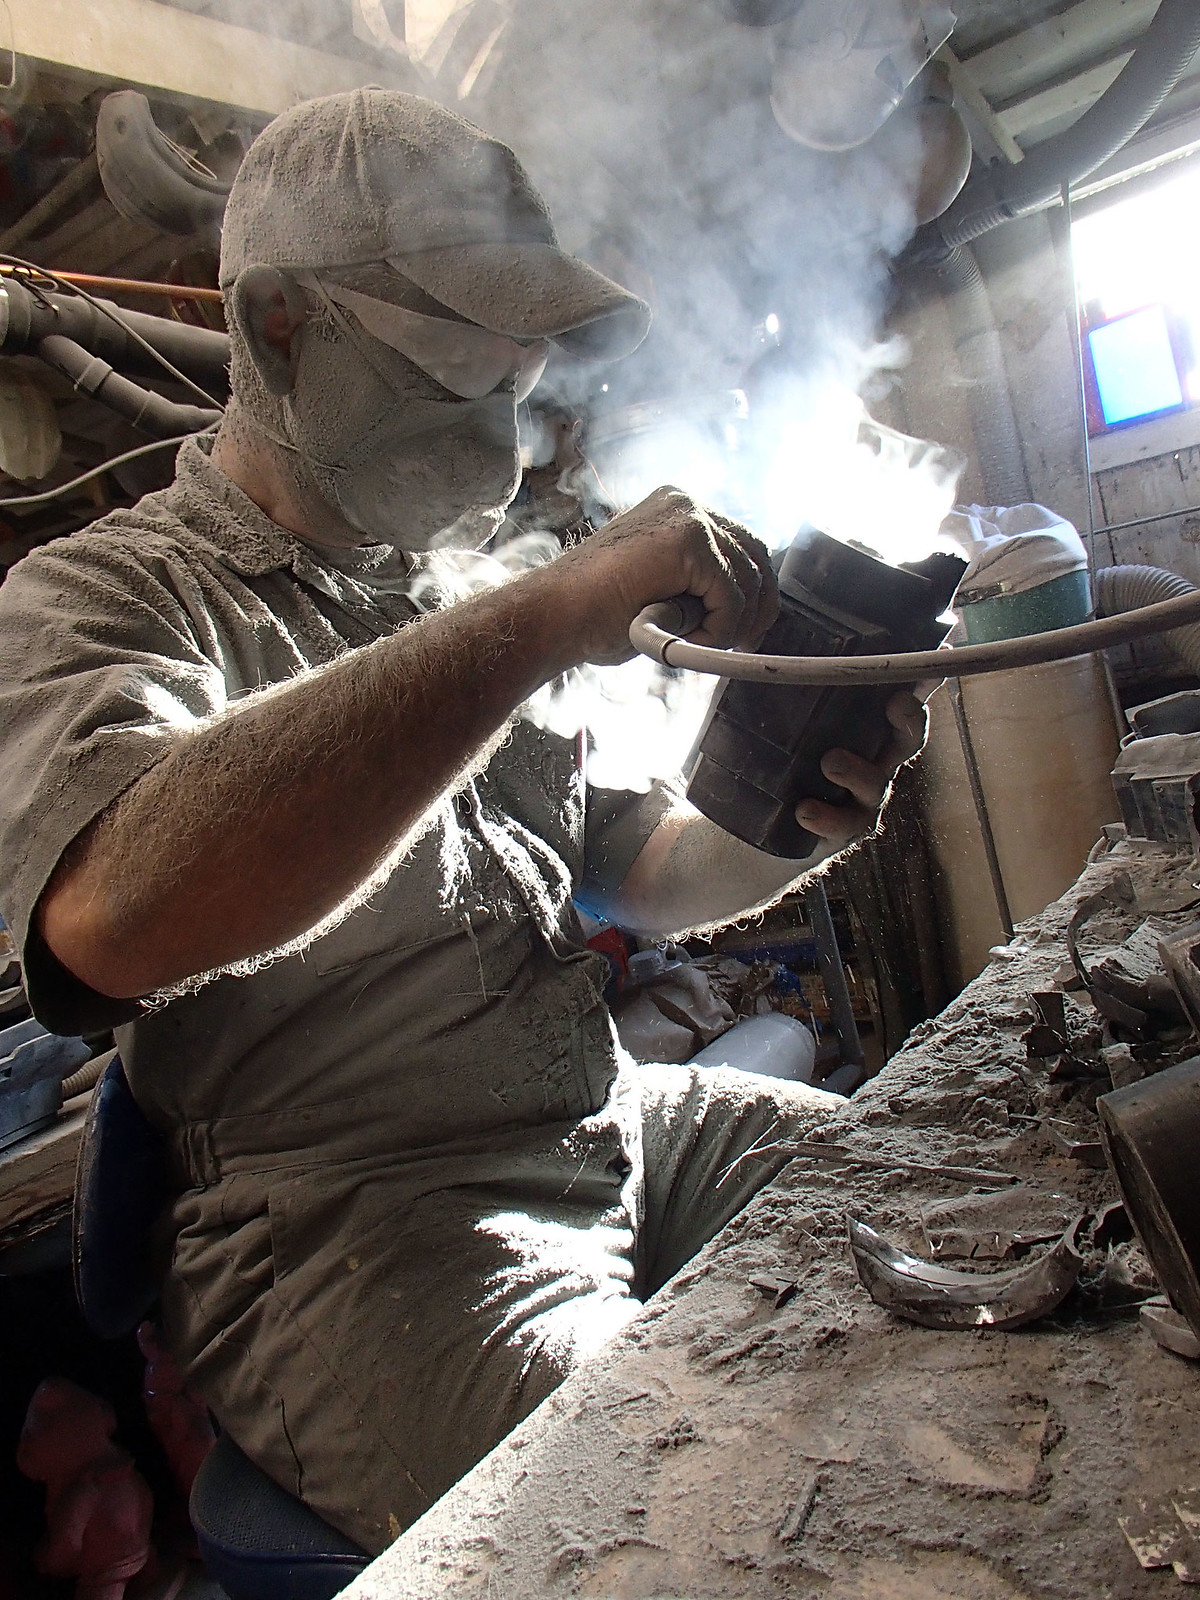
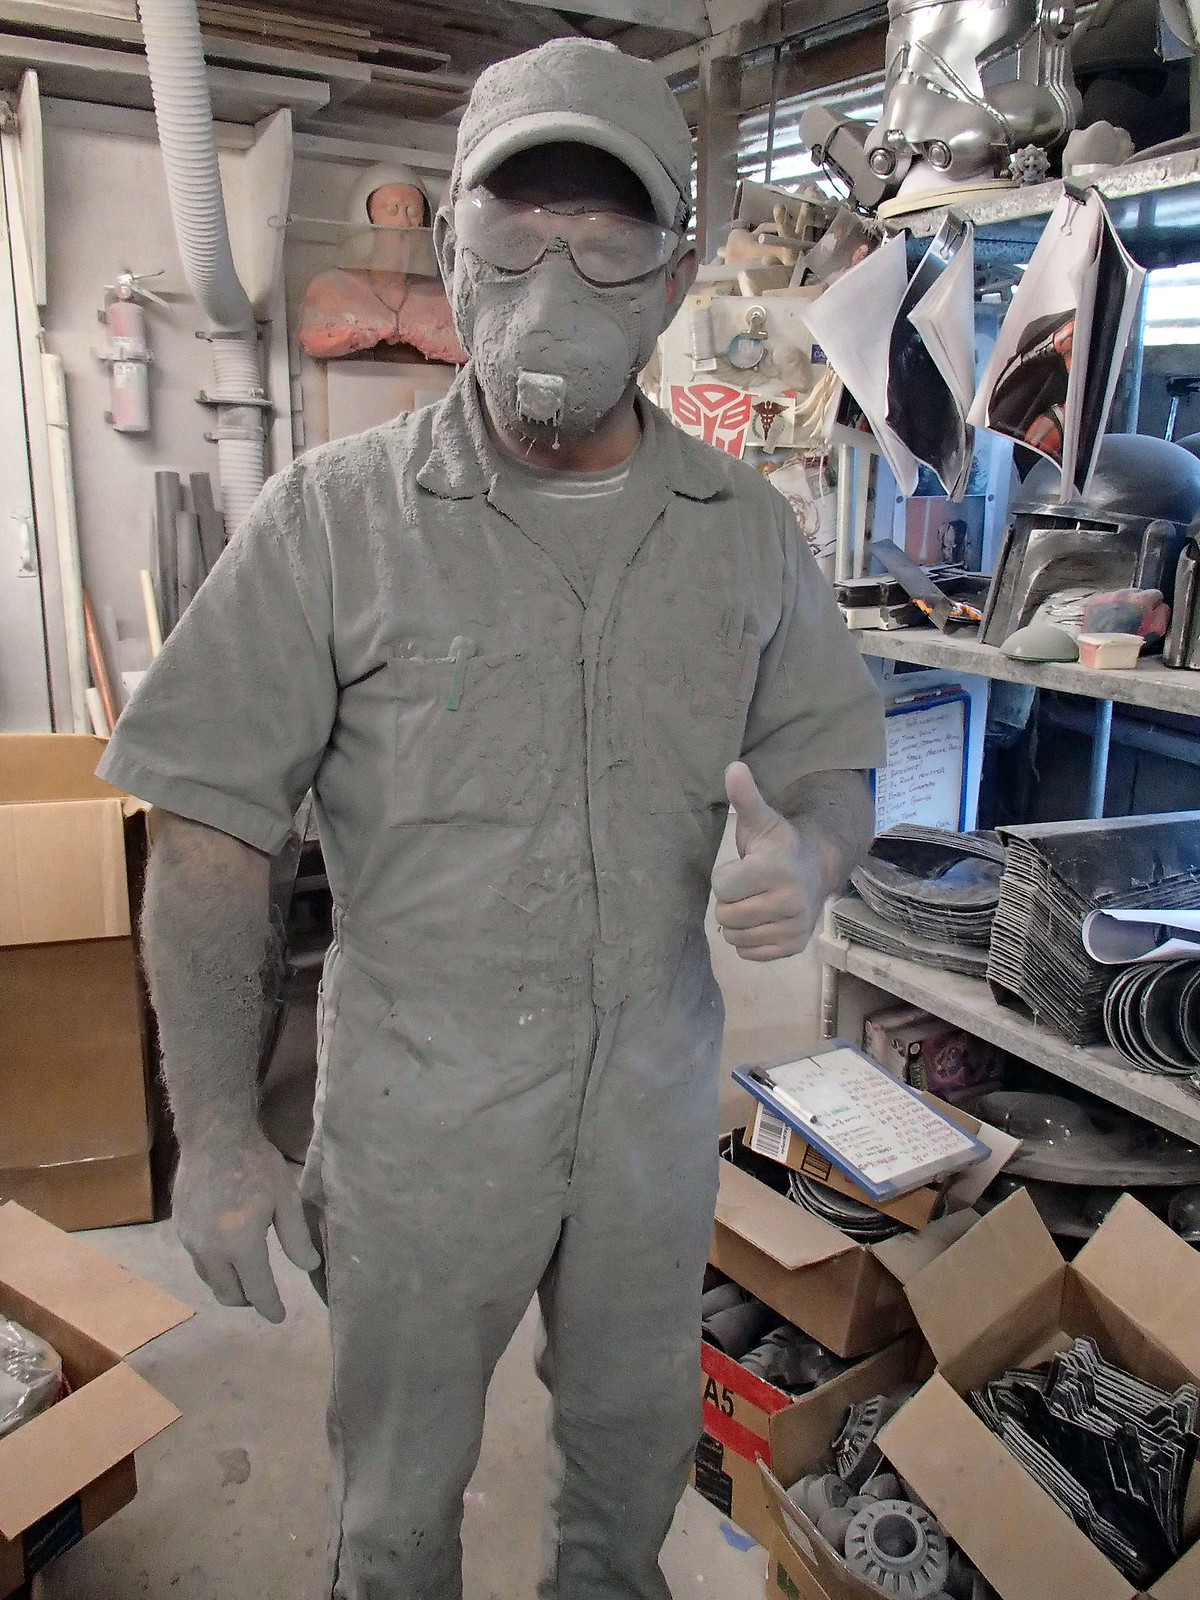
With all of the casting done, it was time to set me up in the dusty corner of the shop and trim all of the parts:
There were a lot of them:
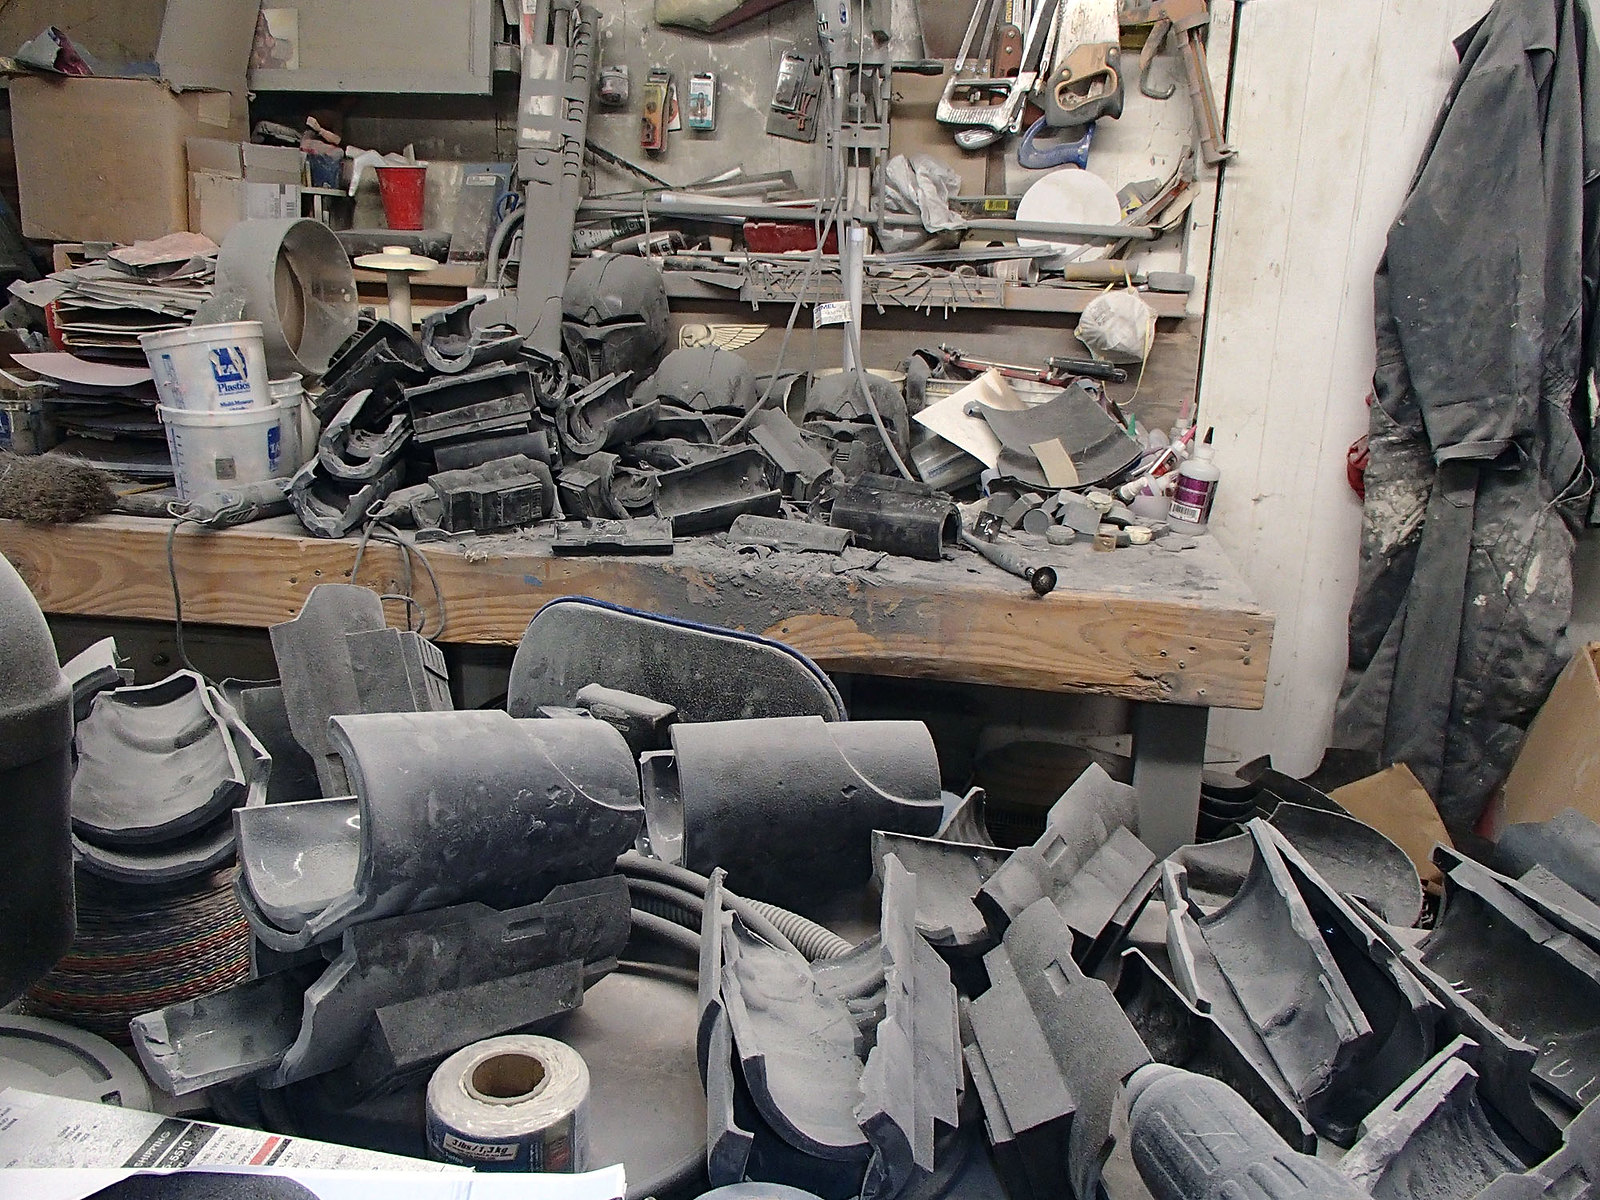
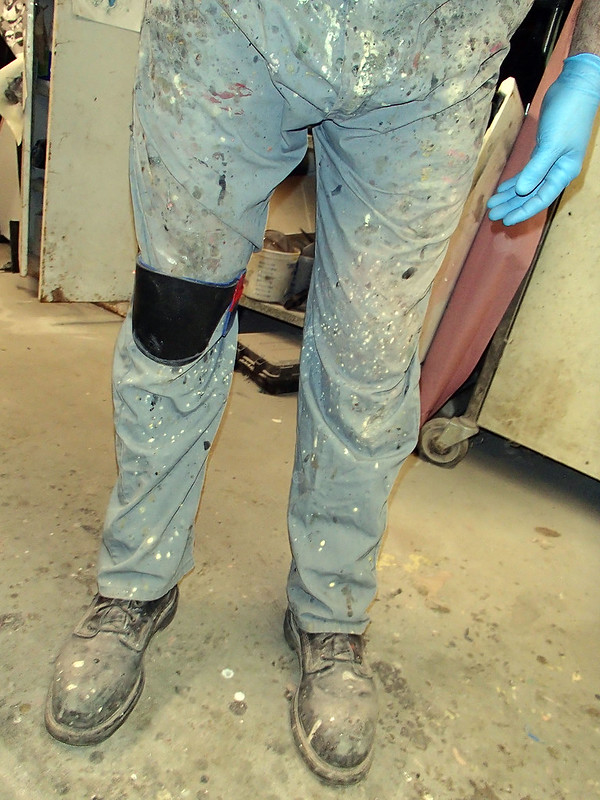
That kind of mess is always a good time:
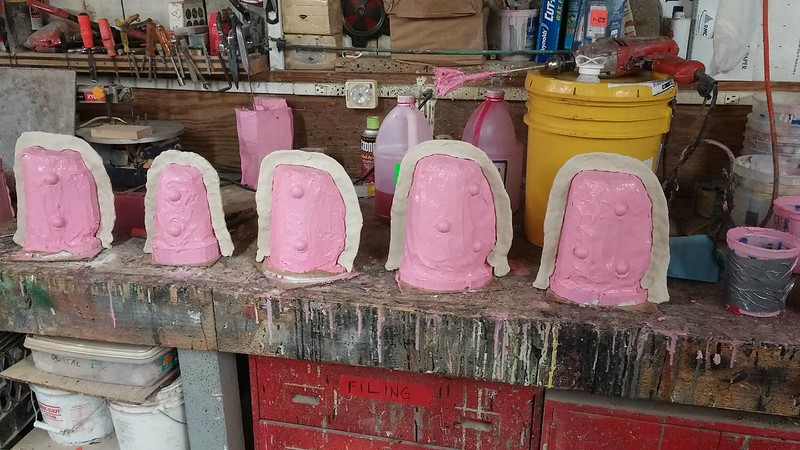
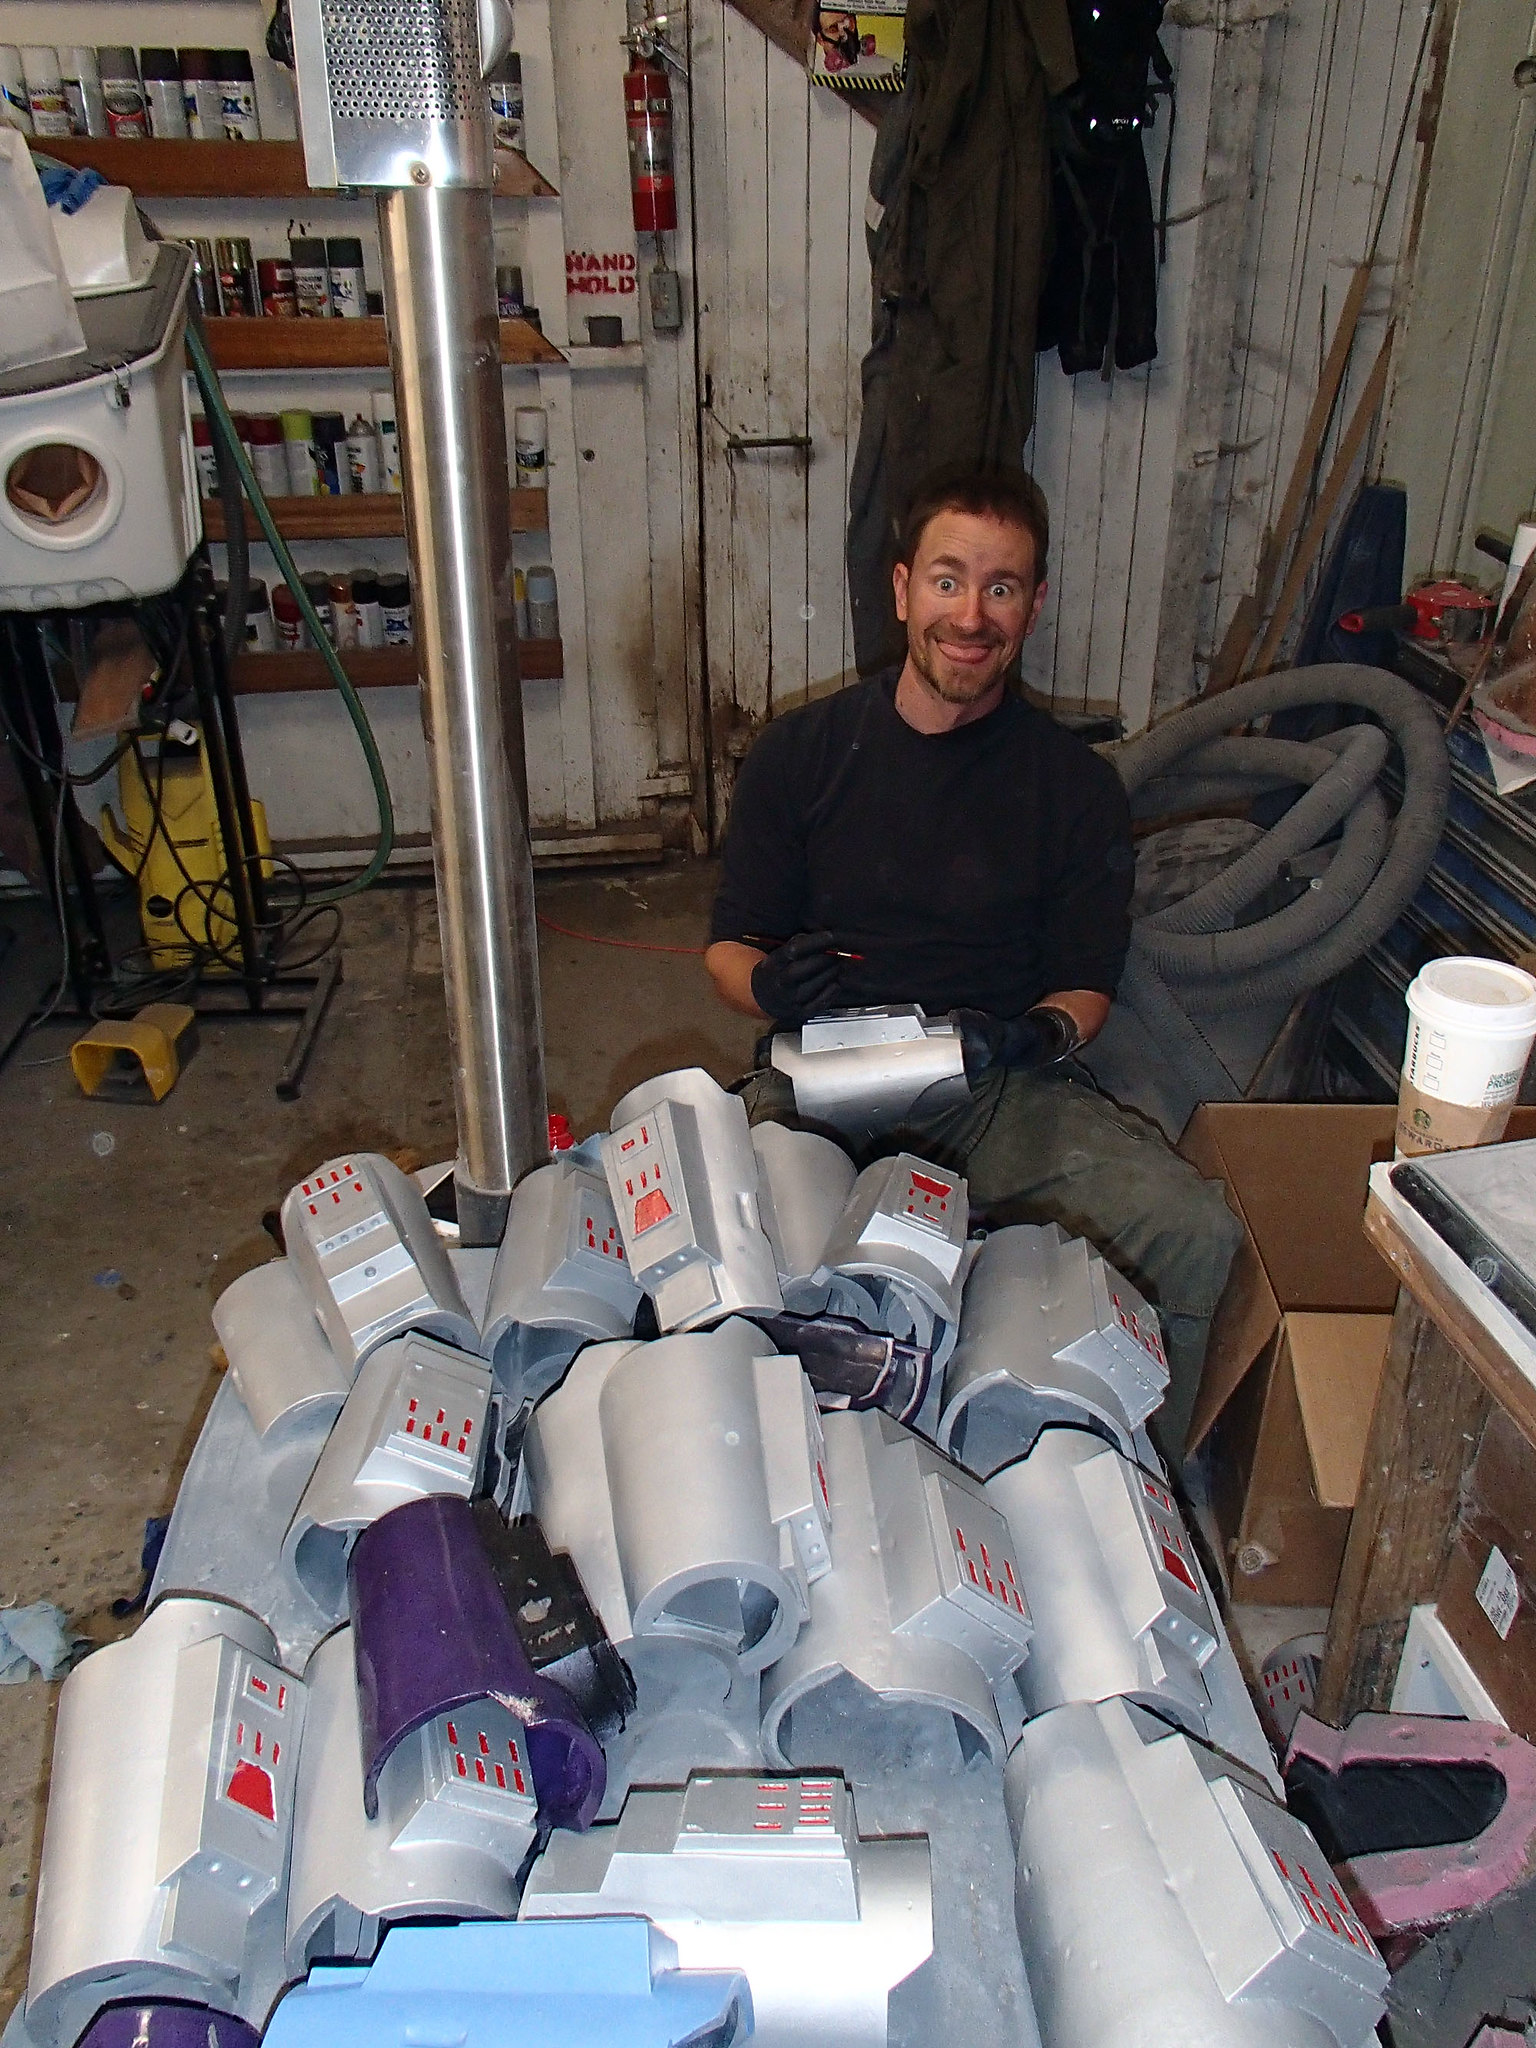
Once all the cast parts were trimmed, cleaned, and basecoated, it was just a matter of picking out some of the details in red (since we didn't have time to actually install little blinky lights). Then we chained Trevor to the table and had him blackwash the whole stack:
The Knees:
The knees took a little more thought and labor. For that, I leaned on my friend Matt to pull up the Wizard of Flight templates from thedentedhelmet.com and create a rough shape:
These were cobbled together from foamed PVC sheet (commonly known by the brand name "Sintra") which was cut and bent and heated and shaped to get the beginning of what we needed. Again, Matt did most of this work:
I did a quick test fitting and was satisfied that we were on the right track:
With the rough shape established, they were filled and sanded and shaped even further with Bondo:
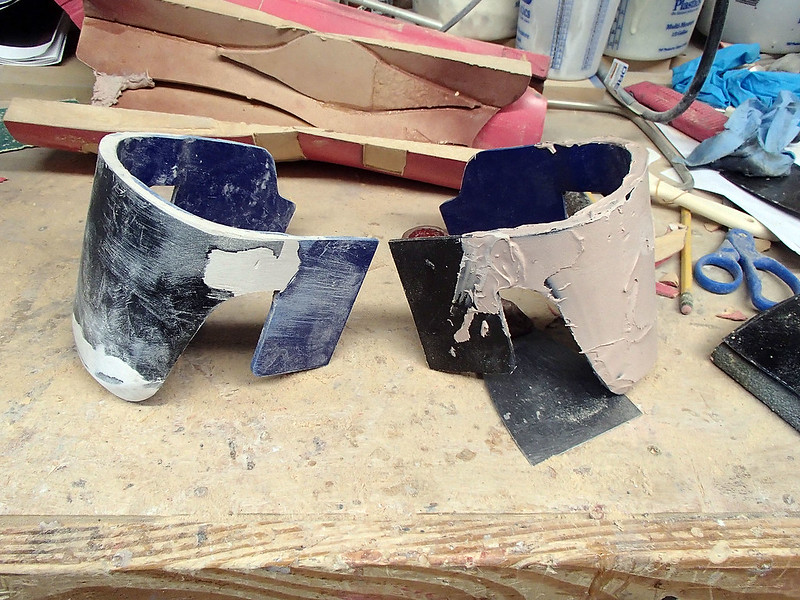
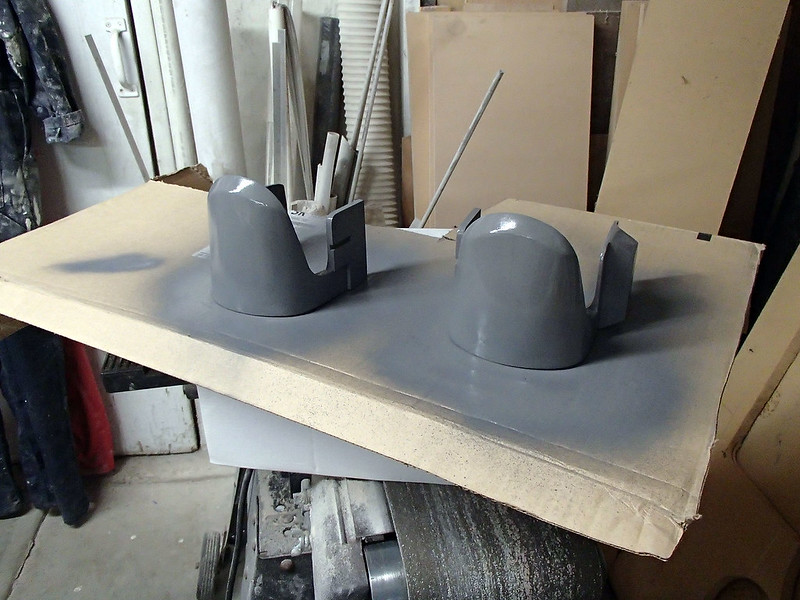
After a few rounds of filling, they were given a test coat of gray primer:
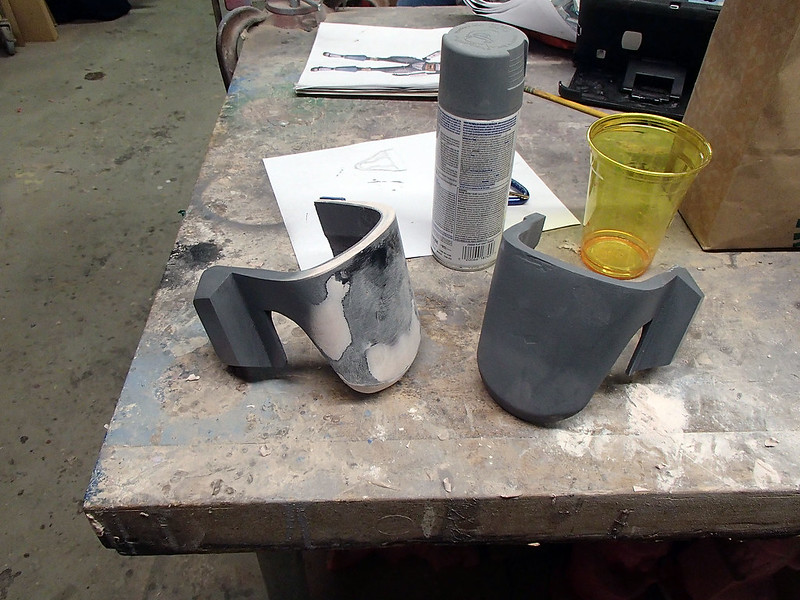
Eventually they got to looking about right:
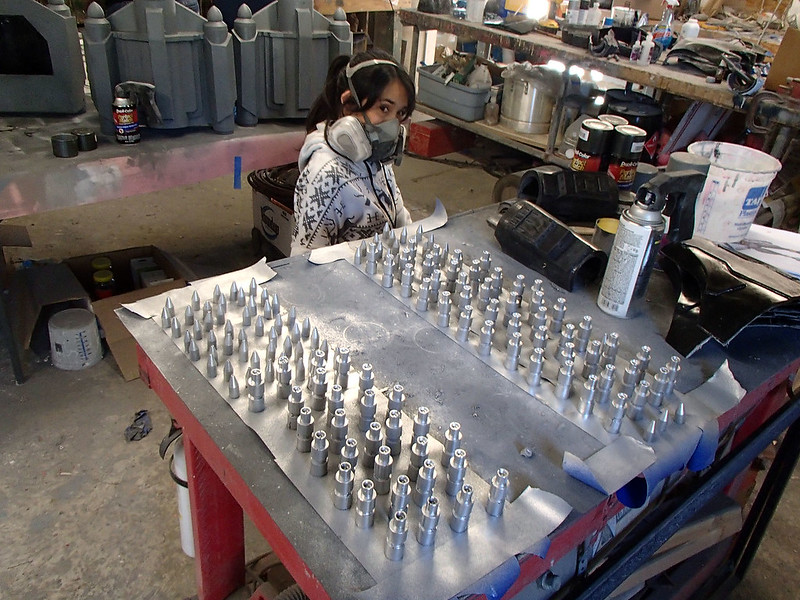
At this point, we drilled some holes on the fat sides of each knee and I 3D printed the dart launchers that would be added to the final cast parts:

The mold ended up being a large block mold because we were running out of time for anything smarter or more economical.
The parts themselves were cast in a semi-rigid resin that would flex on impact instead of cracking. Here's the first pair out of the mold:
They came out okay:
Then we cast more:

And more:
After a few seconds of cleanup on the belt sander, the whole stack was primed:

And painted:
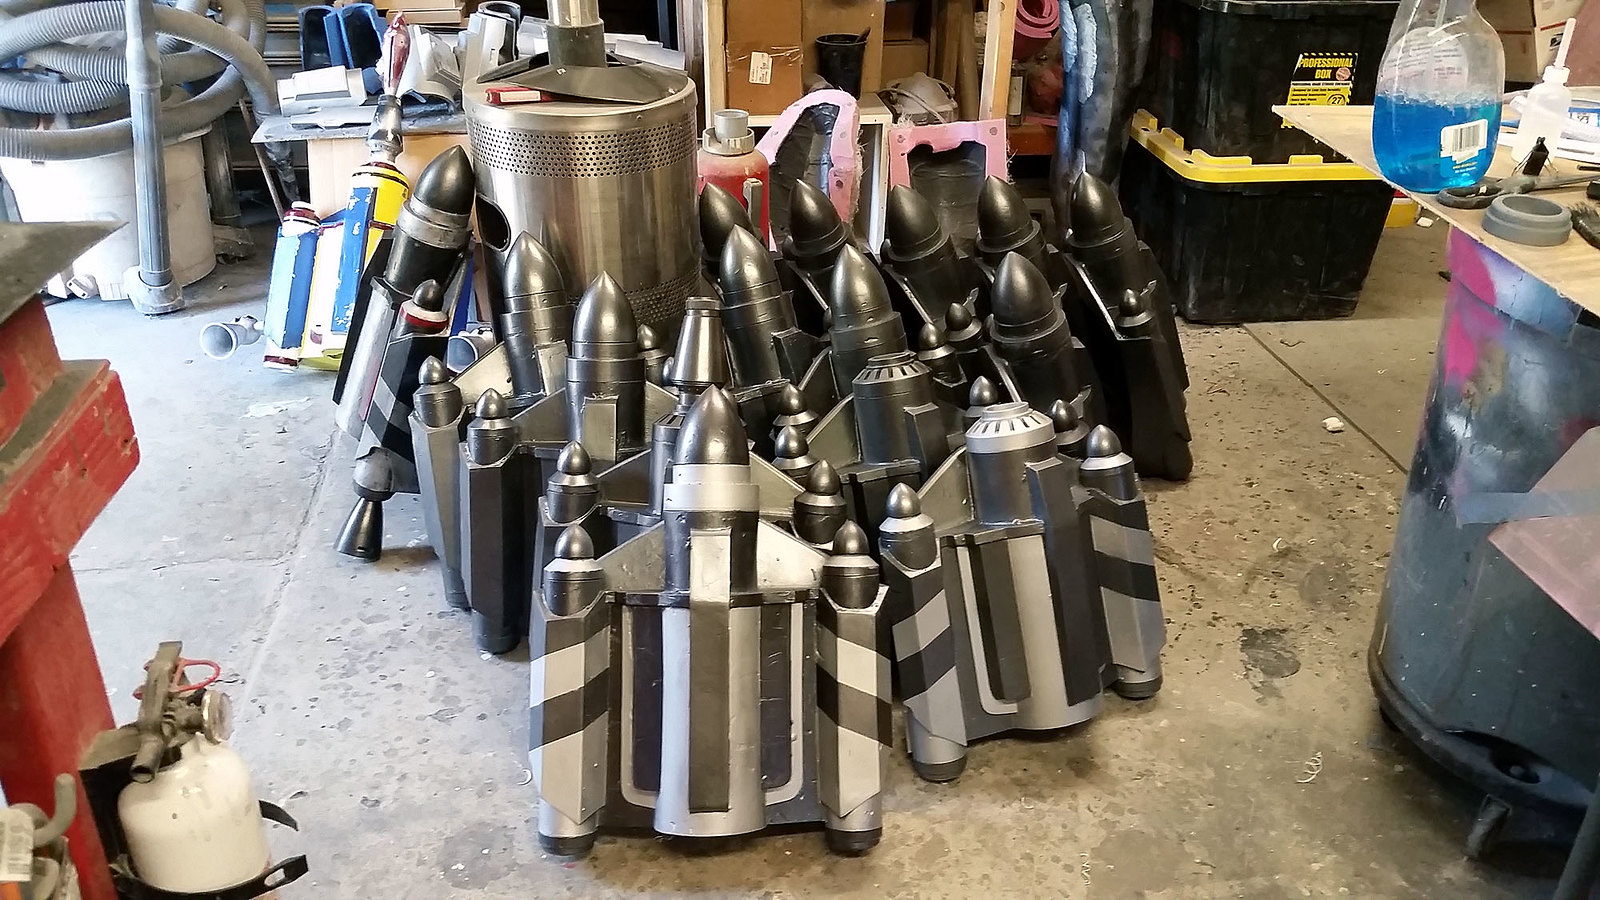
Here's Daniella showing off the huge pile of painted dart launcher castings:
Finally, with all of the parts painted, it was time to add some weathering:
Here's a closeup showing some of the knees weathered with a heavy blackwash:

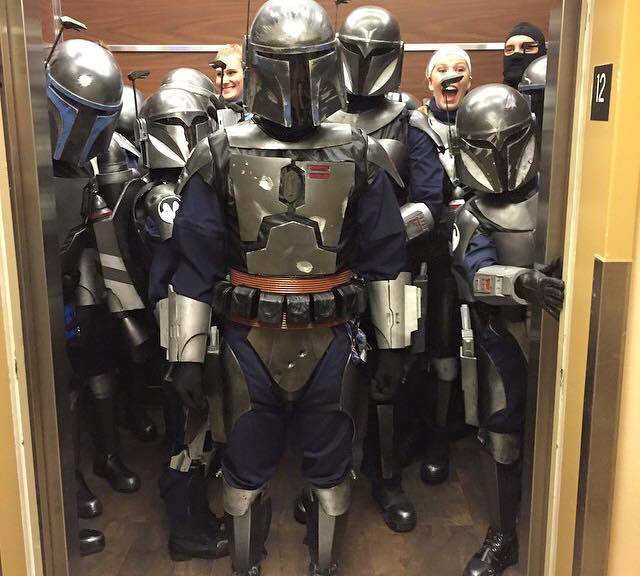
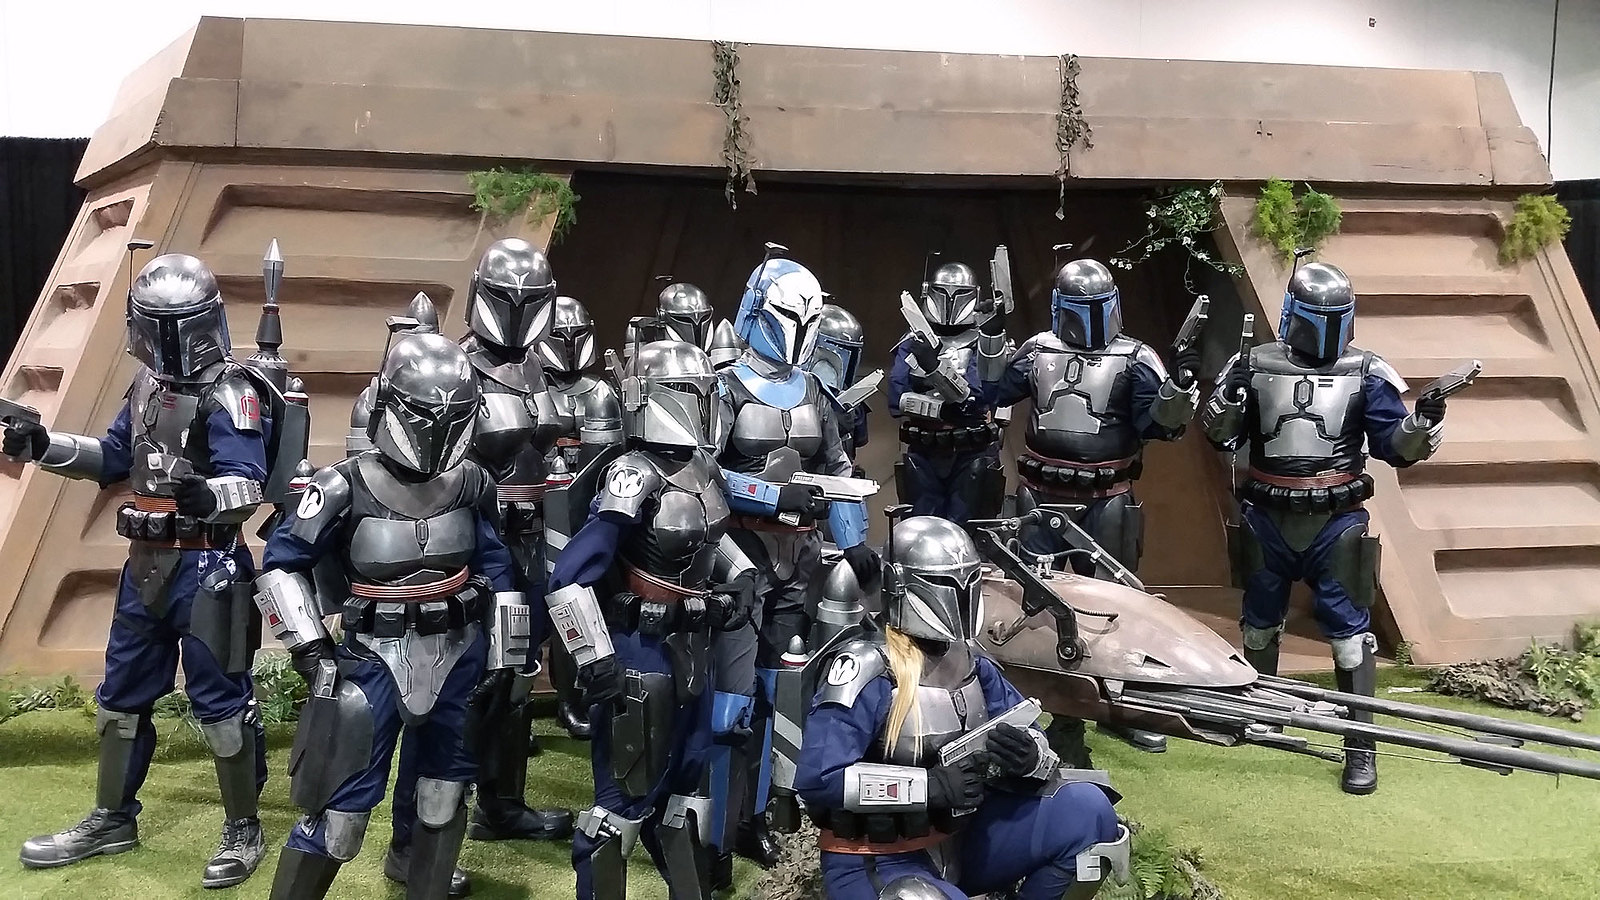
With all of the knees and gauntlets painted up, it was only a matter of time until the entire squad was assembled:
NEXT UP: Jetpacks!!!
Stay tuned...
No comments:
Post a Comment