
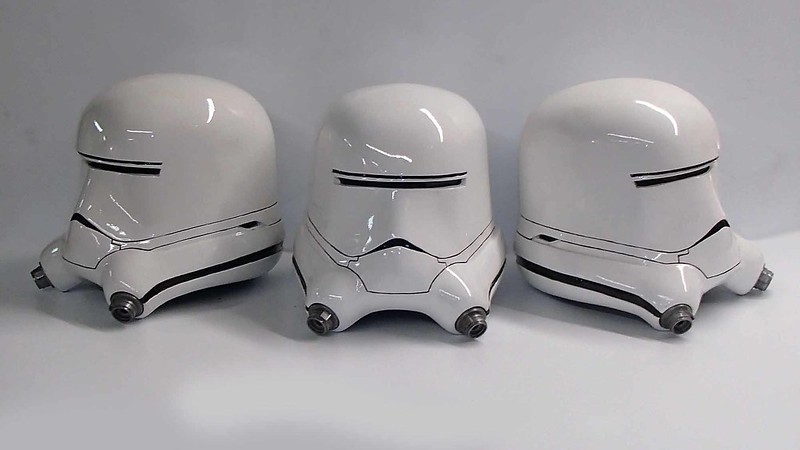
So I made me some helmets:
You can read about that build here: LINK.
The only problem at this stage is that I'm an overgrown child who has no impulse control.
But what I do have are a very particular set of skills; skills I have acquired over a very long career. Skills that a wiser man would put to use turning a profit and that'd be the end of it.
But not me. Because I started on this silly project, I will continue. I will finish it or it will haunt me for all of my days.
To see what happened next, read on...
Of course, I should've known I wouldn't be able to leave well enough alone.
It didn't help to keep me in check when my good friends at DO3D.com mentioned that they'd drawn up more models:

Damn them and there dirty, dirty pixels...
So in between all of the more serious projects building efforts, I started having the Carvewright twins whittle out more parts:
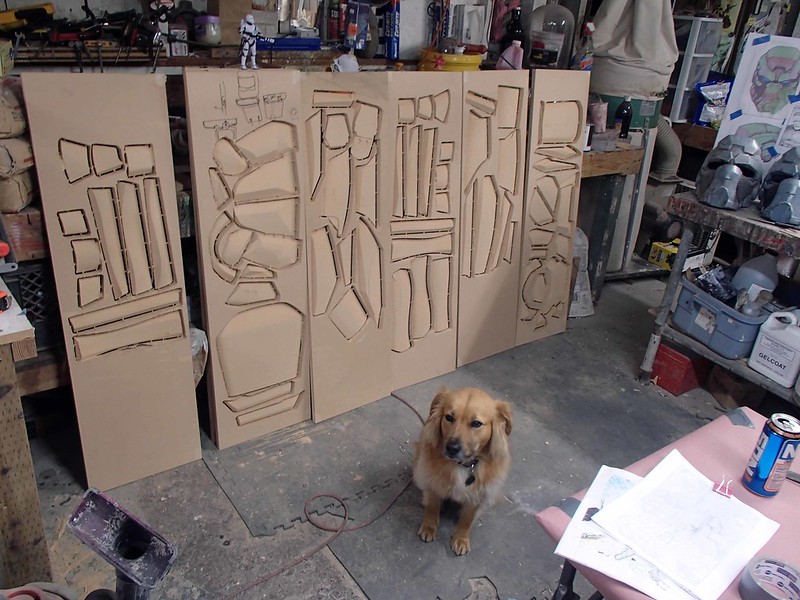
Leeloo (the dog) was not impressed.
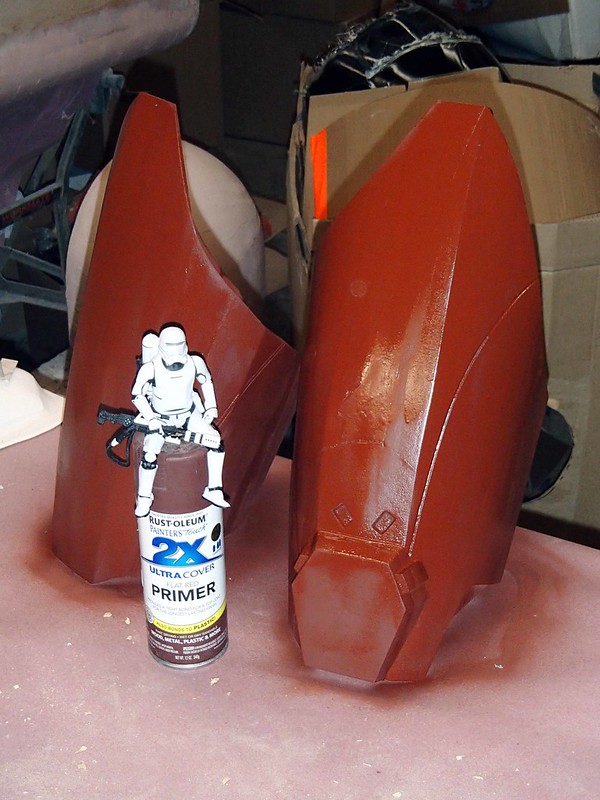
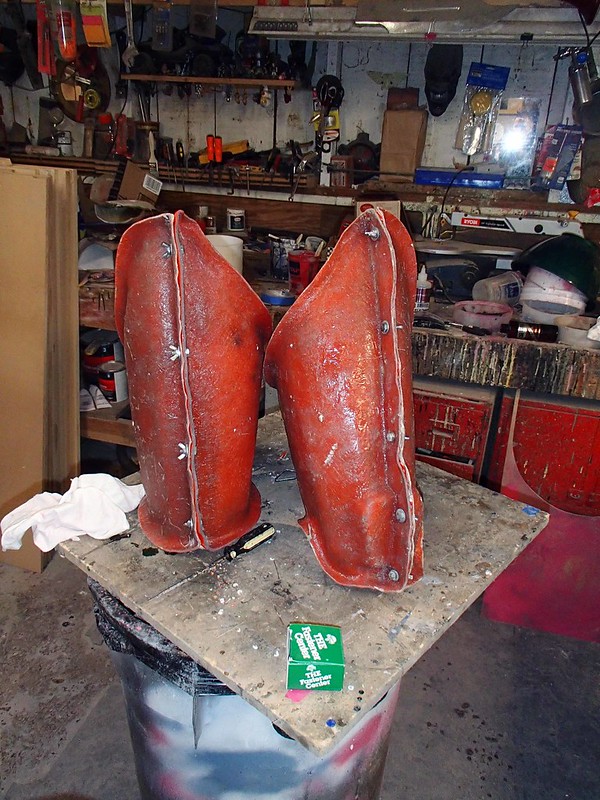
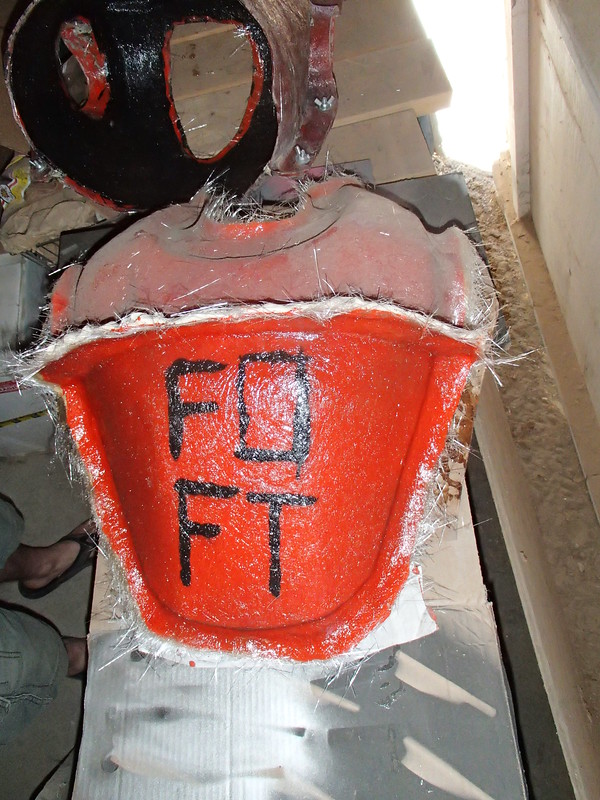
For reasons that will remain unclear, I decided to start this build with the thighs. I like thighs. Here's the flametrooper thighs assembled and primed:
After more primer and filler, they got a good coat of my standard glossy lightish red. Then it was on to wet sanding and polishing. Here's my friend Matt polishing my thighs:

Because that's how we roll.
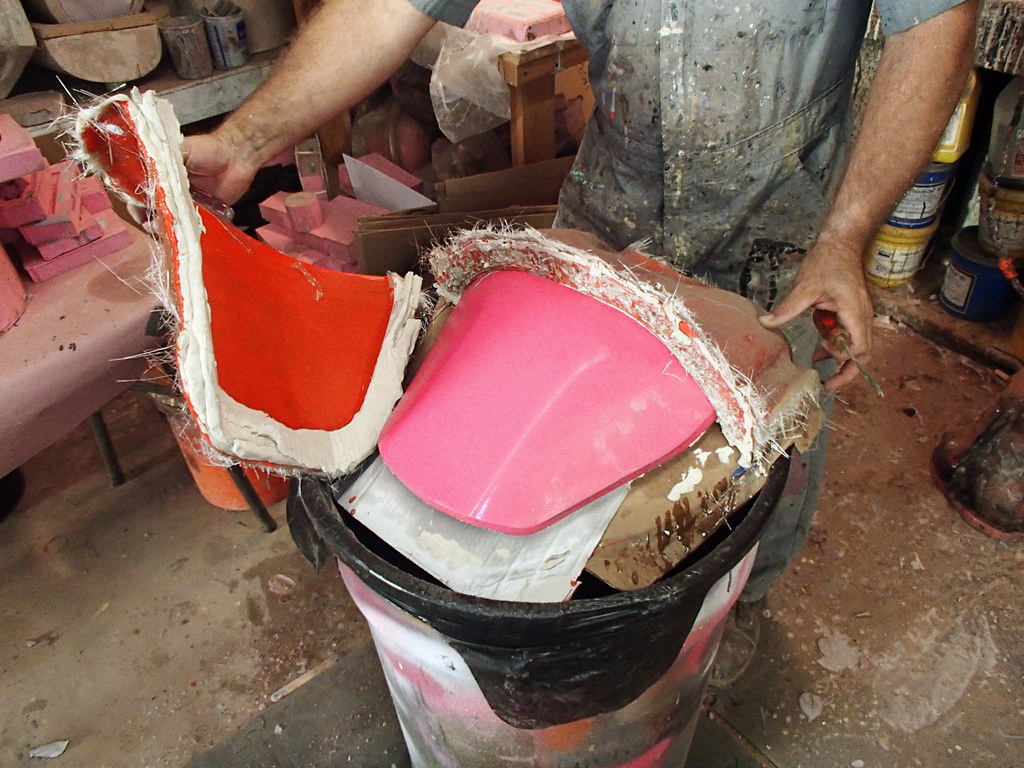
Once they were waxed and shiny, I set up some parting walls and coated them with PVA release agent:
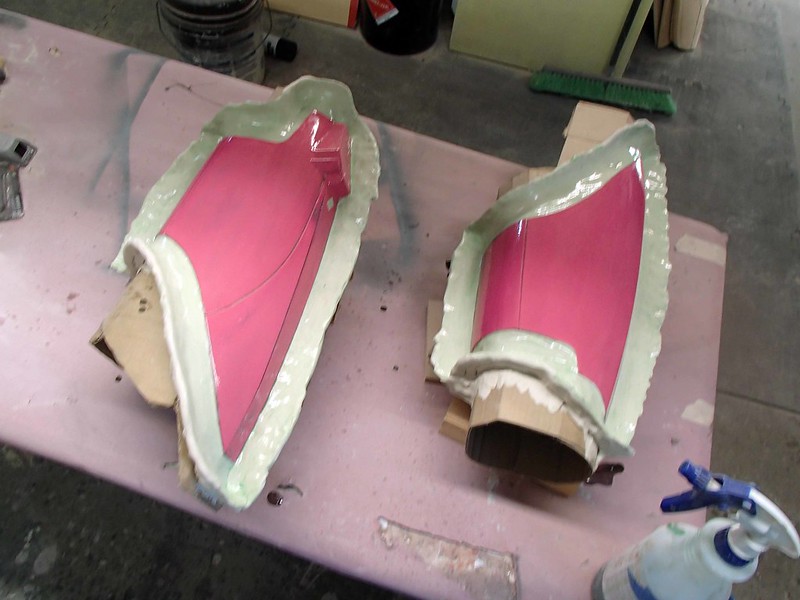
After the PVA had dried, the thighs got a healthy layer of gelcoat:
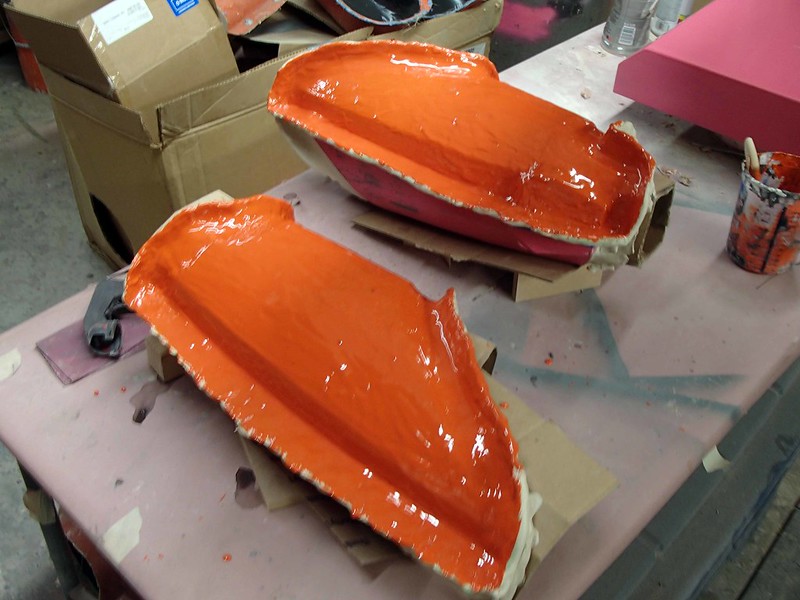
Then it was time for fiberglass:
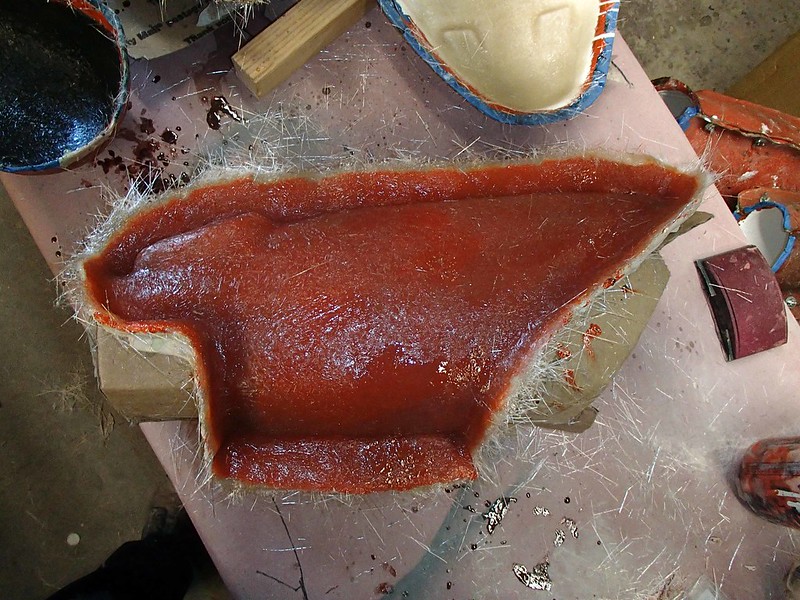
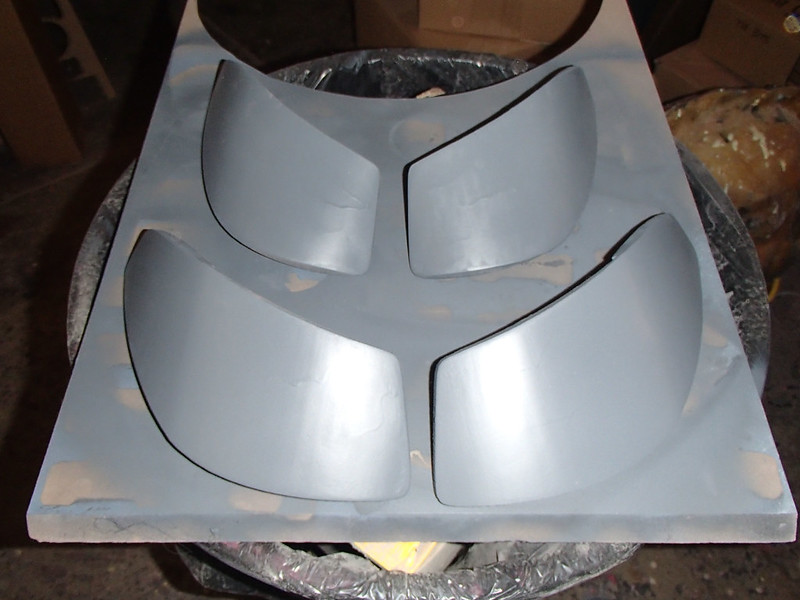
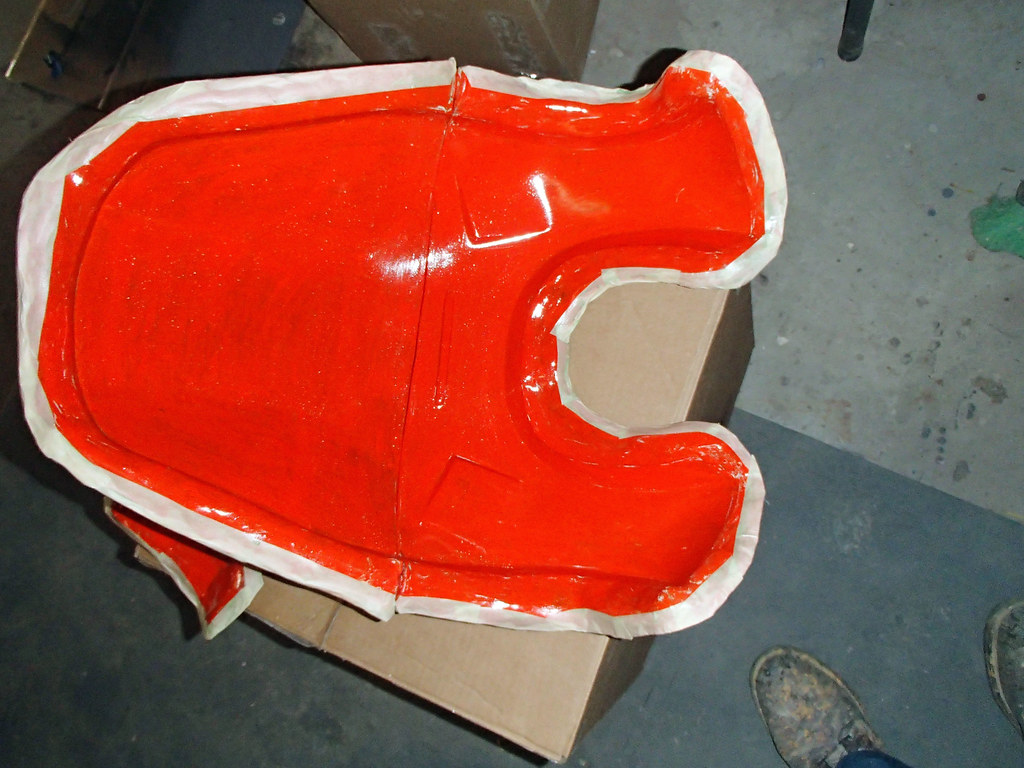
Here's the thigh molds all cleaned up and ready for making some thighs:
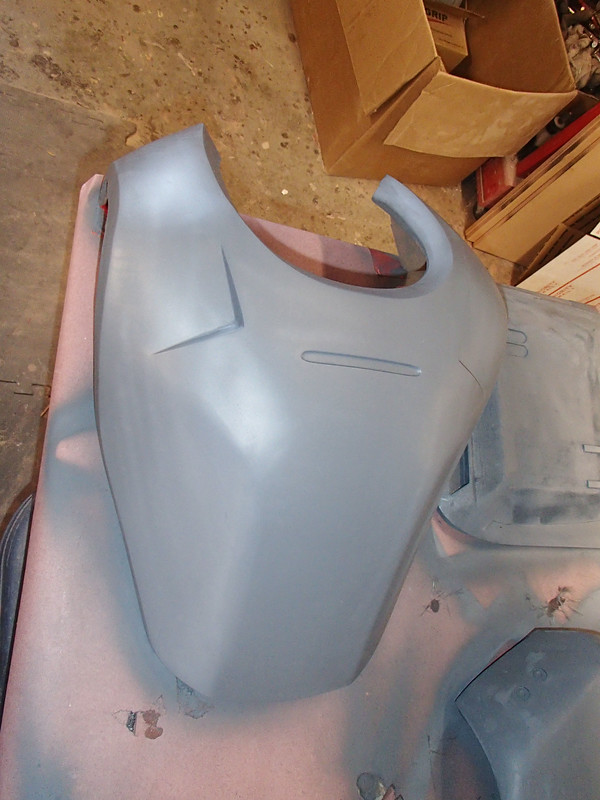
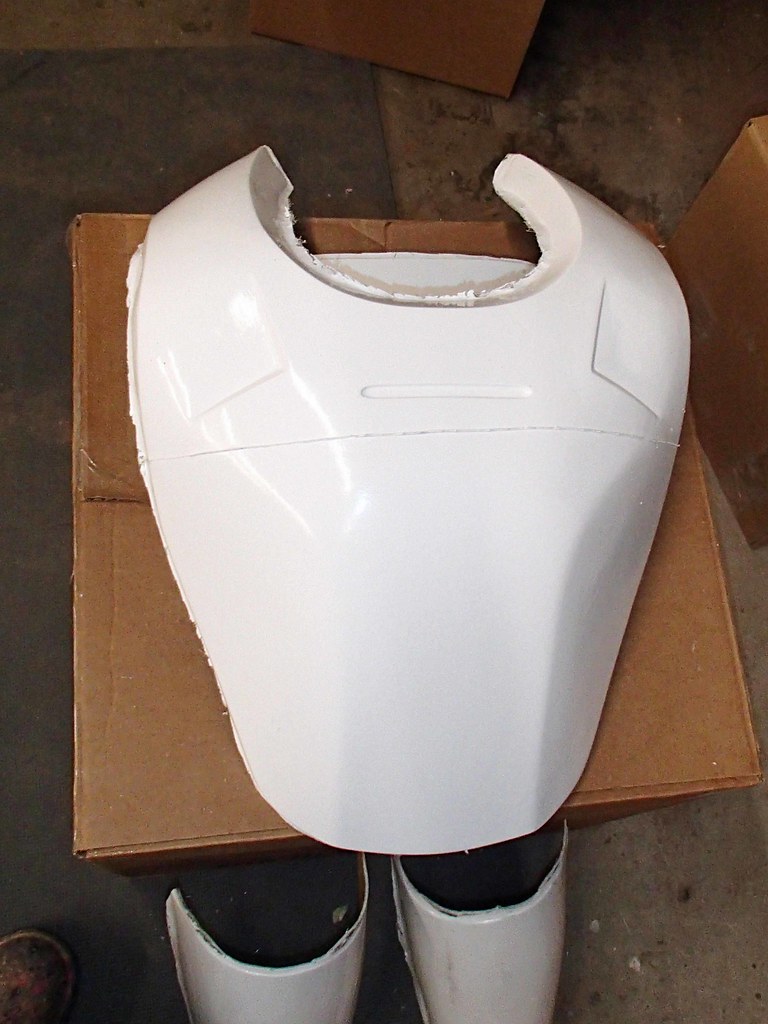
Things went pretty much the same for the rest of the pieces. Here's the carved and assembled chest plate:
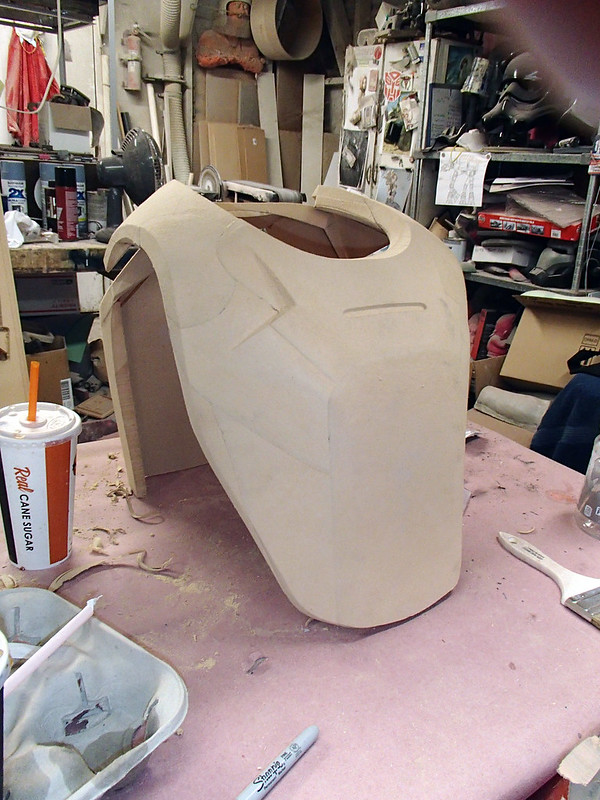
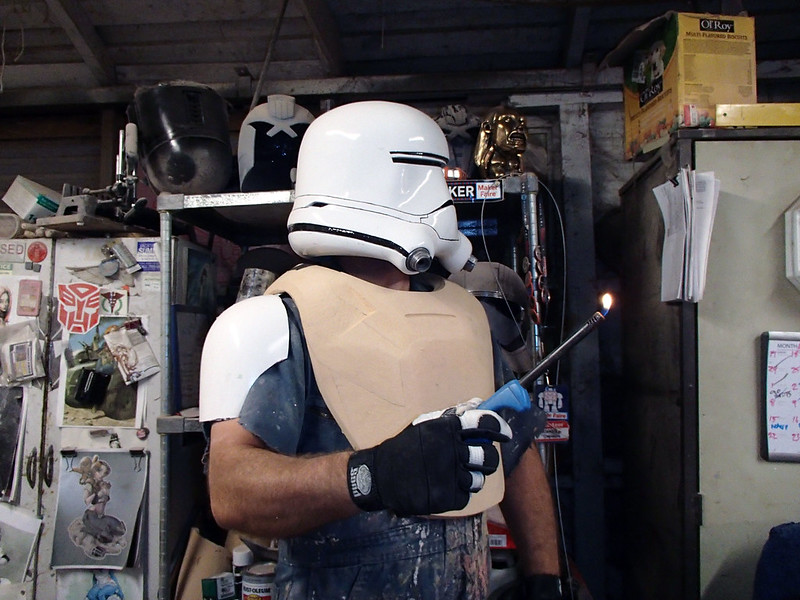
Of course, every time I had a new piece, I couldn't resist the urge to try it on:
Here's the backplate in primer:
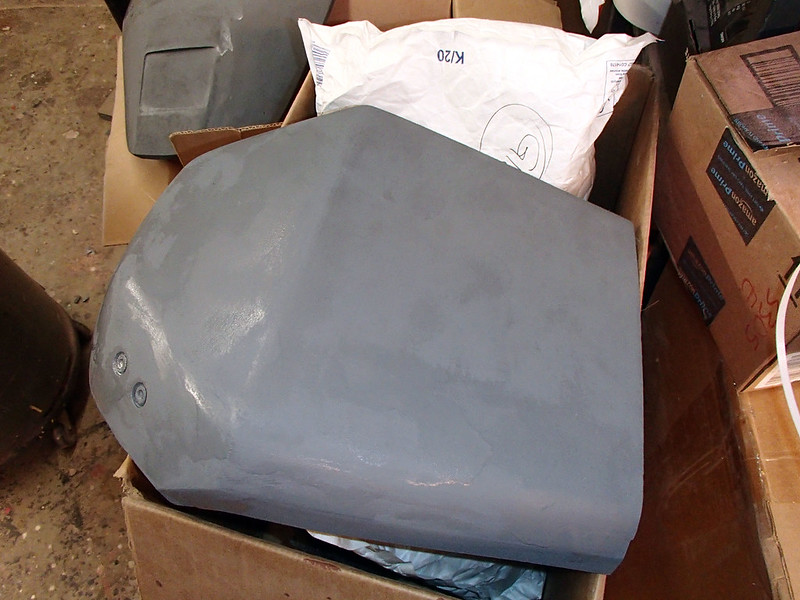
The chest with even more primer:
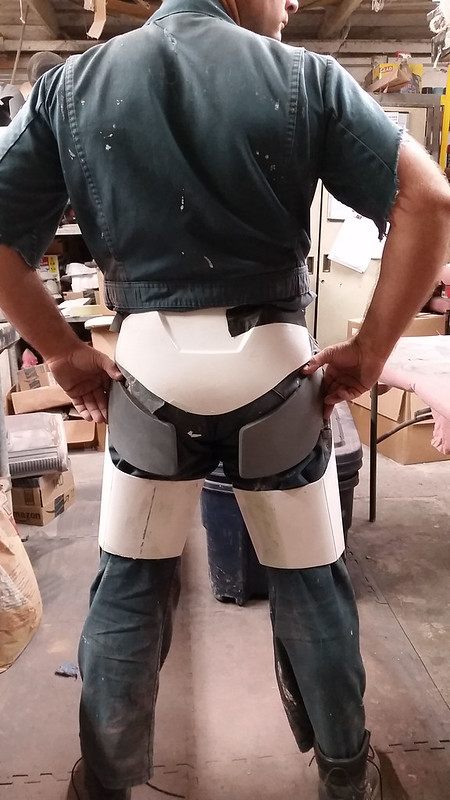
More silly test-fittings!
The buttplate is the same piece that's used for Phasma and the standard stormtroopers, but I still had to make the little plates for the upper end of the back of the legs:
The gauntlets were out of the same molds as the TIE pilot gauntlets, so that saves some trouble:
As luck would have it, the flametrooper happens to use the same codpiece as Captain Phasma, so that was already a done thing too:
Over the course of the past few months, the flametrooper parts have been kicking around the shop serving as a distraction whenever I should've been working on something else. I also never missed an opportunity to have friends try on some of the pieces whenever they'd come by to tinker in the shop. Here's Trevor in the lightish red chestplate prototype:
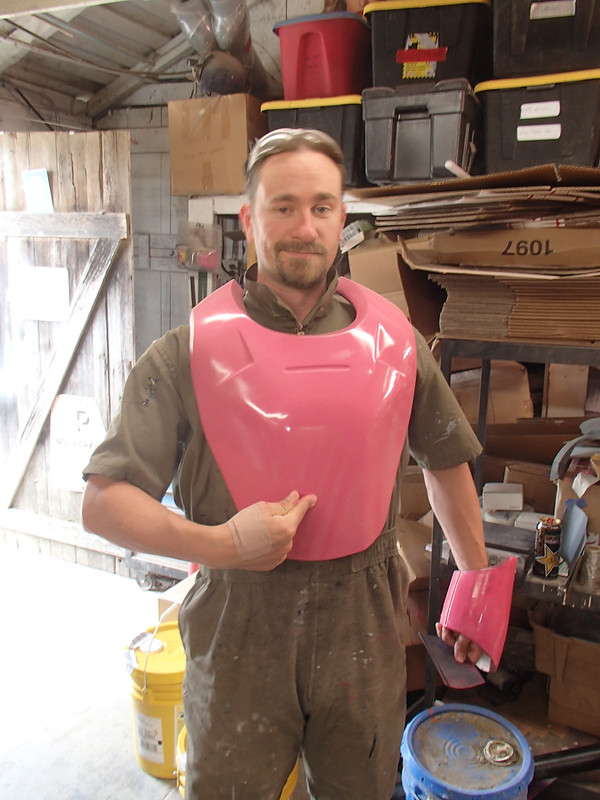
He's thrilled about it.
Eventually I got around to making a mold of that part:
Here's the rib plates and the upper thigh (or lower butt) plates coming together:
Someday I'll figure out how to tell which is which.
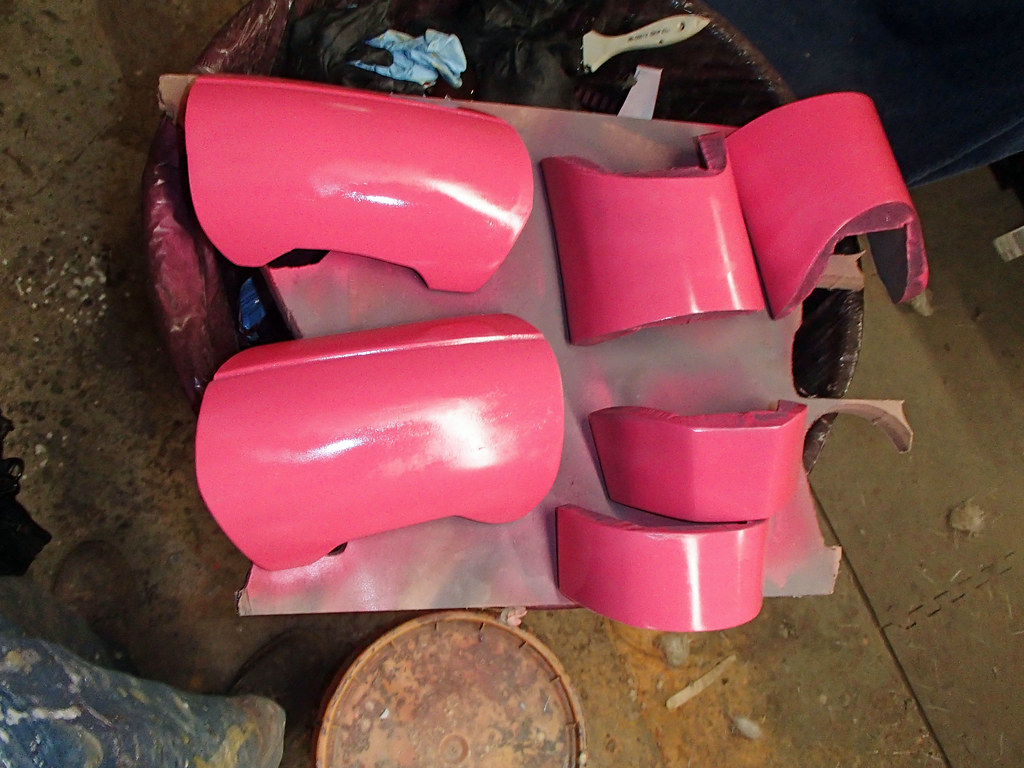
The little right knee widget and the shins came together pretty well:
At this point, nearly everything was shiny and pink:
Sometime over the summer I wrapped up a big, serious, not-at-all fun project, so it was nice to get back to something frivolous for a change. I started by finishing up most of the molds:
Then cleaning them up and prepping them for use:
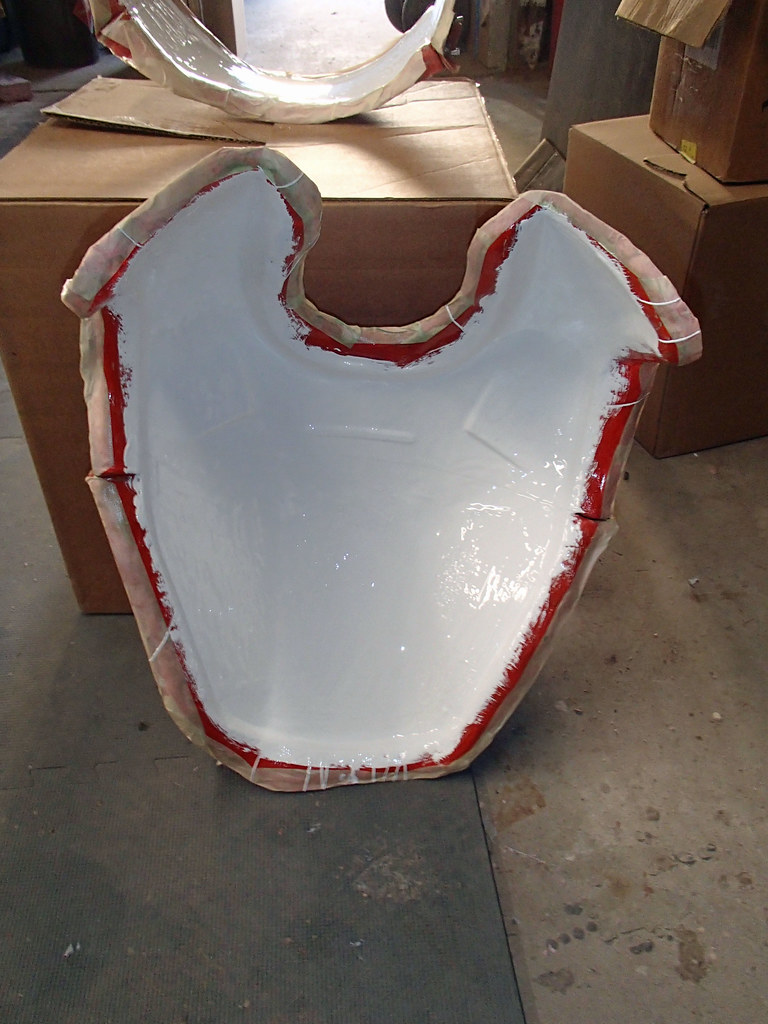
Here's the chestplate mold layered in white gelcoat:
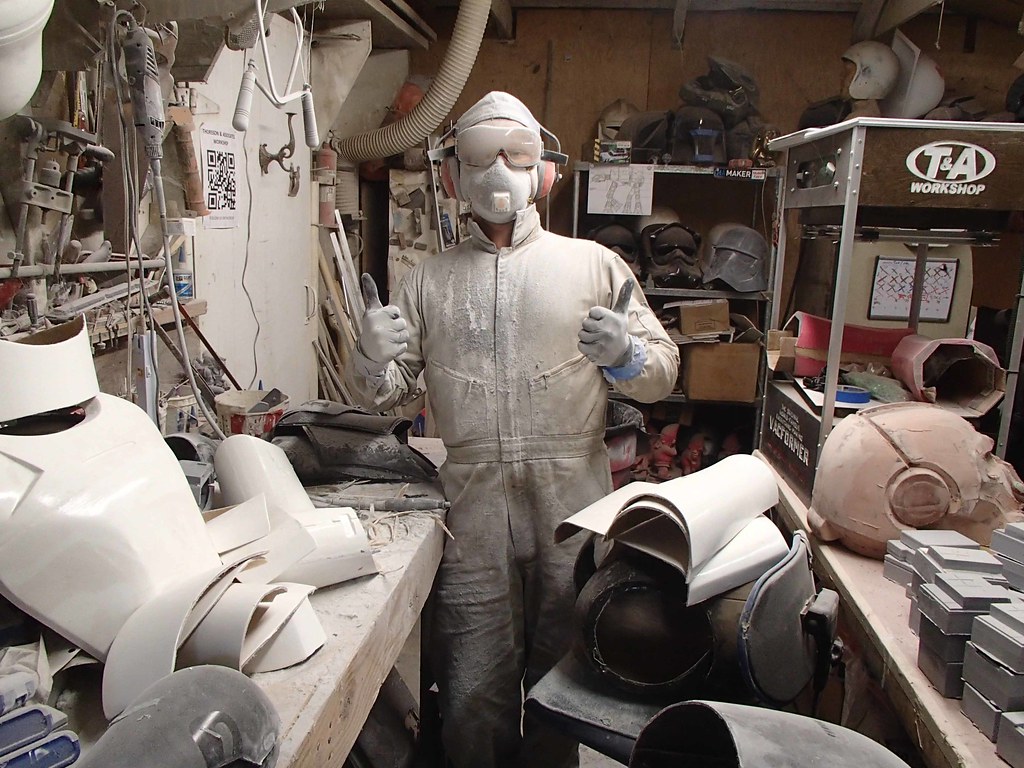
After a busy evening of fiberglass layup, I had most of a suit of armor:
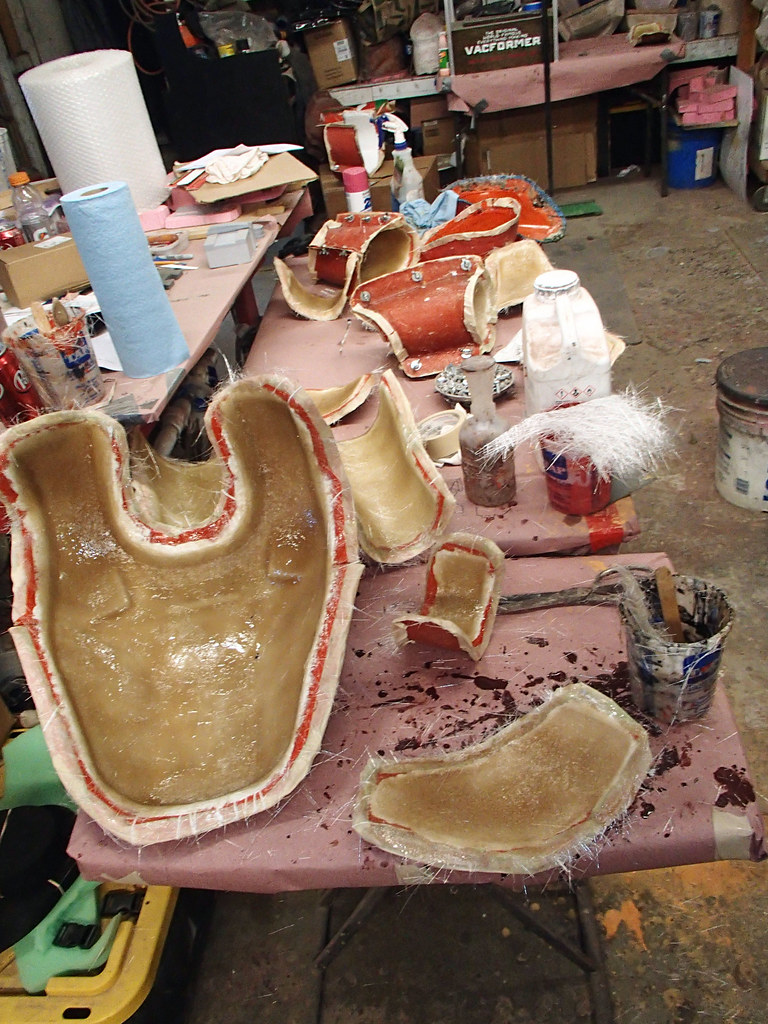
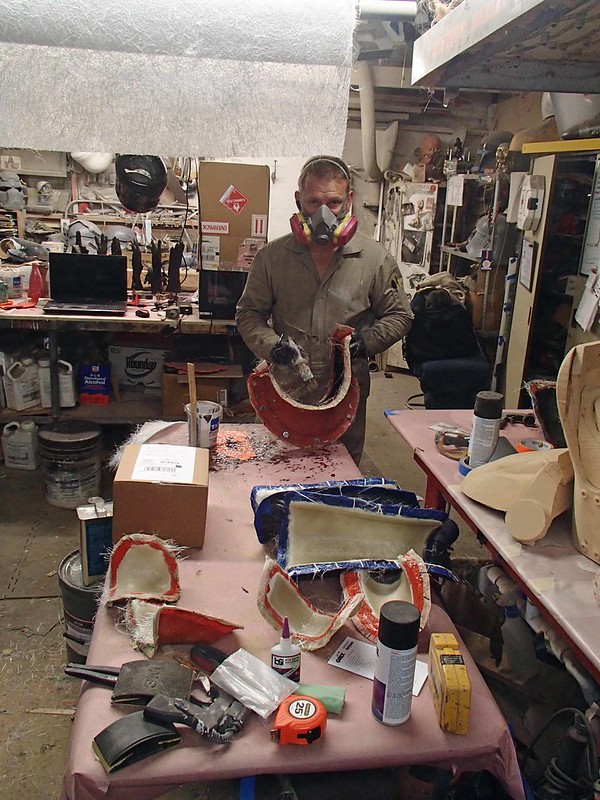
Once everything cured, it made for a whole lot of parts to clean up. The initial trimming was done with a utility knife:
The rest was a dusty nightmare with a cutting wheel:
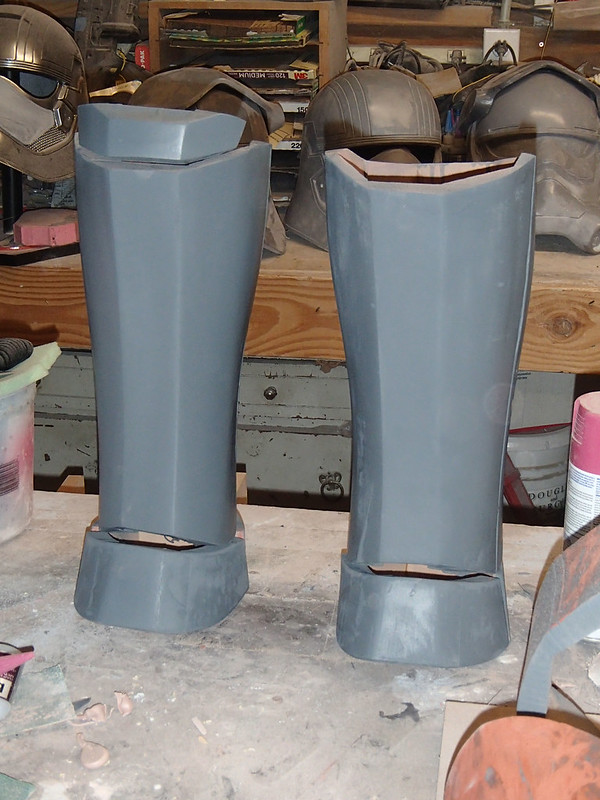
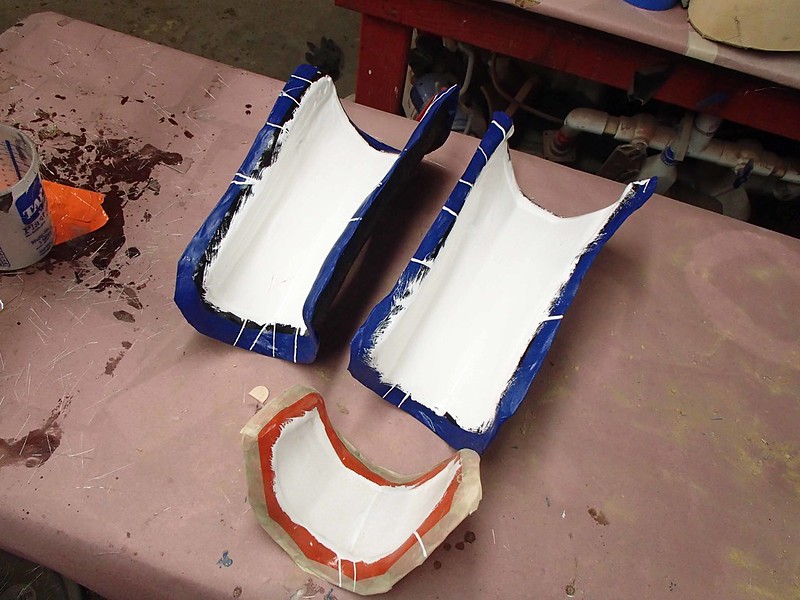
I'm not sure why, but for the longest time, the only pieces that needed to be molded were the shins. They sat on top of the "get around to it" list for a few months while I tinkered with other things. Then I finally forced myself to polish up the prototypes, sit down, and start building mold walls:
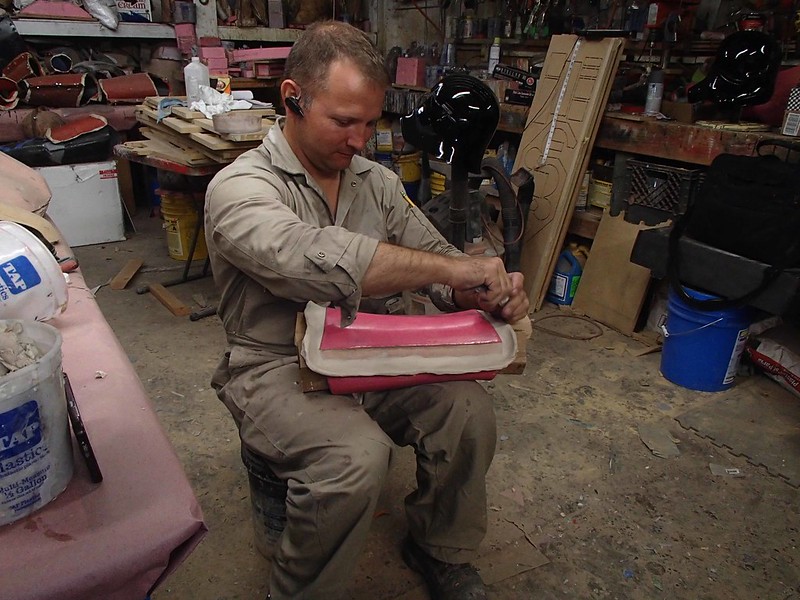
As with all of the other parts, the mold walls were made with soft oil-based clay:
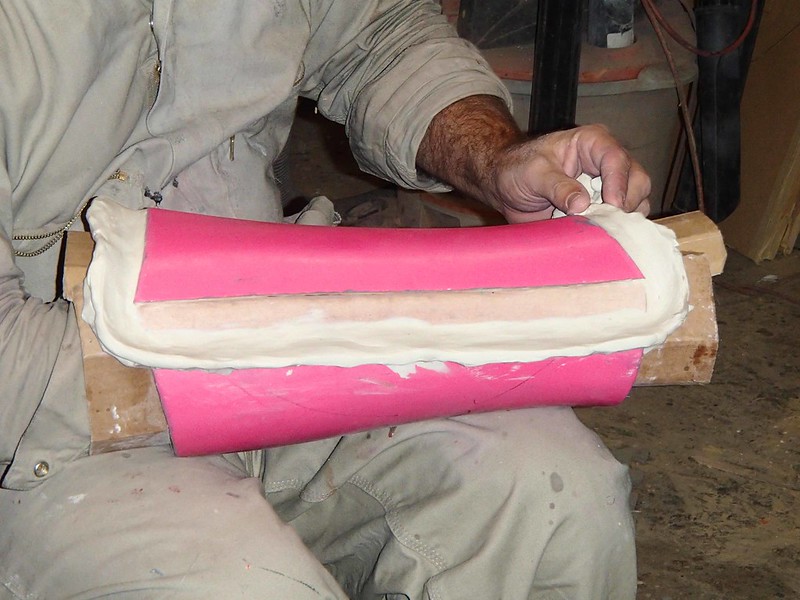
They sat ready to go for a while waiting for me to have enough parts to justify mixing up a batch of the orange tooling gelcoat (small batches tend to be pretty wasteful), but I never ended up having anything else to mold. Finally I got impatient and made up the shin molds with standard black gelcoat. Here's one of them being prepped for layup:
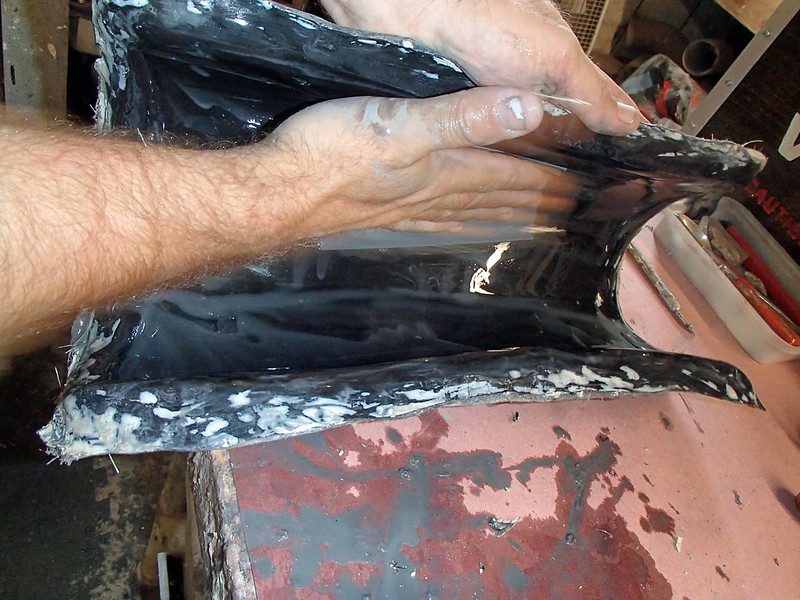
Since the parts will almost always be laid up in white, there will still be plenty of contrast, so it won't be hard to keep track of coverage. There's clearly no gaps in the white gelcoat here:
Once I had an excuse to lay up a bunch of parts, these got added to the lineup:
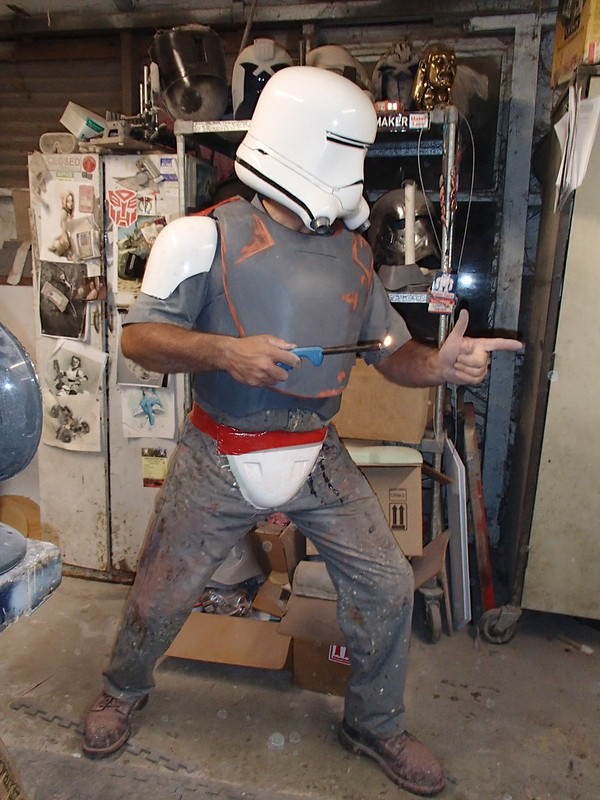
And after a quick trim, I had to try them on:
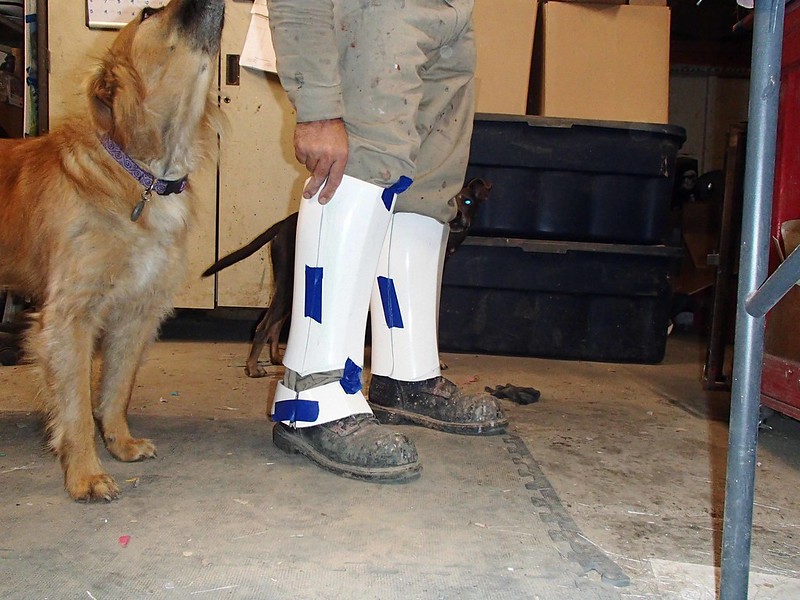
The dogs were still not impressed.
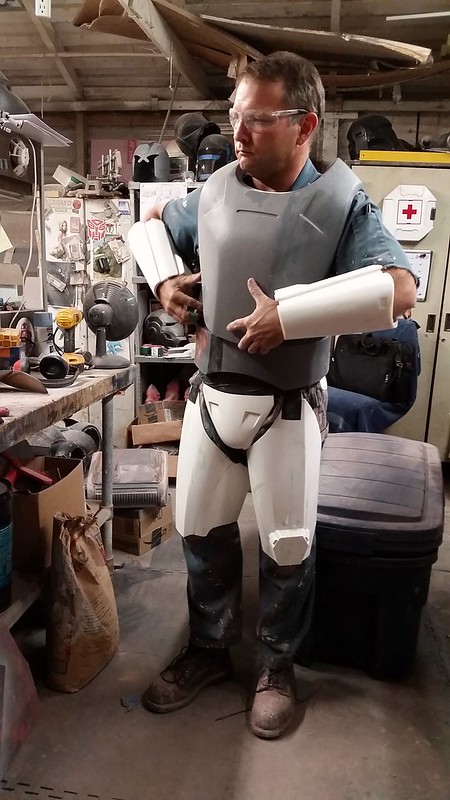
Some weeks later my friend Jason was in the shop and I was surprised to realize that I basically had a complete set of armor parts in a box that I'd never actually put on anybody. So we had to grab a roll of gaffer tape and strap him in:
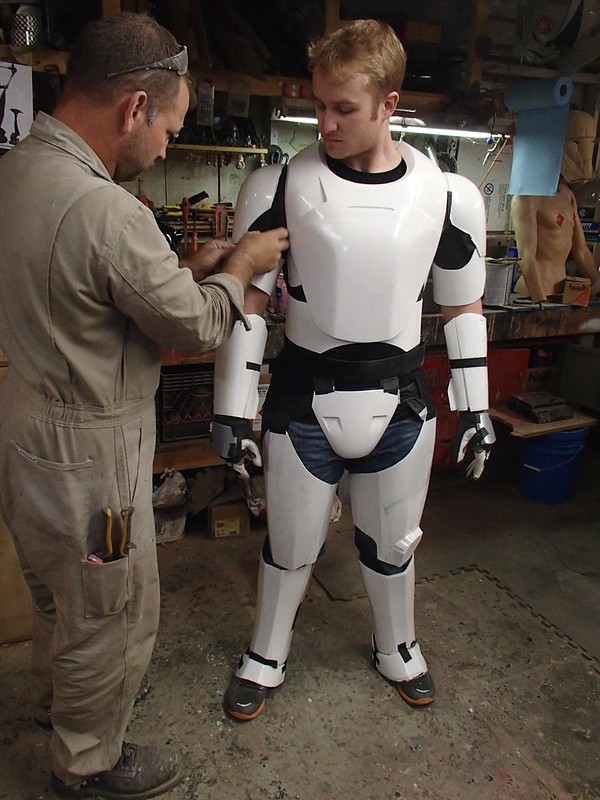
Jason's a bit bigger than me, so if he can squeeze into this suit, I'm sure I'll be able to rock it.
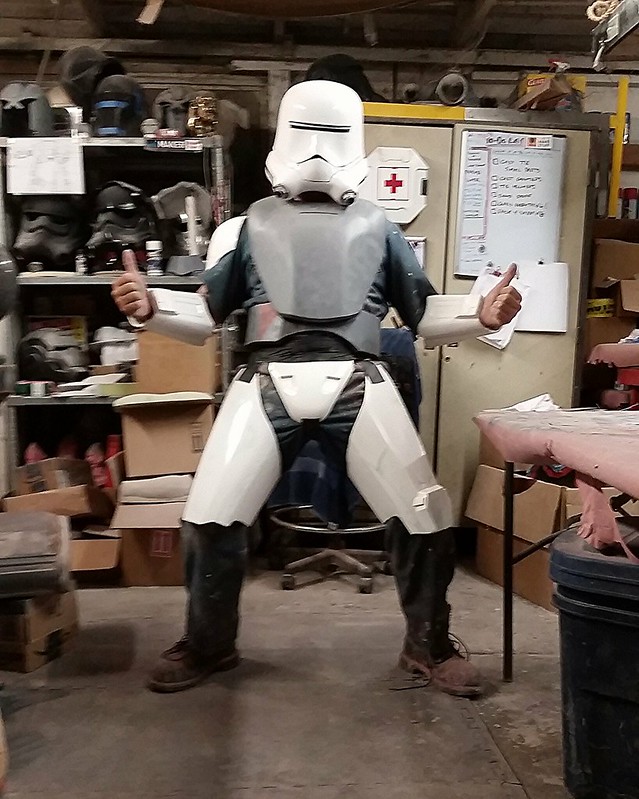
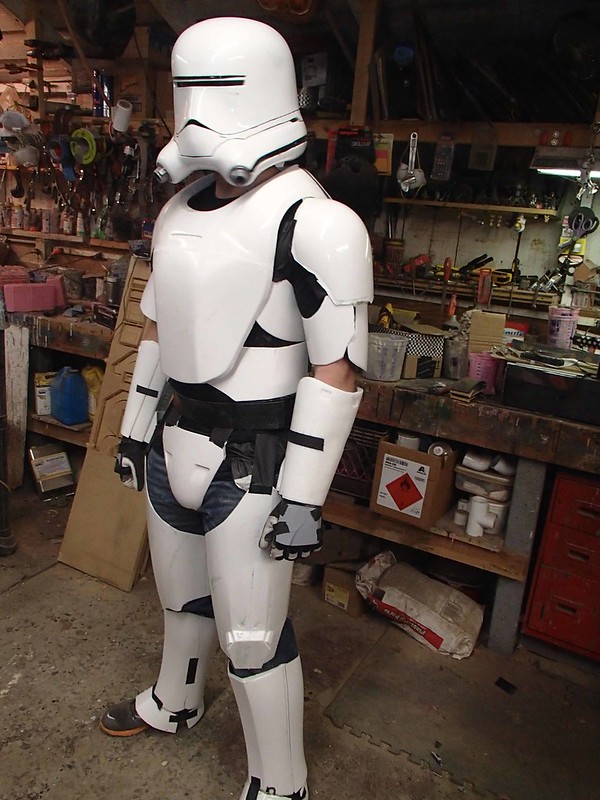
So now all it needs is a bit more sanding, some paint, proper straps, the white strip behind the belt, and an undersuit, and it'll be good to go:
Then I can focus on making a better version of the flamethrower:
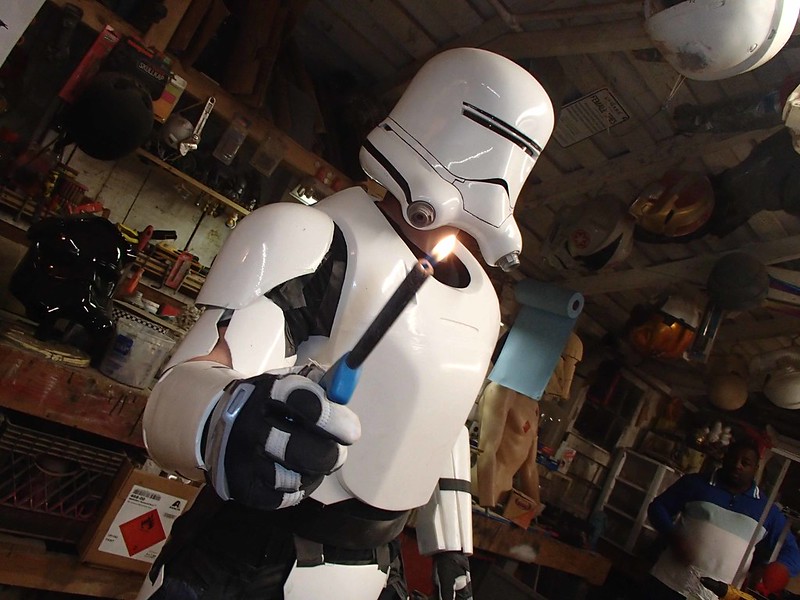
That part promises to be a much better story. There will be fire.
Stay tuned...
I tend to like stories that have "There will be fire" in the description. Looking forward to it!
ReplyDelete