
Part 1: Building the Rack of a Goddess
Part 2: It's Hard to Find a Model with Four Arms
Since she now has four arms, it's time to give her something to hold onto. In most traditional depictions, Kali is shown carrying a sword or trident, a severed head representing the human ego, and a skull-cup or "Kapala" to catch the blood draining from the head. Here's the way she looks in SMITE:
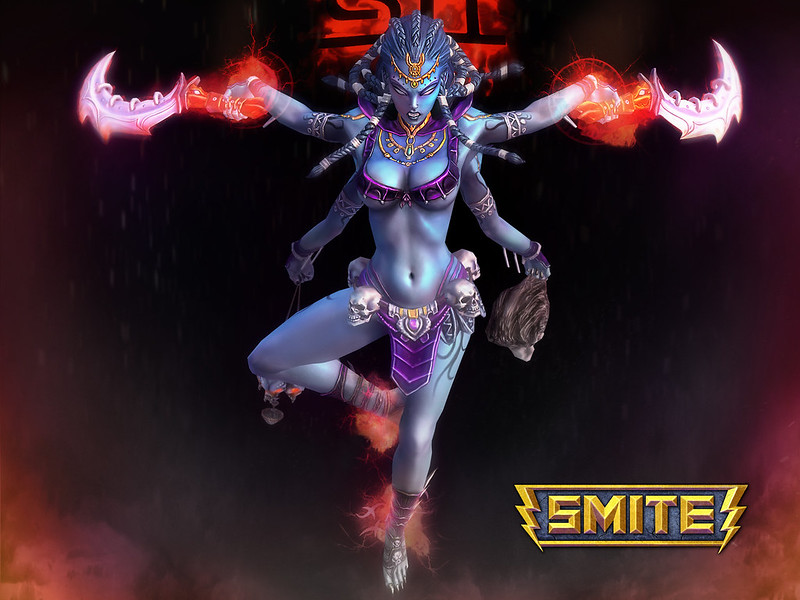
If you'd like to see how I went about making the swords, the cup, and the severed head, read on.
The first thing I started with was her...
Swords:
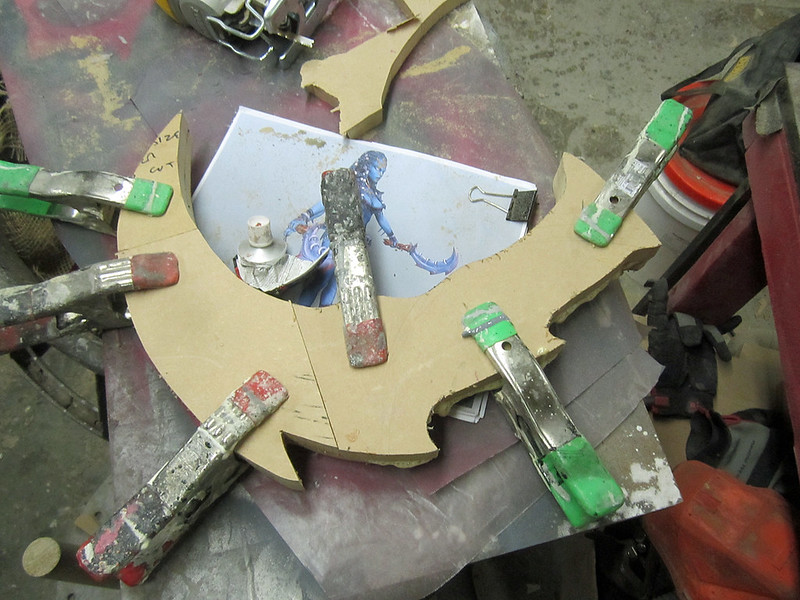
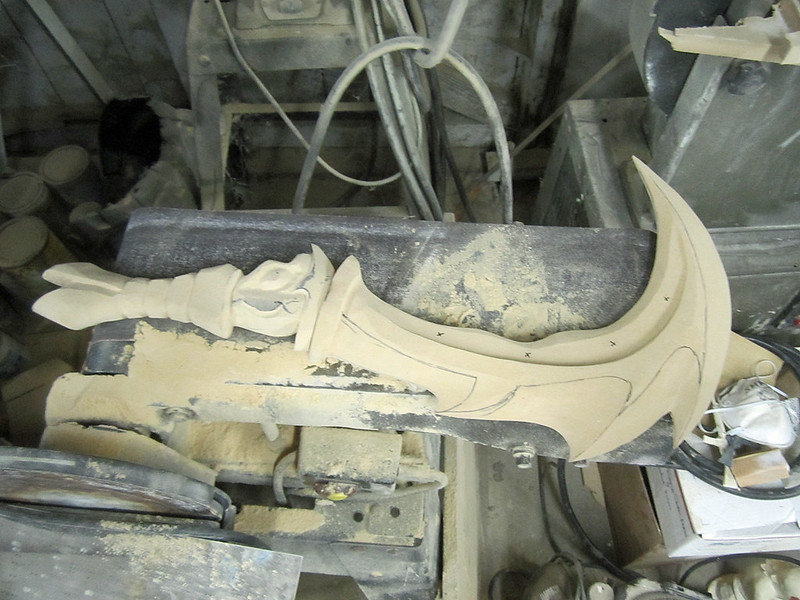
Since she carries a matched pair of swords, I was able to get away with one sculpt which I molded and cast two copies of. Here's the rough outline of the blade cut in a couple of slices of MDF:
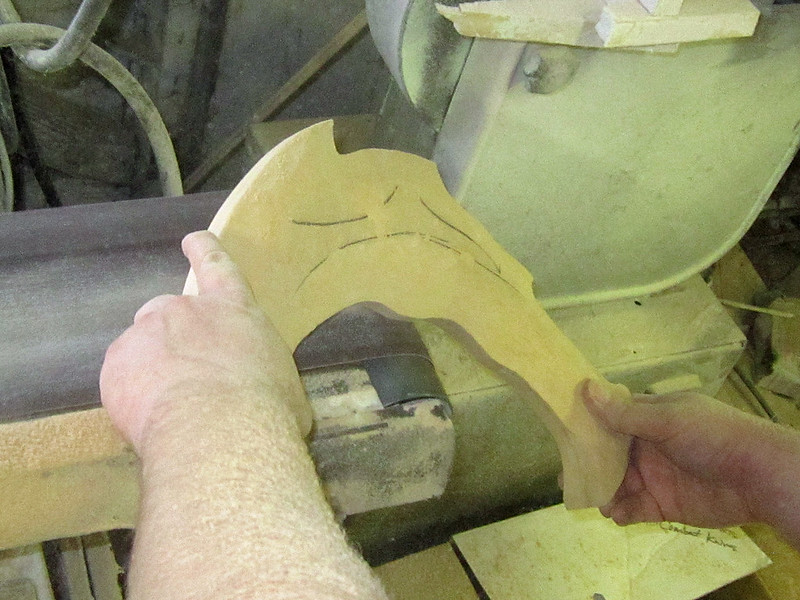
I did the very coarse shaping with the belt sander:
Here I am checking the scale of the rough-shaped handle:
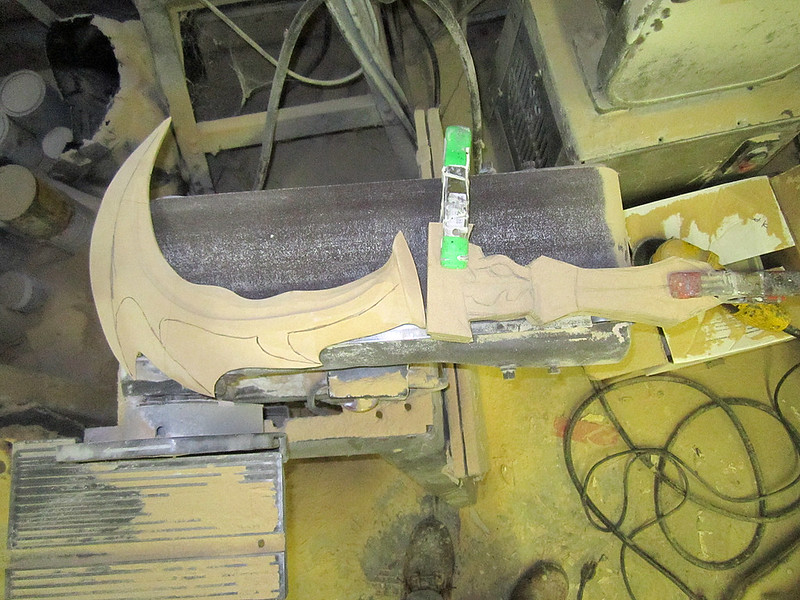
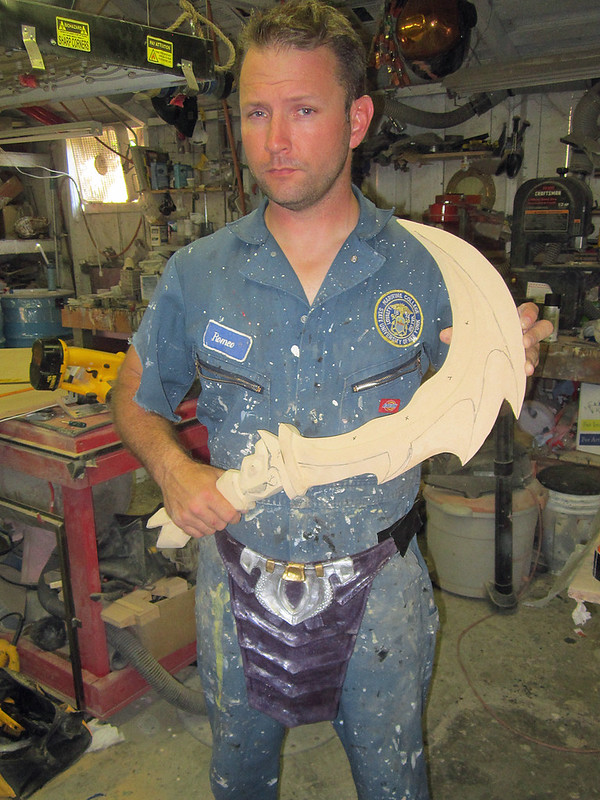
Using a Dremel rotary tool, knives, and more time on the belt sander, I refined the shape a bit more:
Here I am checking to see that the size seems right:
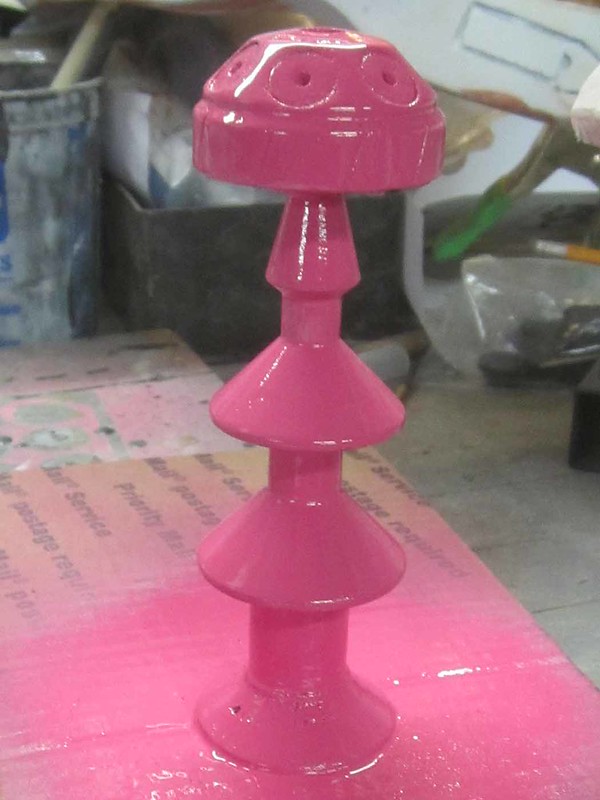
When I was completely satisfied with the shape of the grip, I gave it a few coats of my standard prototype color:
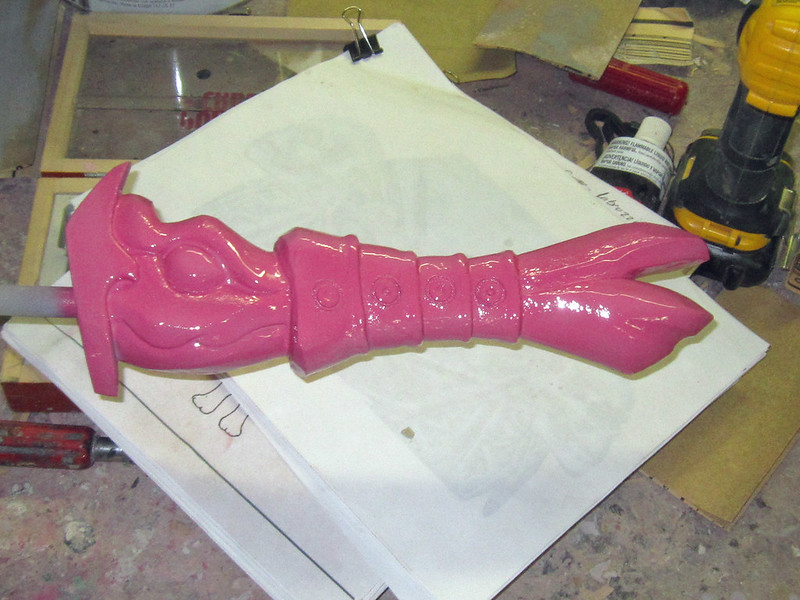
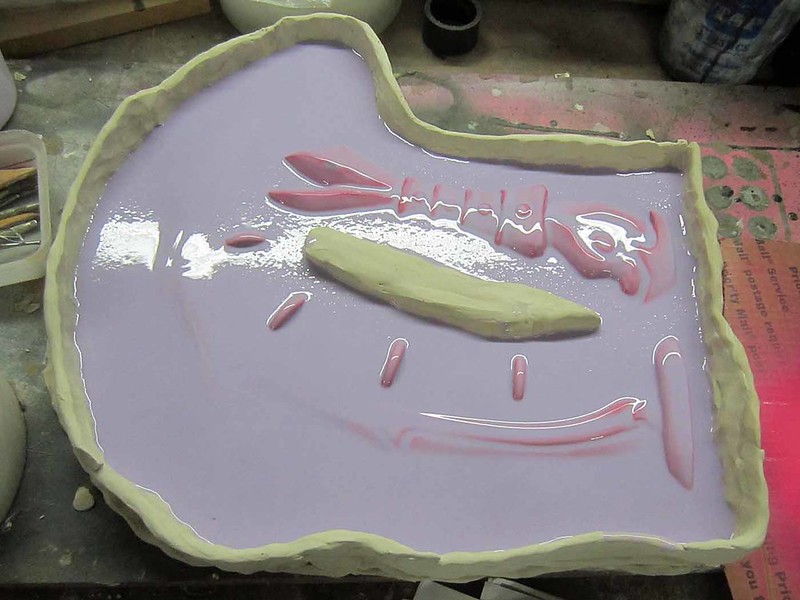
With the blade smoothed out and shiny, I went ahead and built up a clay mold box:
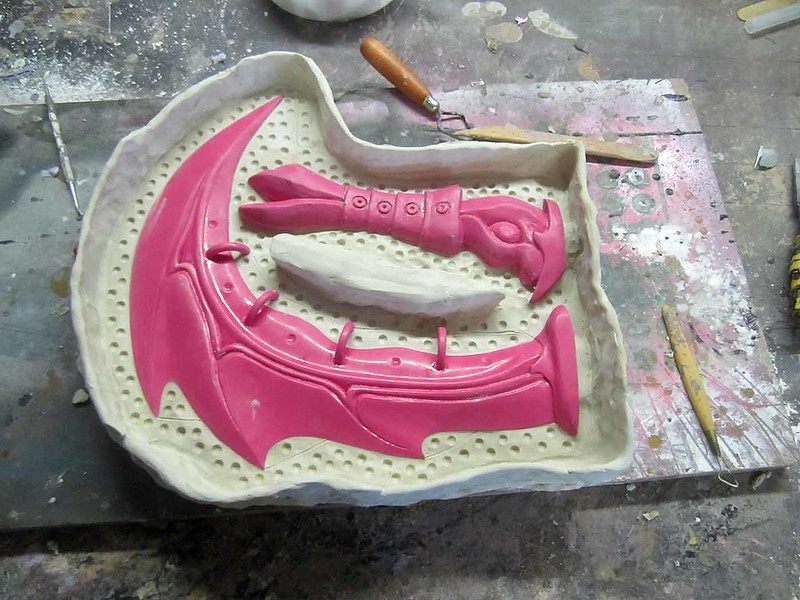
The little dimples will become registration keys to help keep the two halves of the mold aligned during casting.
Here's the first batch of silicone poured into the mold box:
After building up a layer of thixotropic silicone, I stuck on a few blocks of silicone (molded in an ice cube tray) to keep the rubber parts aligned in the fiberglass mothermold. Here's the mothermold coming together:
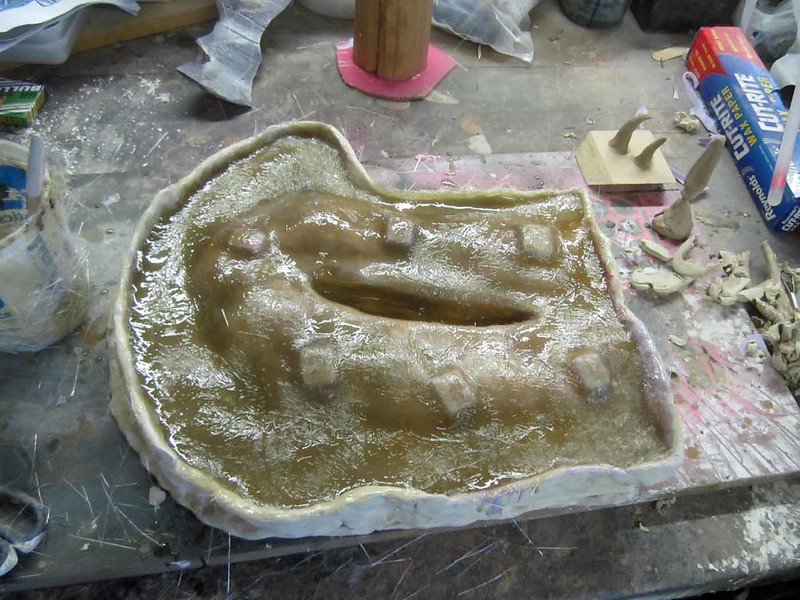
Once the mothermold was laid up, the whole arrangement was flipped over and most of the clay removed:
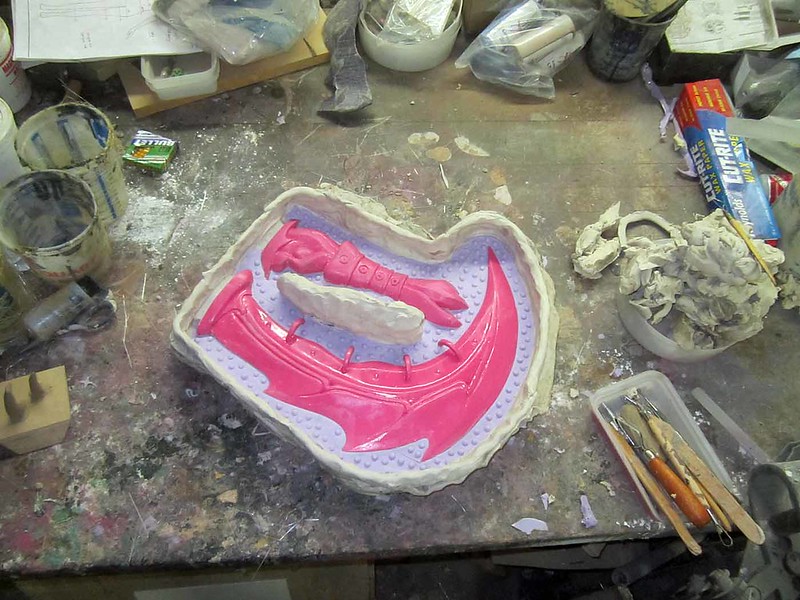
I sprayed a release agent onto the now exposed silicone and then repeated the silicone and mothermold process for the second half. Once that was done, it was time to separate the mold halves and remove the prototype.
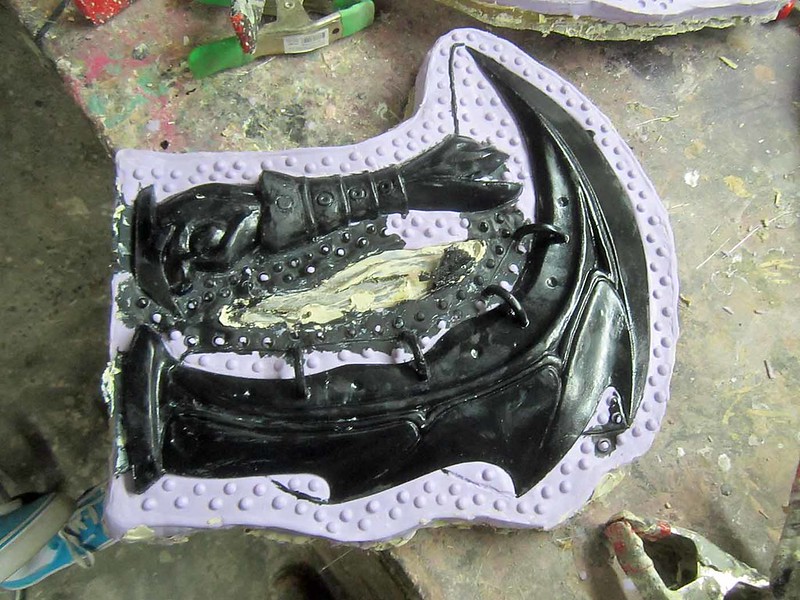
Here's the two mold halves:

Once they were bolted together, I went ahead and poured a casting in black resin:
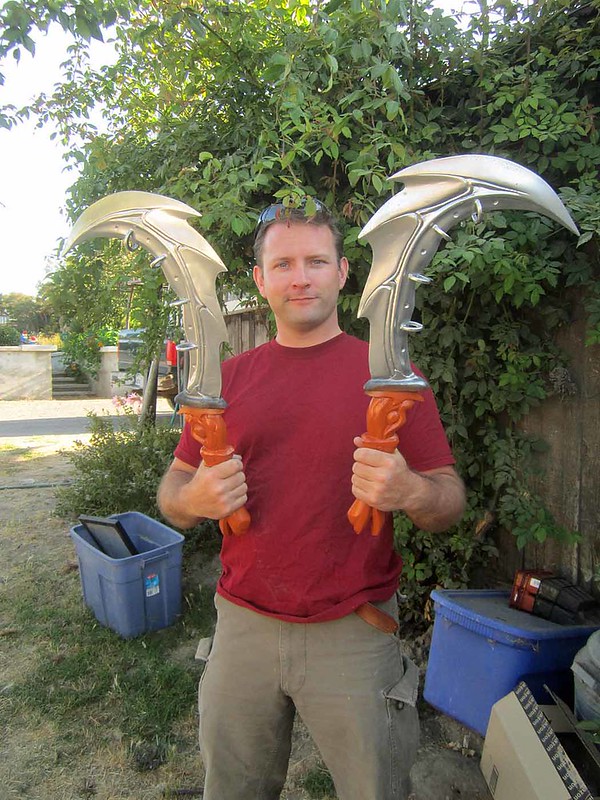
Here's the first cast assembled:

After a bit of cleanup I gave it a coat of black primer. Then I painted the handles so I could, you know, handle them:
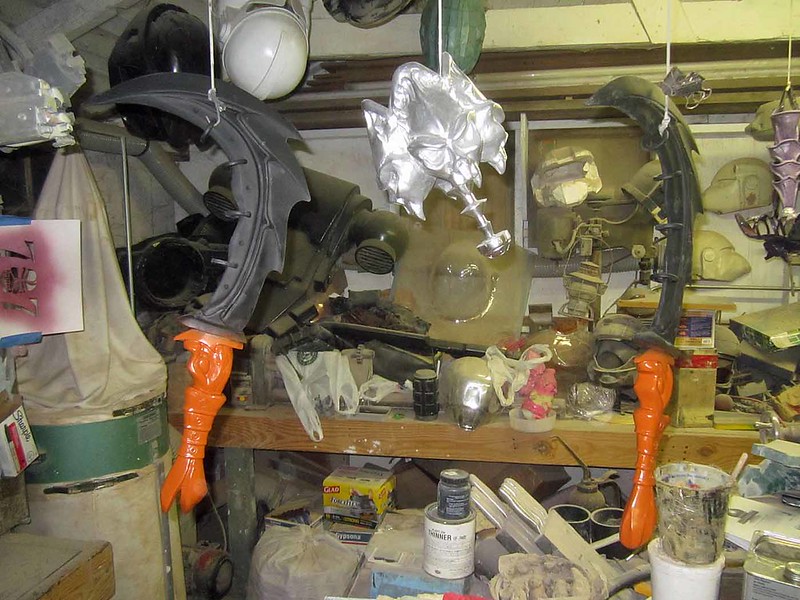
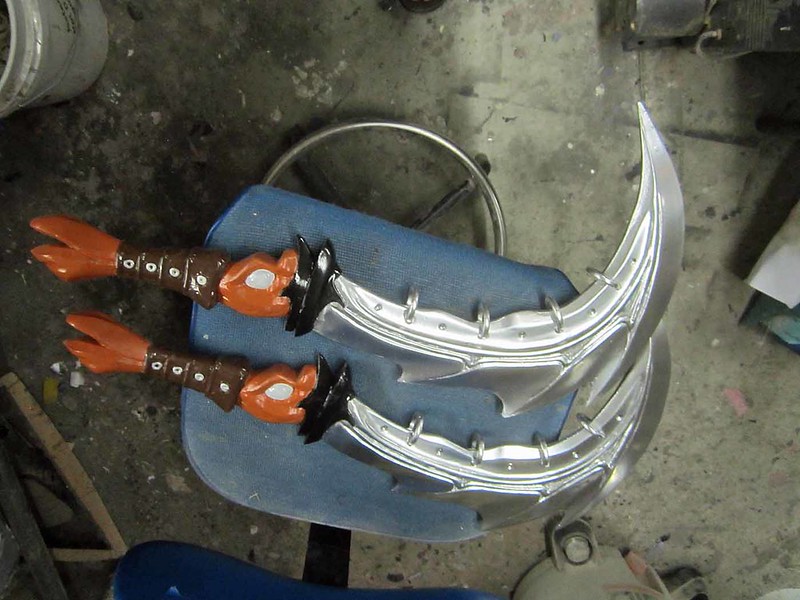
For the blades I used a variety of chrome and aluminum colored paints:
Here they are with the details picked out:
With the swords finished, it was time to move on to...
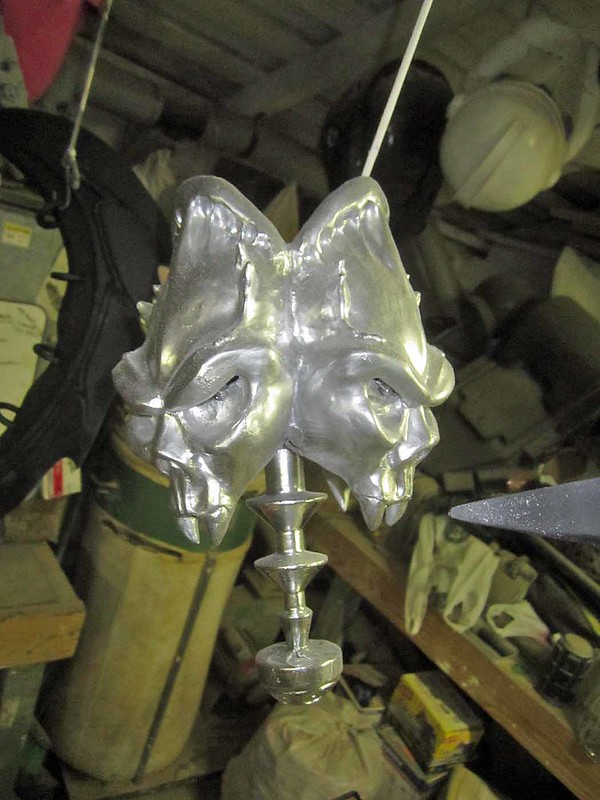
The Cup:
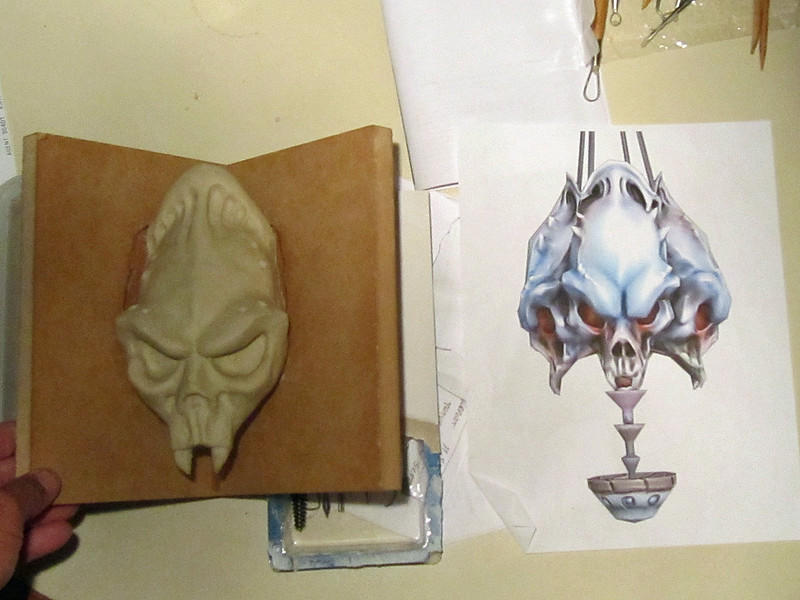
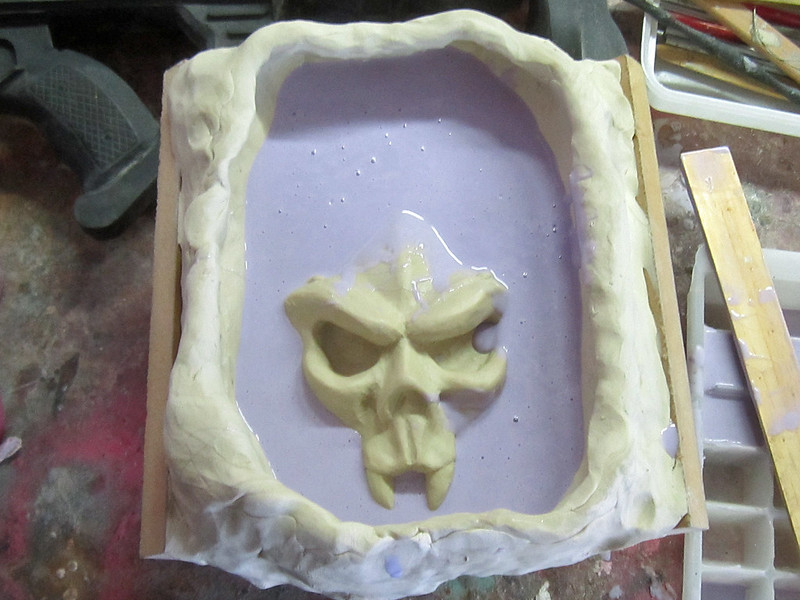
In this case, the cup has four matching sides, each with a stylized skull. Here's the nearly completed sculpt for one side:
Once I was happy with the sculpt, I built up a clay wall around it and made a silicone mold:
Here's the mold after I'd removed the original sculpt:
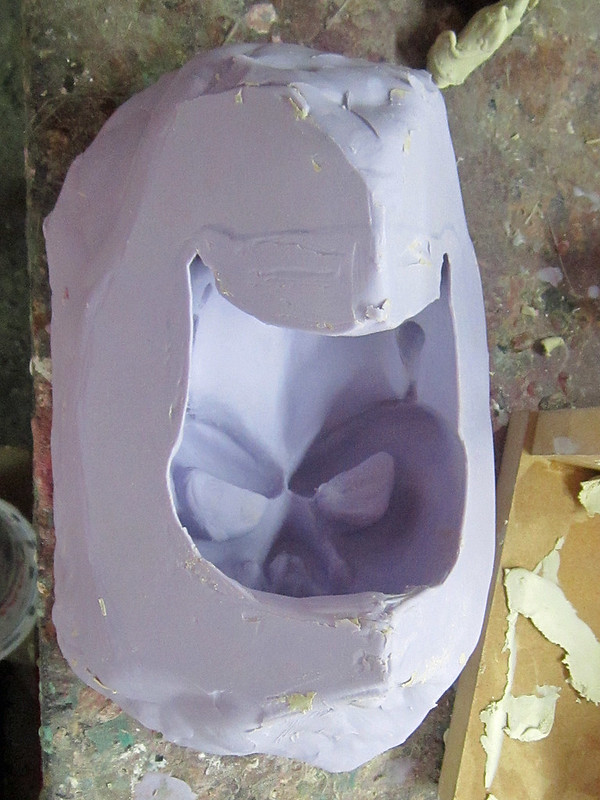
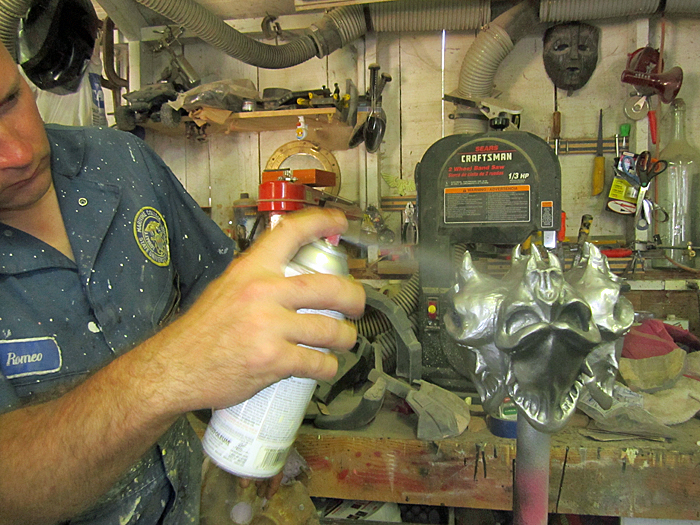
I rotocast four copies, glued them edge to edge, and gave them a coat of primer:
Then the whole assembly got a basecoat of chrome spraypaint:
Then it sat unfinished in the workshop for a while while I concentrated on other aspects of the build:
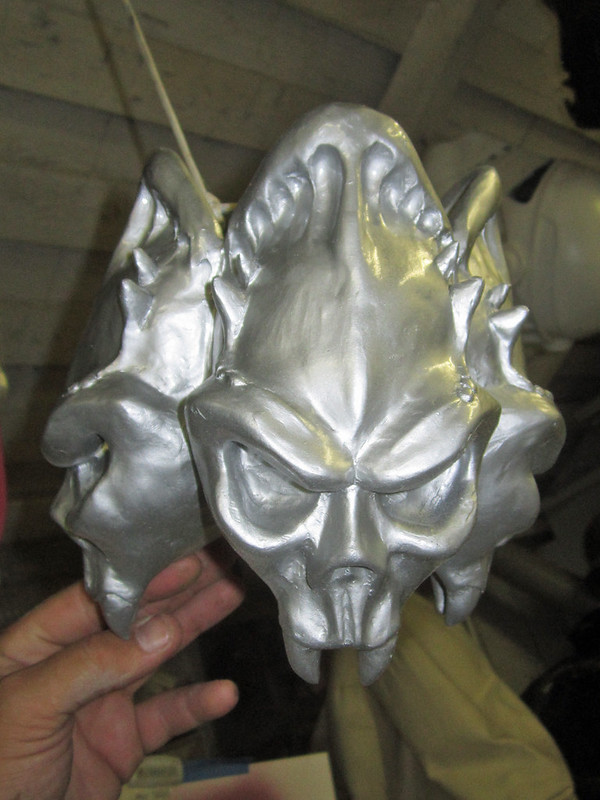
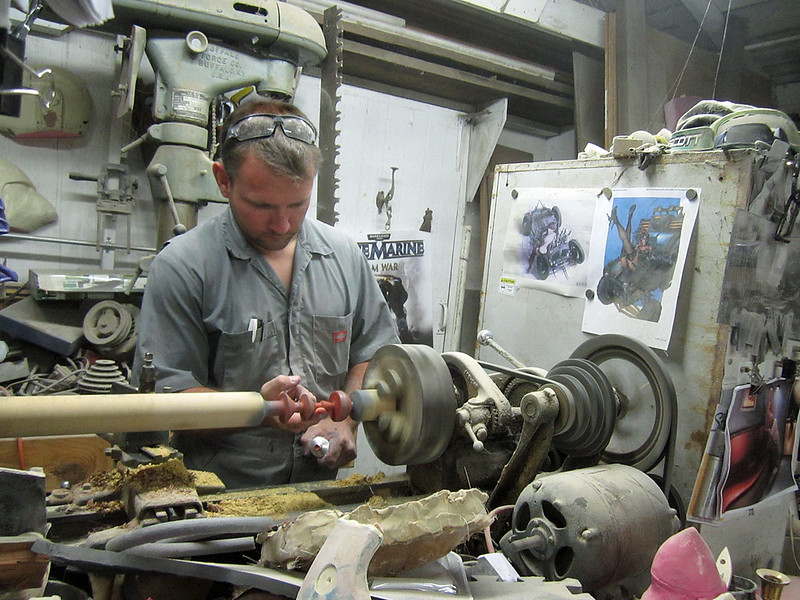
Matt got the stem started on the lathe:
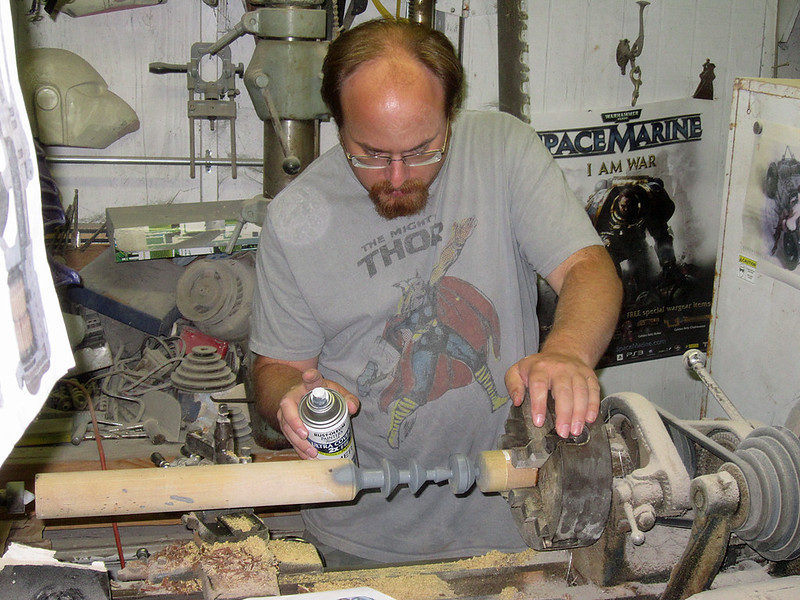
Then I finished it:
Here's the prototype before molding:
With the stem attached, the cup was nearly done:
The last thing was to wire up the lights for the eyes:

At this point, the whole project was fast approaching its deadline. All that was left was...
The Severed Head
I had hoped to find a suitable severed head that I could buy, then just add a wig and hang it from her rear right hand, but I didn't find anything I liked.
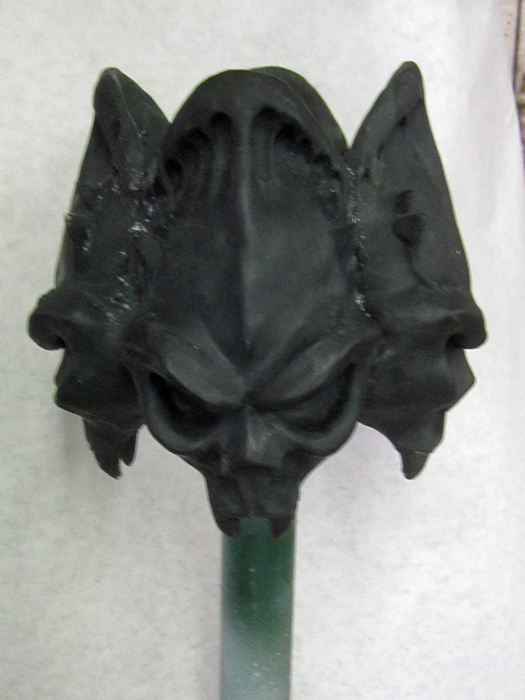
Instead, I dusted off a sculpting armature, pulled out the game renders of the head, and started sculpting:
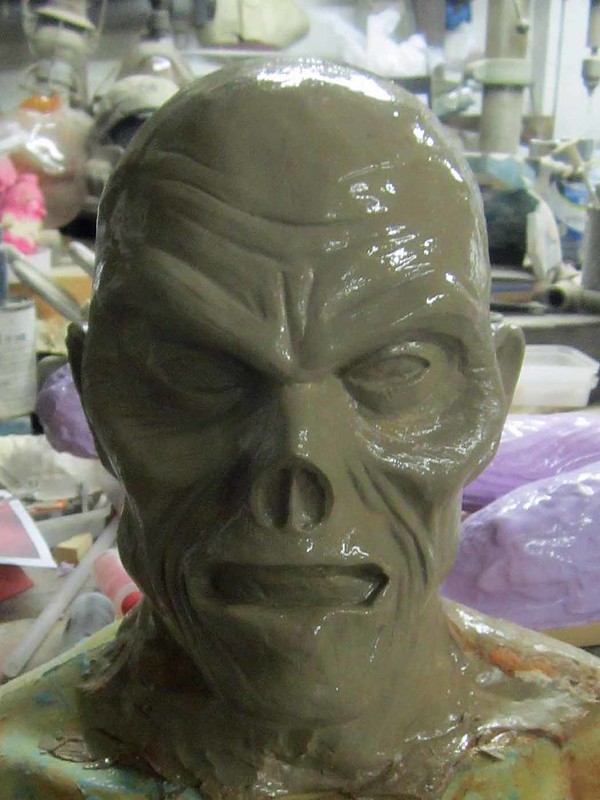
The finished sculpt looked like some freakish bastard child of Eddie from Iron Maiden, the Swamp Thing, David Bowie, and Clint Eastwood, but I pressed on. I laid up a stone mold, slipcast the head in latex, and then backfilled it with soft urethane foam.
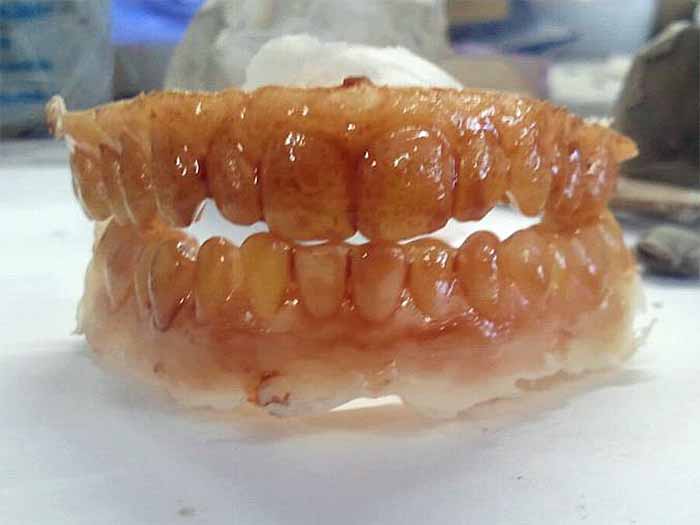
Since I didn't have any spare teeth laying around, I had to resort to pulling a mold of my own teeth, casting them in dental acrylic, and then staining them to an appropriately decayed color:
Here's the head with the acrylic eyes and teeth installed, but before I did any painting:
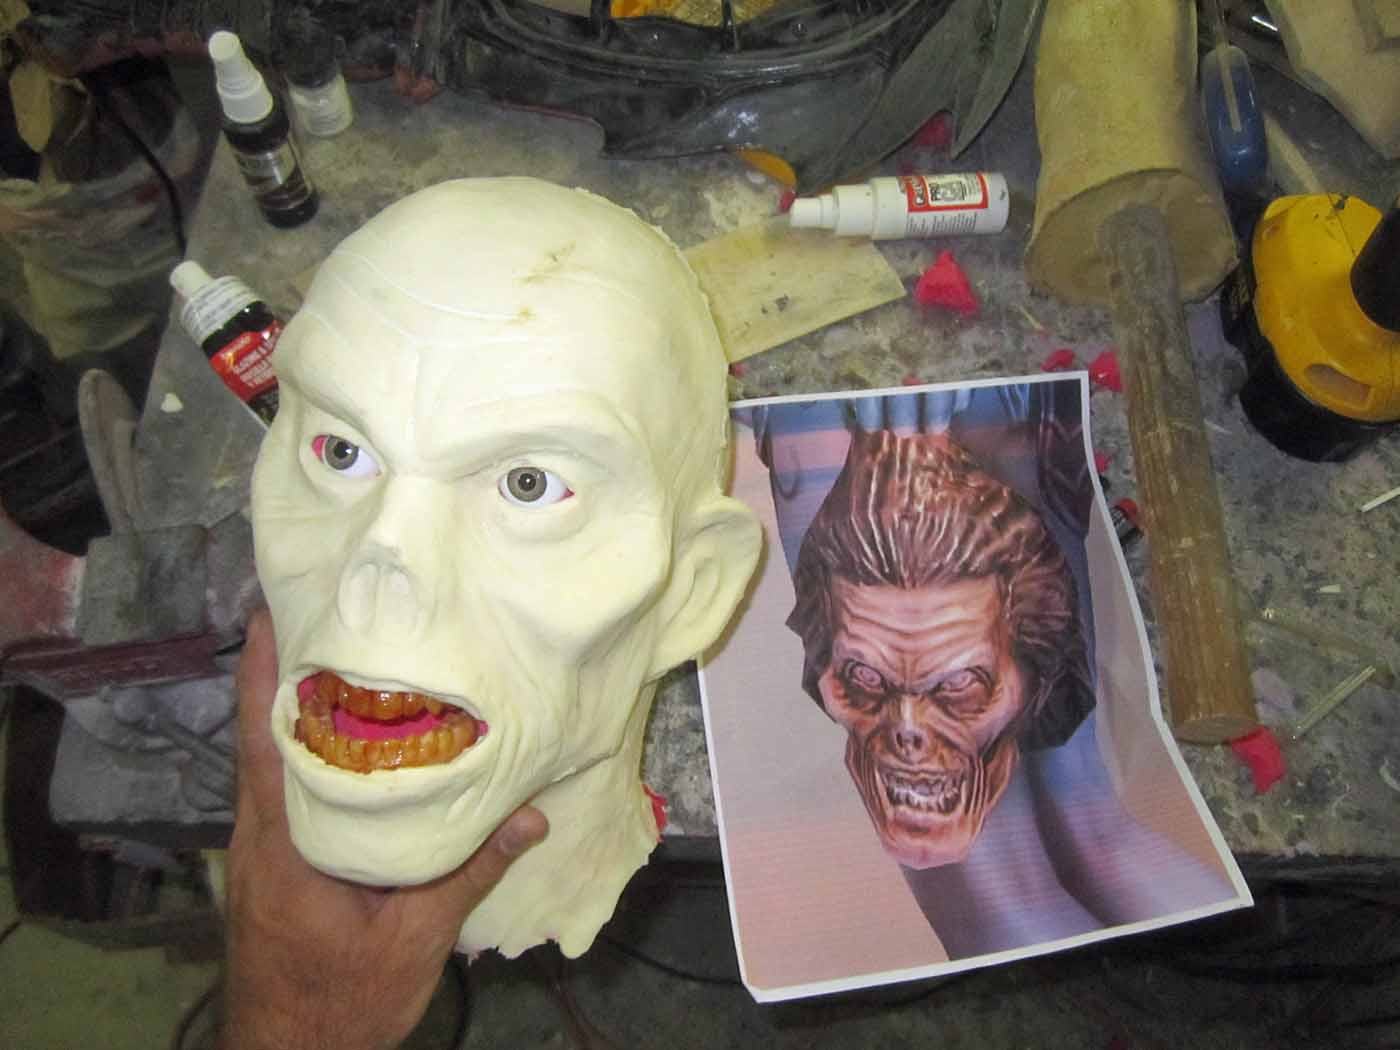
Not bad for a quickie project.
Unfortunately, I was up against a deadline and neglected to take progress pictures of the head being painted or attaching the wig. Rest assured, it worked out:
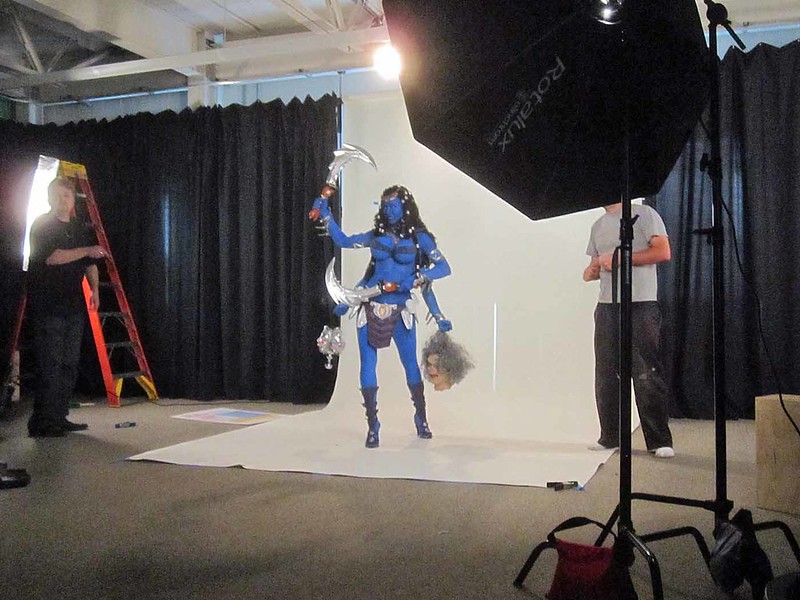
Next up: Wardrobe, hair, and make-up.
Be sure to subscribe so you don't miss any updates.
No comments:
Post a Comment