
If you've been following my blog for any amount of time, you've seen me mention my friend Matt several times. This particular project has been on his to-do list for quite some time. In fact, this year marked the fifth time he's gone as a Ghostbuster since the film was originally released. While most of those were thrown-together costumes when he was in elementary school or cheap store-bought outfits later in life, he'd never had a chance to really put together an accurate replica of the costume.
This project started in mid-September while I was out of town for my annual training with the naval reserve. I came home to find a corner in the shop completely filled with Ghostbusters paraphernalia and drawings. Matt took the lead on most of the build and I was glad to help where I could. Mostly I provided tools and materials in the prototyping phase, then got more involved in the final assembly and painting phase.
Since I never build one of anything, the plan was to get together as many people as we could to go out on the town looking like we'd just snagged a bunch of costumes and props straight out of the film. When all was said and done, there were nine of us.
For more pictures of the group and details about the build, read on...
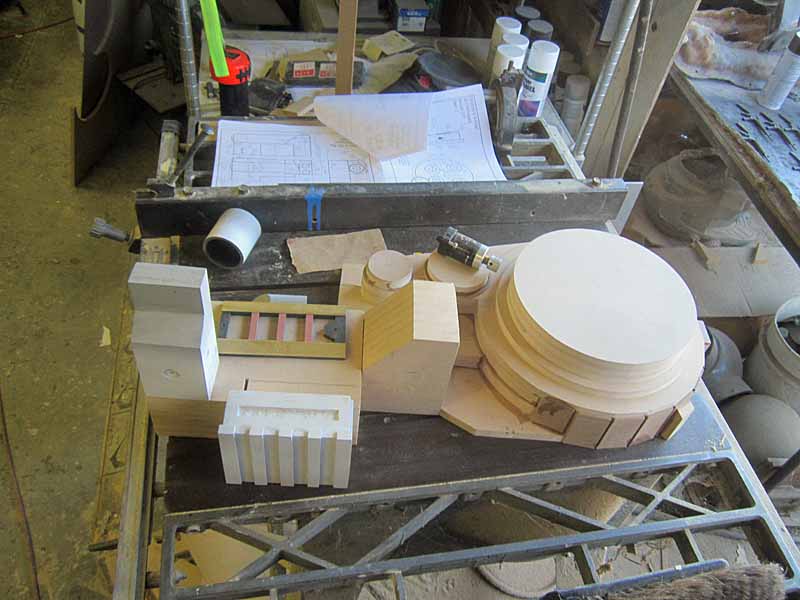
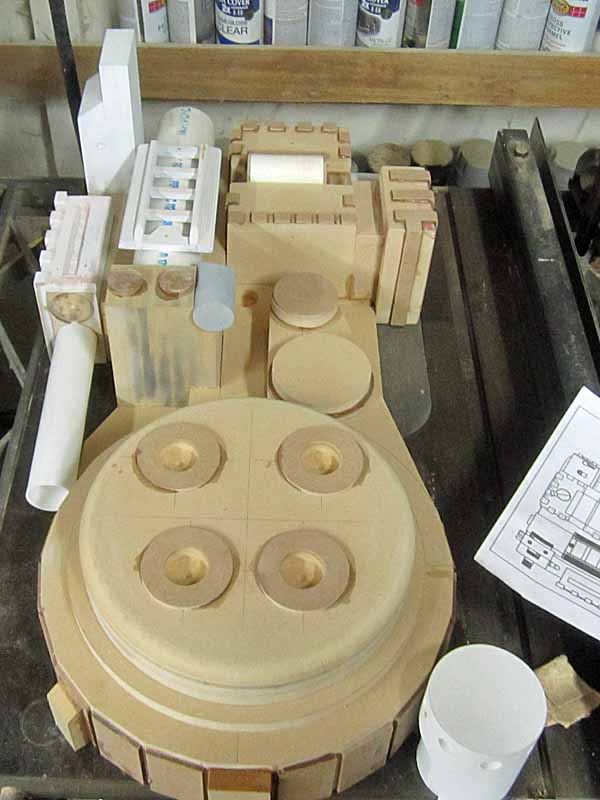
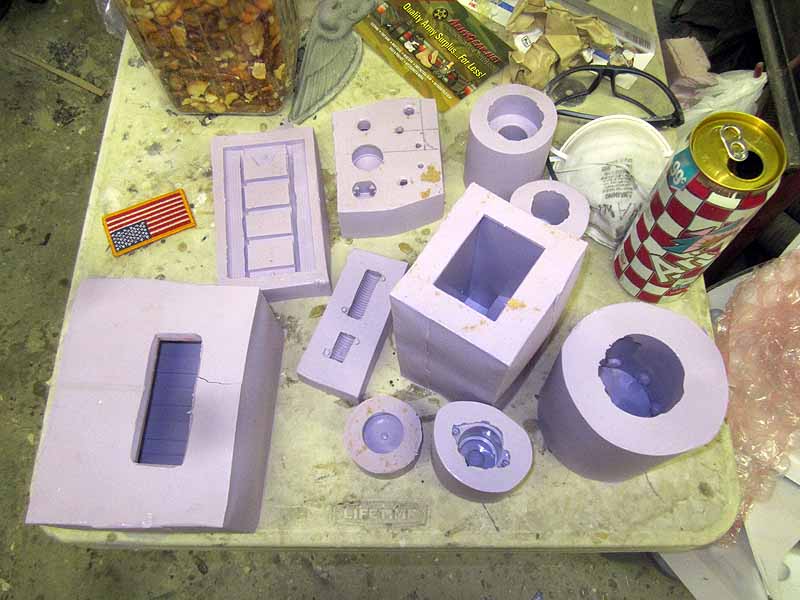
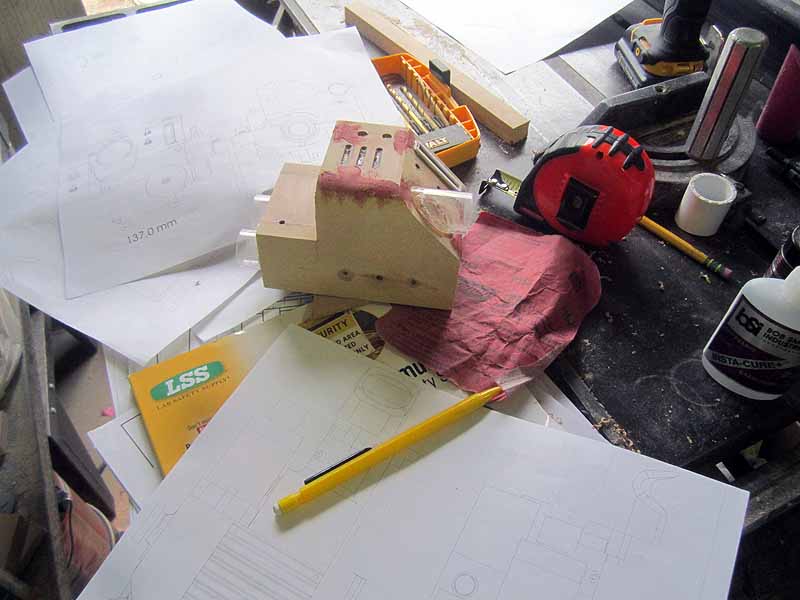
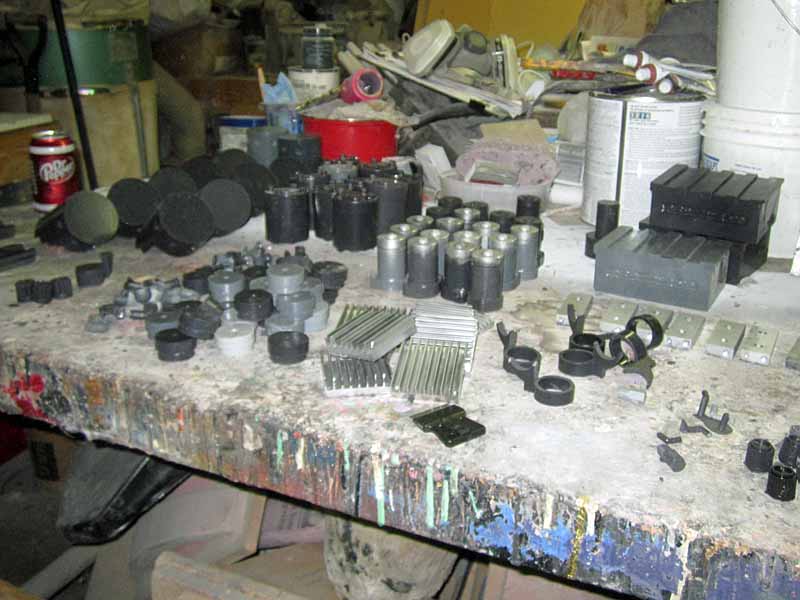
The main challenge in making screen-accurate Ghostbusters costumes is the building of the Proton Pack. Here's the pile of parts I found in the workshop when I returned in the end of September:
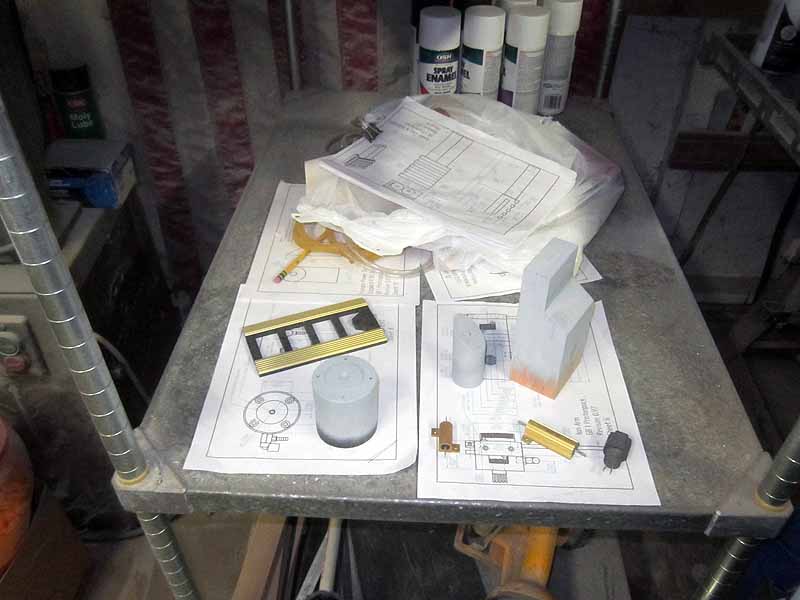
Some of these are scratch-built to match drawings and dimensions taken from a screen-used proton pack. Others were found items. Many of the widgets and greeblies used in the films have long been out of production, so it required a lengthy search both online and at the local electronics surplus shops.
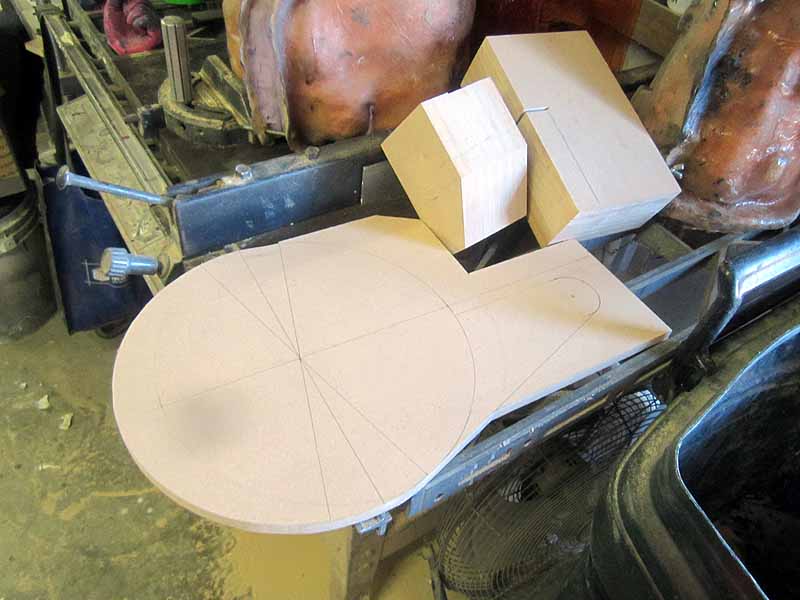
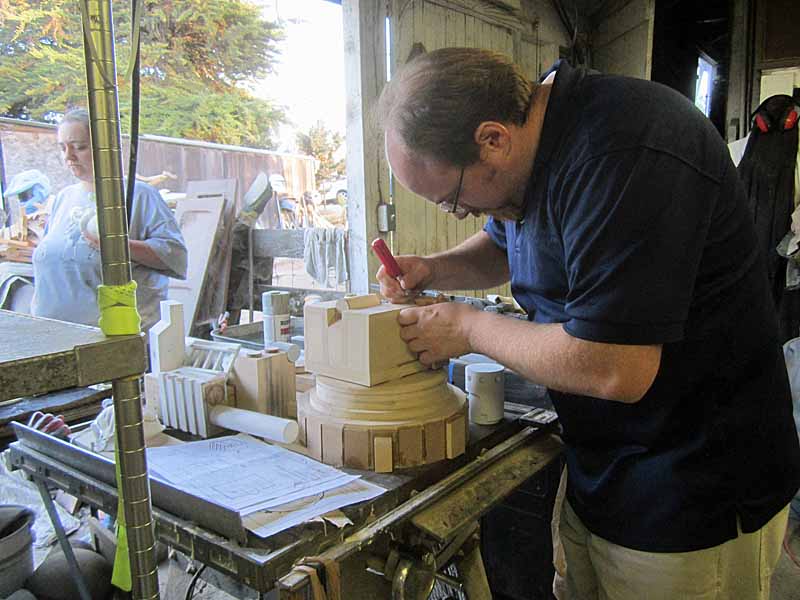
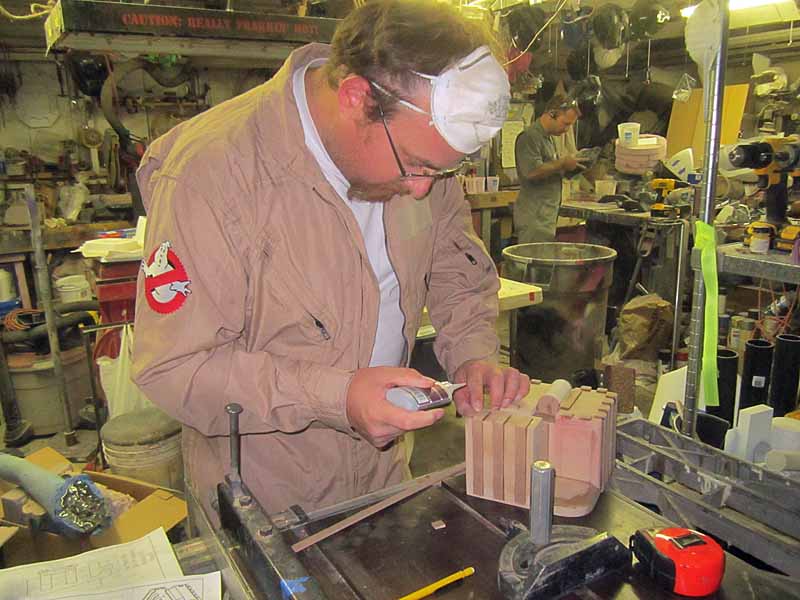
When that wasn't going on, Matt was transferring the drawings to pieces of 1/2" MDF in order to build the forming bucks for the main body of the proton packs.
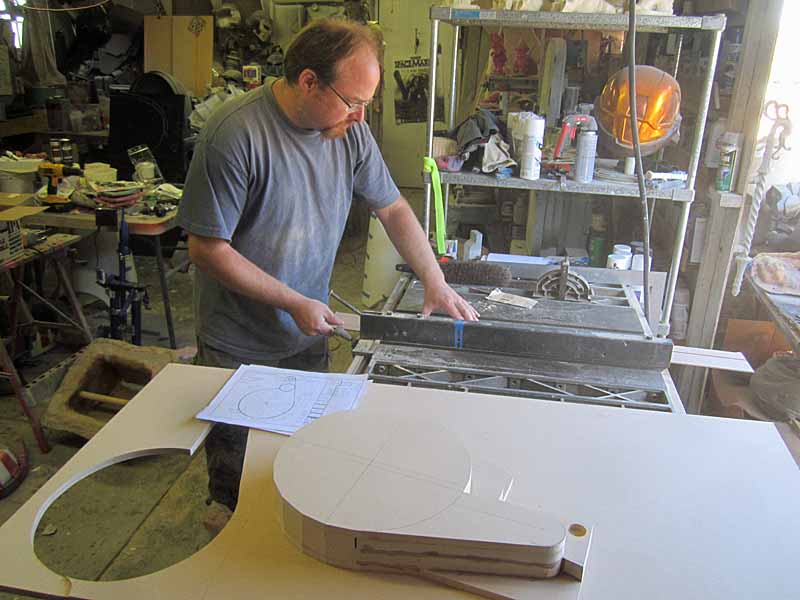
Here's Matt making sawdust on the table saw (an essential ingredient in almost everything that comes out of my workshop):
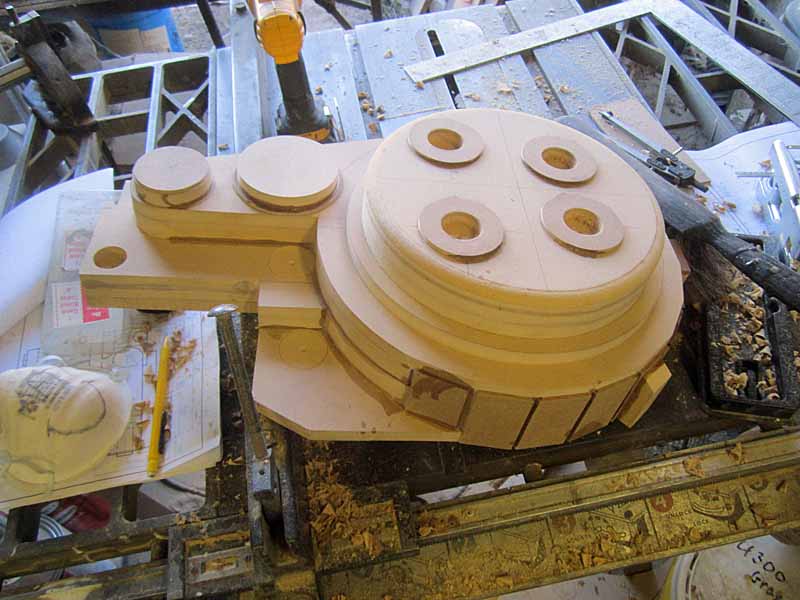
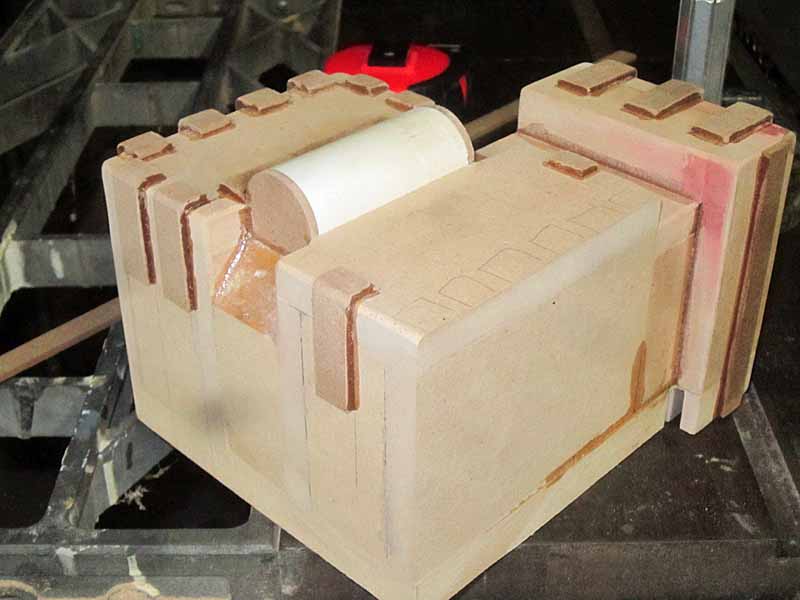
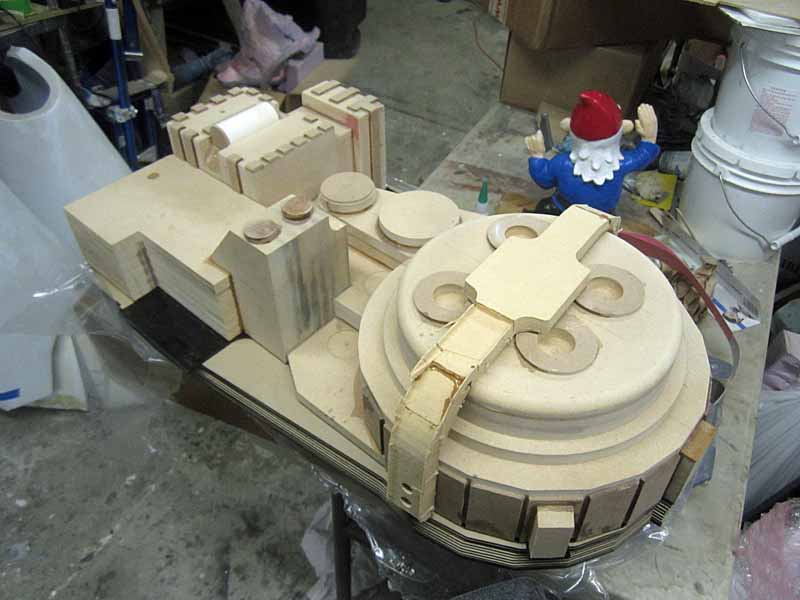
After a long afternoon of work, here's the forming bucks with some of the small details stacked on top of them:
The next day was spent detailing the form for the lower body:
With that done, work continued on the upper section:
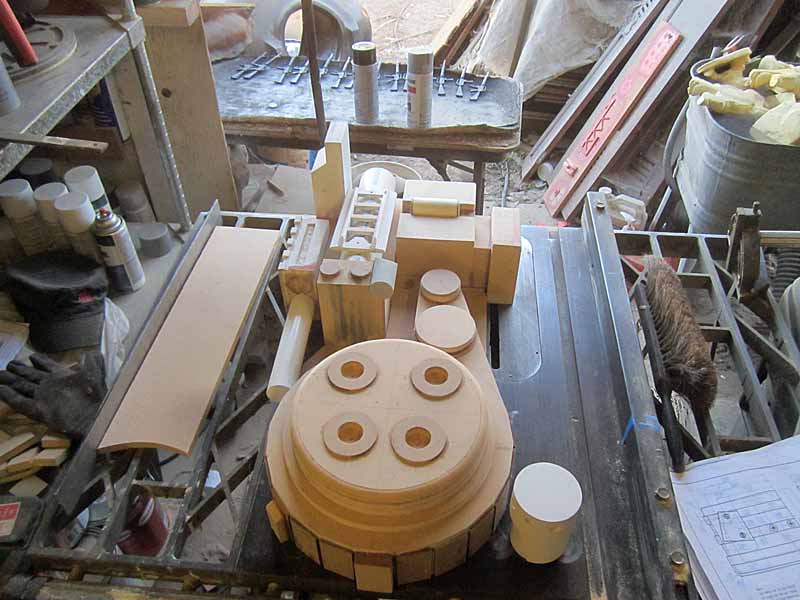
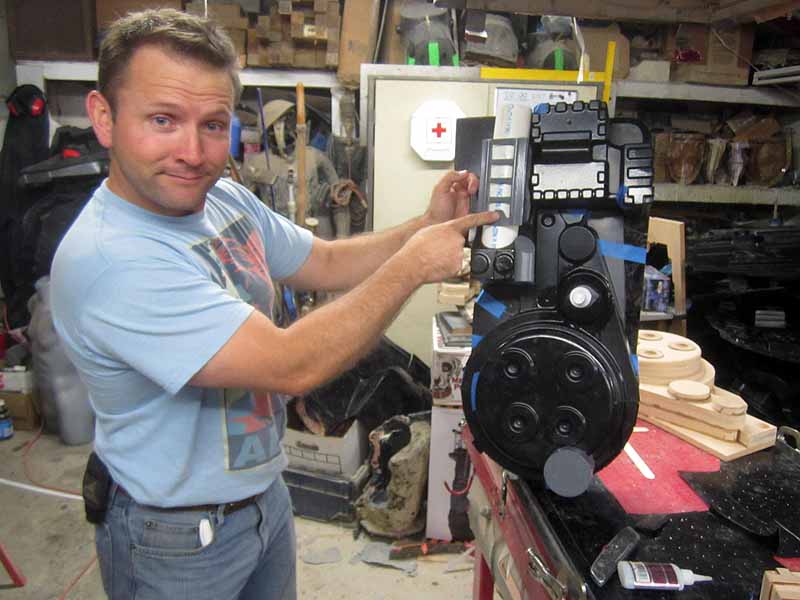
After two or three afternoons worth of effort, he'd assembled most of the major components:
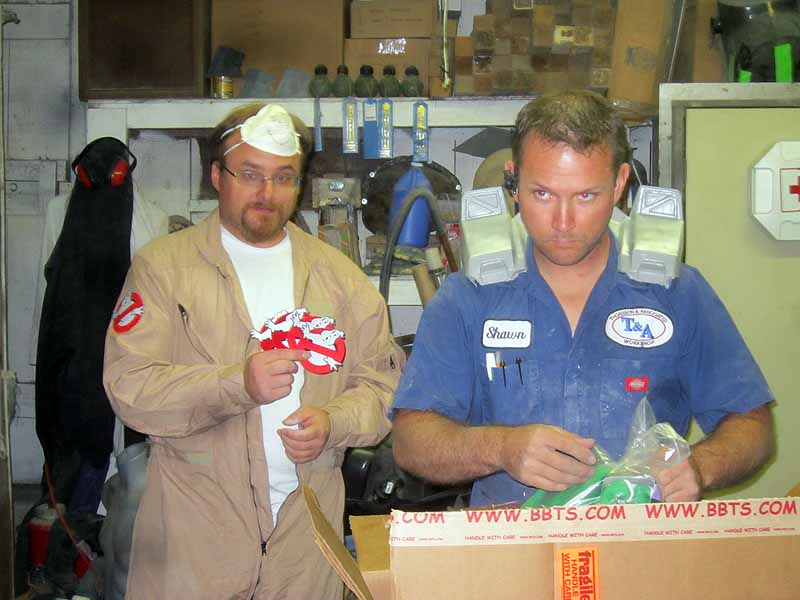
Meanwhile, we'd started to source some of the soft parts such as the flight suits (the MILSPEC CWU-27/P tan version) and the patches:
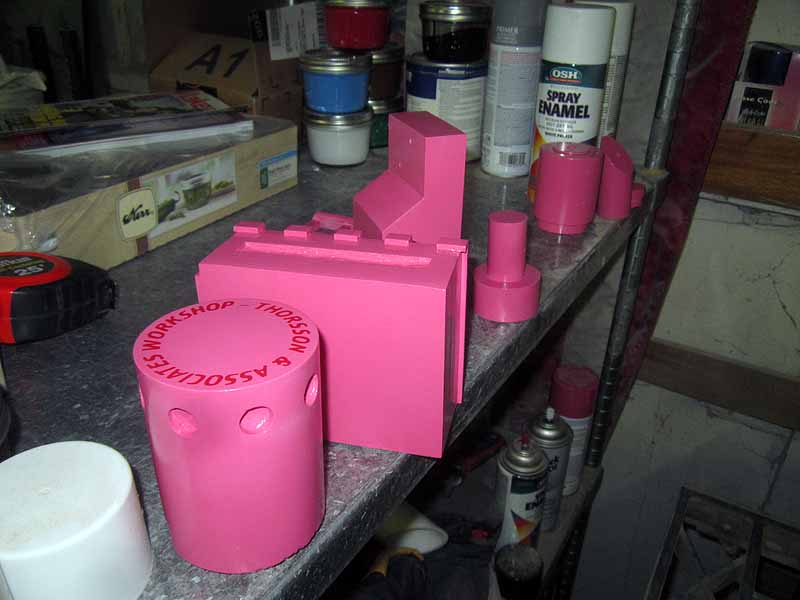
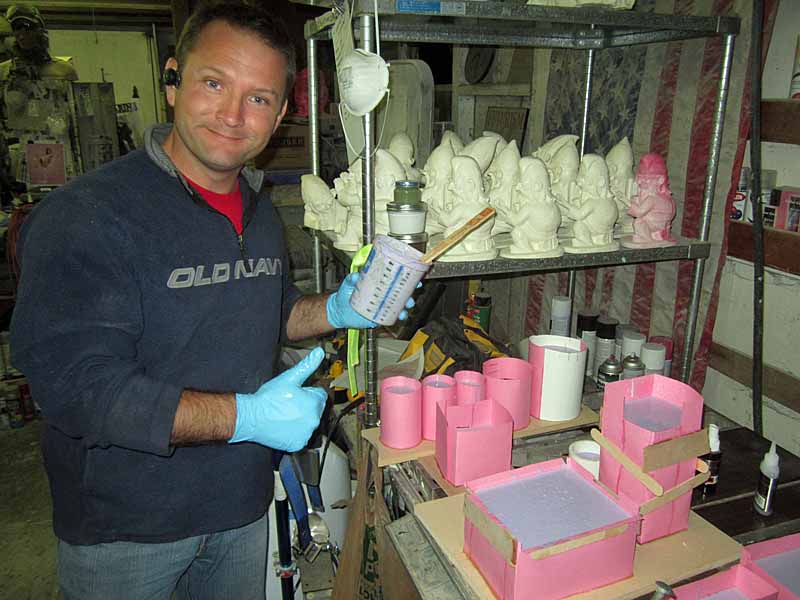
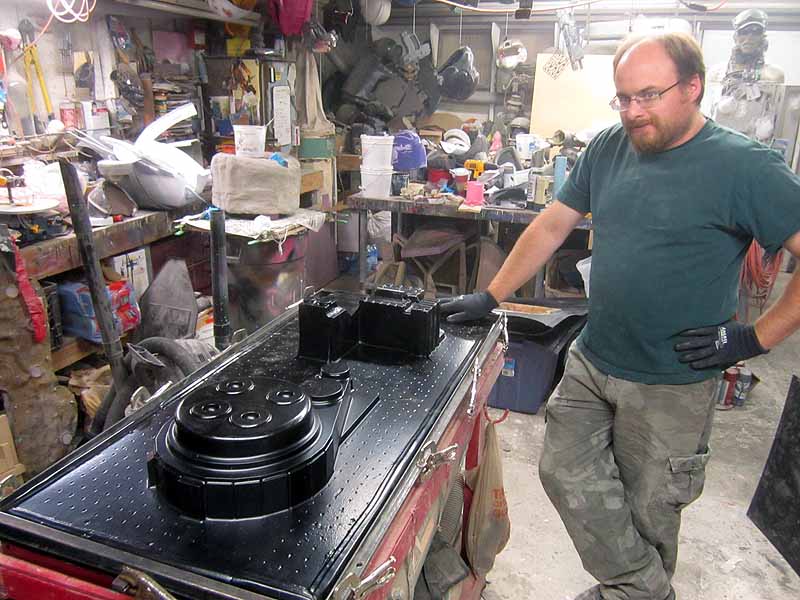
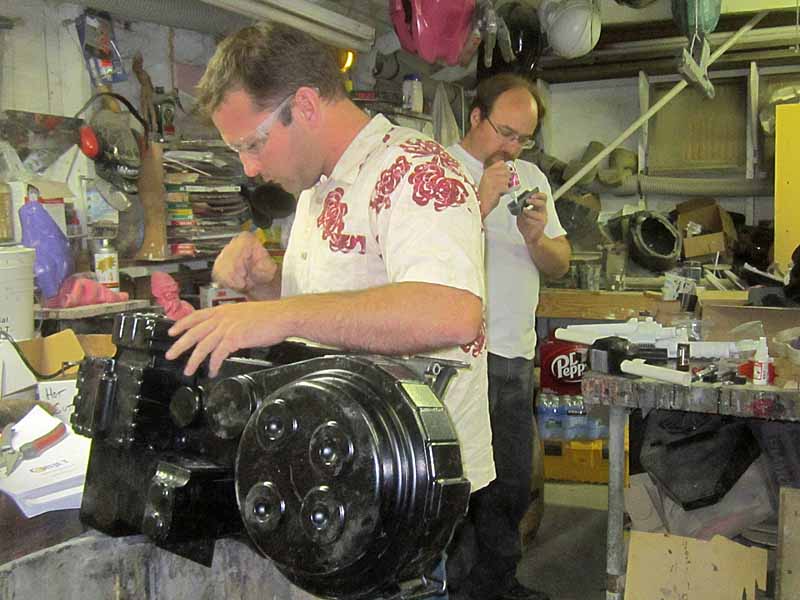
Once the smaller parts were smoothed out and we were happy with the details, Matt gave them all a coat of the now-standard prototype color in the workshop:

He even added a signature to the filter can that goes on the lower end of the pack:
In order to avoid blurring any of the details, the found items were not coated:

With everything ready to go, the next step was to build up mold boxes for all of the small parts:
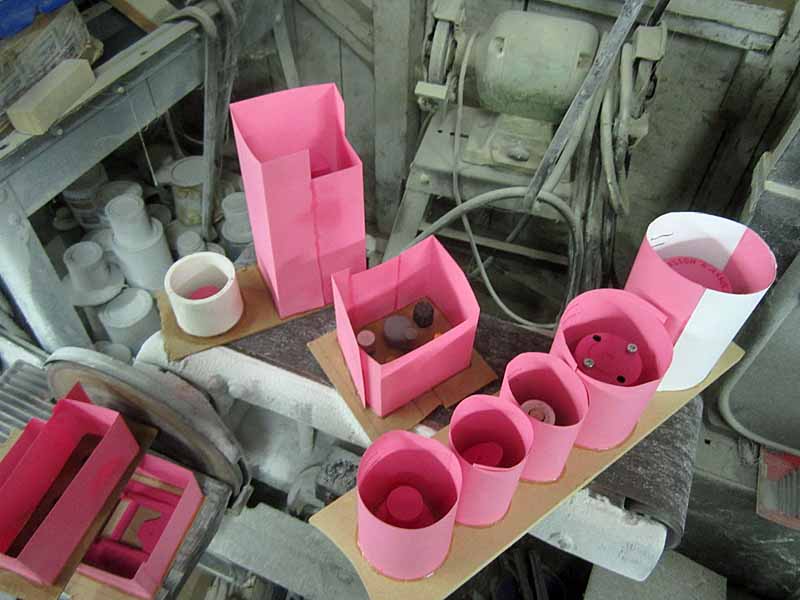
That done, I went ahead and poured silicone for all of the molds:

I'm very proud of these molds:

Here they are with the prototypes removed:
The last thing that Matt had to prototype was the main body of the "Neutrino Wand." Here it is before primer and paint:
While he was working on that, I had Lopez the Robot Whittler carve out a reasonable facsimile of the "bumper" that covers the lower end of the body:
Since all of the small parts were molded, it was time to start making duplicates. First up, we laid out the forms for the body shells on the vacforming table:

We pulled ten copies in .040" ABS sheet. Here's the first one:
After rough trimming, it was time to attach the shells to the laser cut acrylic "motherboard." Here's the motherboard before the protective brown paper had been removed:
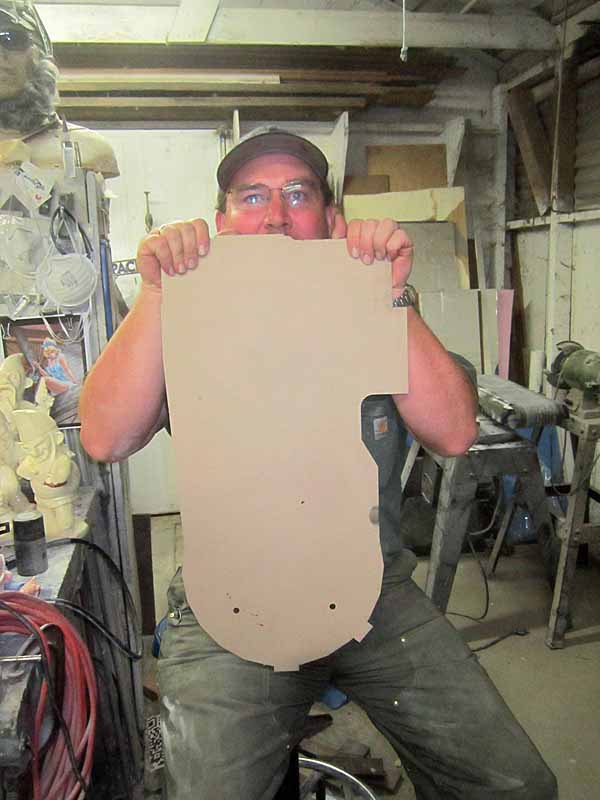
The acrylic "motherboard" ends up being the backbone of the entire construction. This piece gets bolted onto a stripped-down ALICE pack frame.Here I am attaching the vacformed parts to the motherboard using cyanoacrylate adhesive:
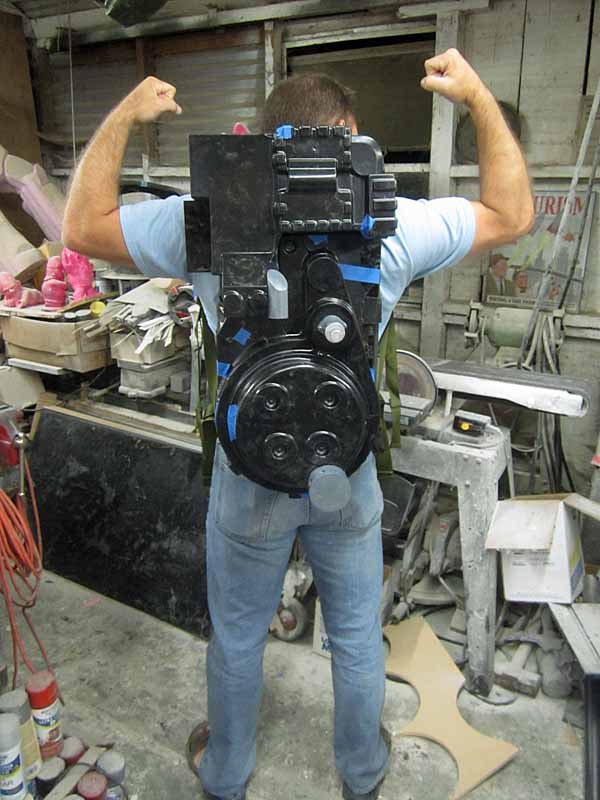
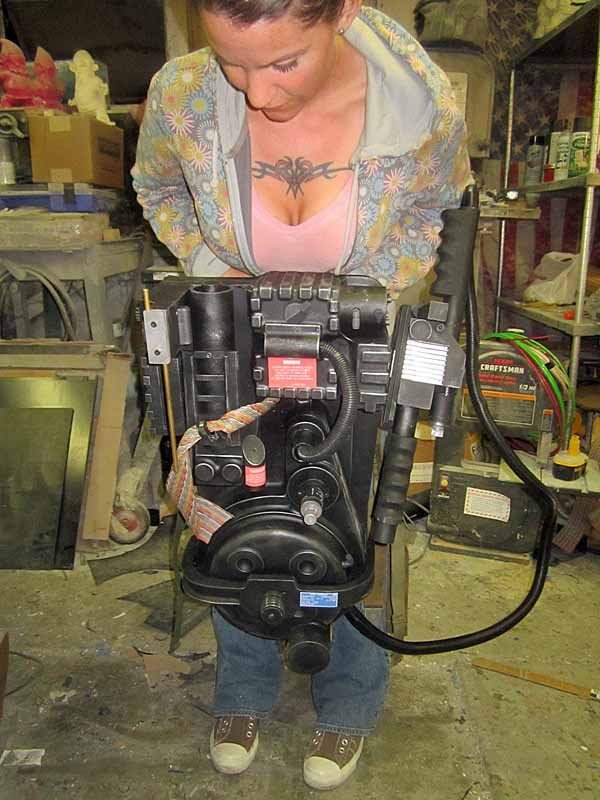
Once the shoulder straps and kidney pads are installed, it turns out it fits:
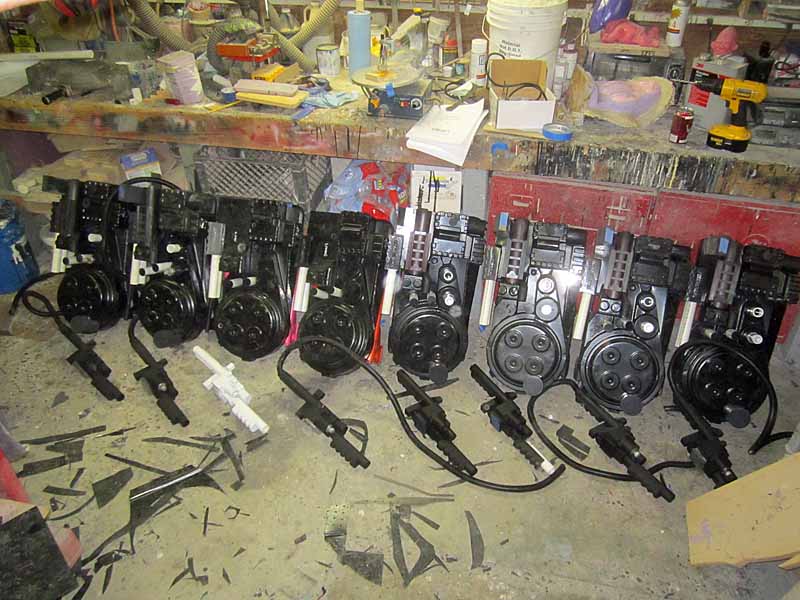
Here's most of the packs coming together:
While the large parts were being put together, we started casting copies of the smaller parts:
Here's a pack with many of the small details glued on:
With the pack fabrication well underway, it was time to focus on some of the soft parts. Most of them can be found on Amazon. On the off chance you're interested in building a Ghostbusters costume for yourself, CLICK HERE FOR A SHOPPING LIST WITH ALL THE ITEMS YOU NEED.
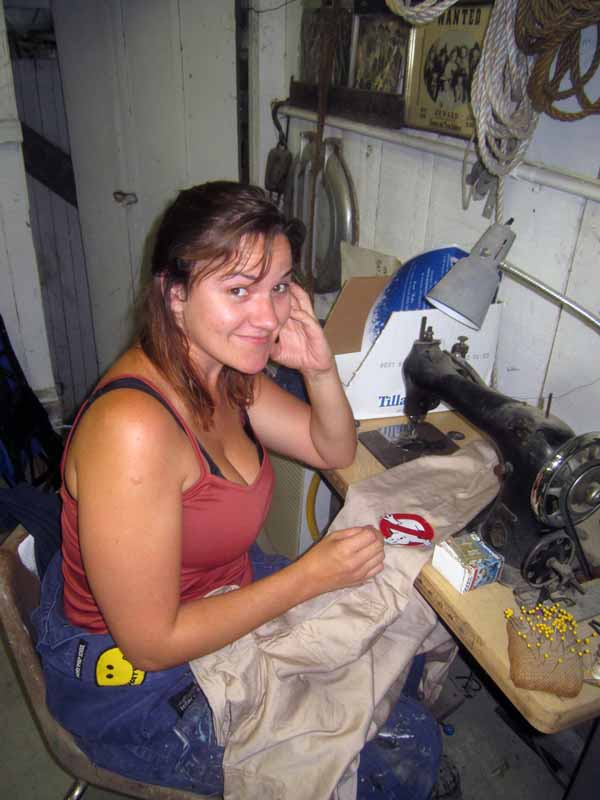
I don't usually have anyone skilled with sewing (aside from me) in the workshop. This time around I tasked Jenny from the Dock* with stitching the patches onto the flight suits:
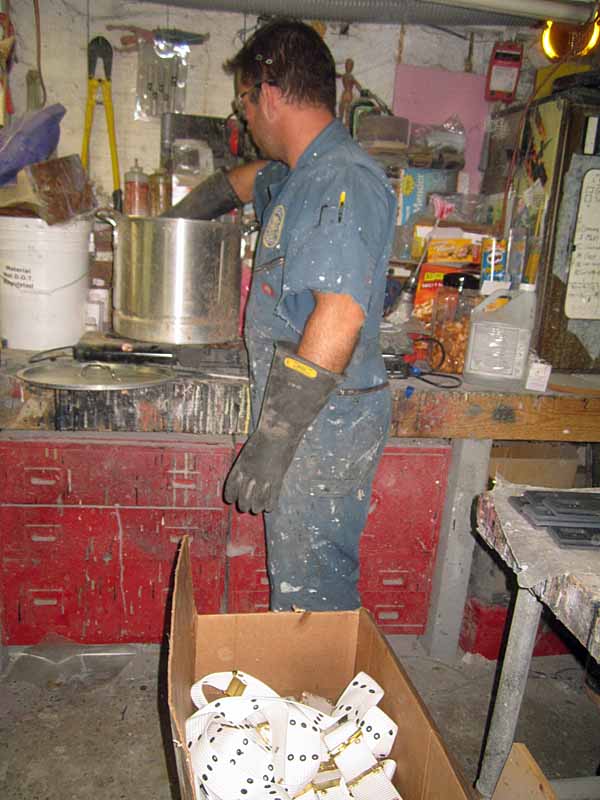
Meanwhile, I was putting the belts and elbow pads through the dye bath to make them an appropriate greay color:
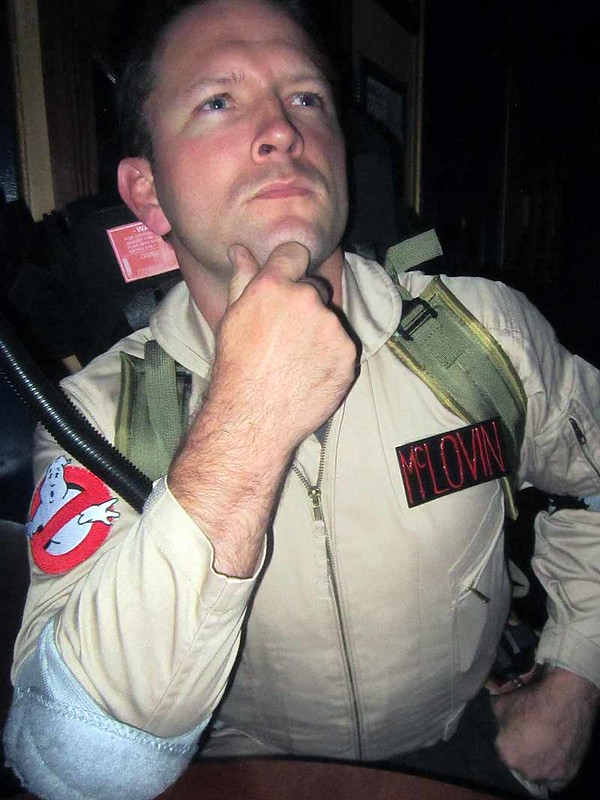
Since nobody bothered to source any nametags embroidered in a passably screen-accurate font, I was forced to letter them all by hand using puff paint. I think I did okay:

The last piece that was molded and ready to go was the bumper. Since they stood the biggest chance of being knocked into things, they were cast in solid resin with no fillers in order to make them as strong as possible. Here's one fully painted and installed:
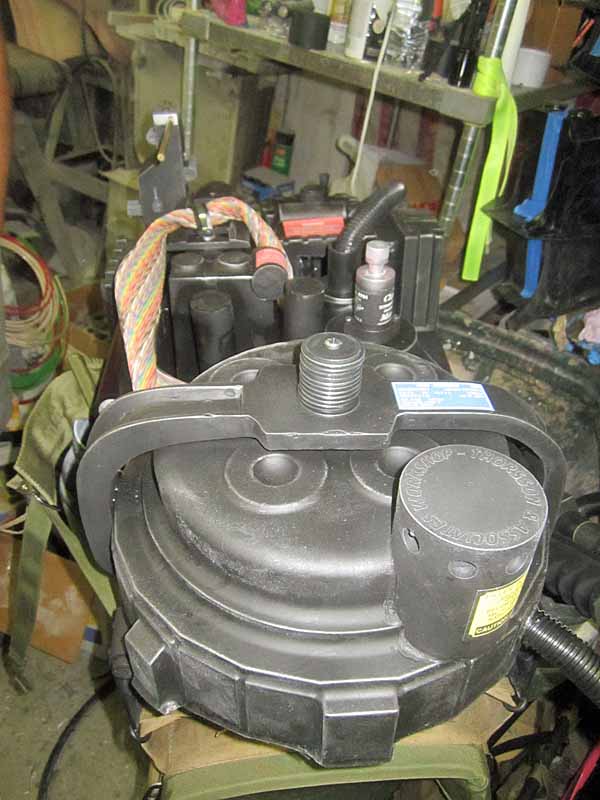
The ribbon cable was sourced from a local electronics surplus store. The "shock absorber" in the middle of the bumper was actually a stack of fender washers bolted together to get the appropriate look. The rest of the parts were either resin castings or vacformed shells held together by cyanoacrylate adhesive.
The end result was pretty good looking:
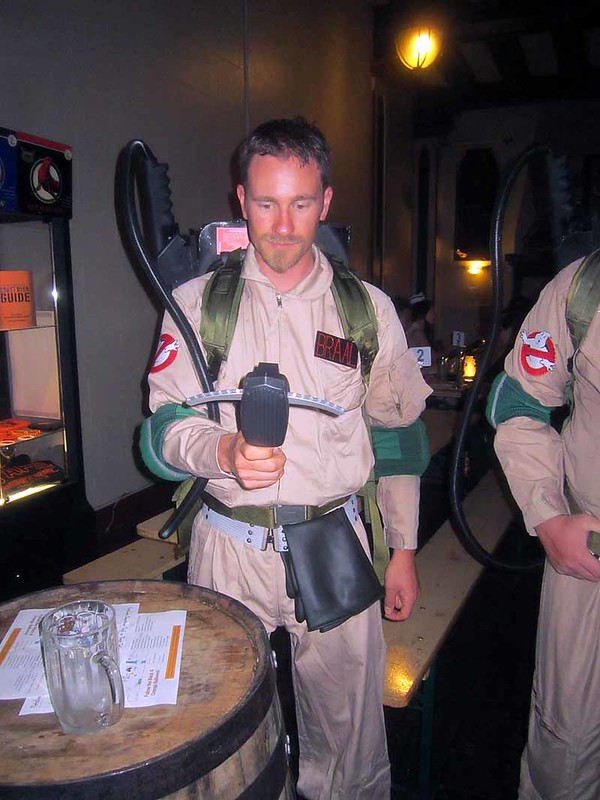
Here's Matt wearing the first finished suit:
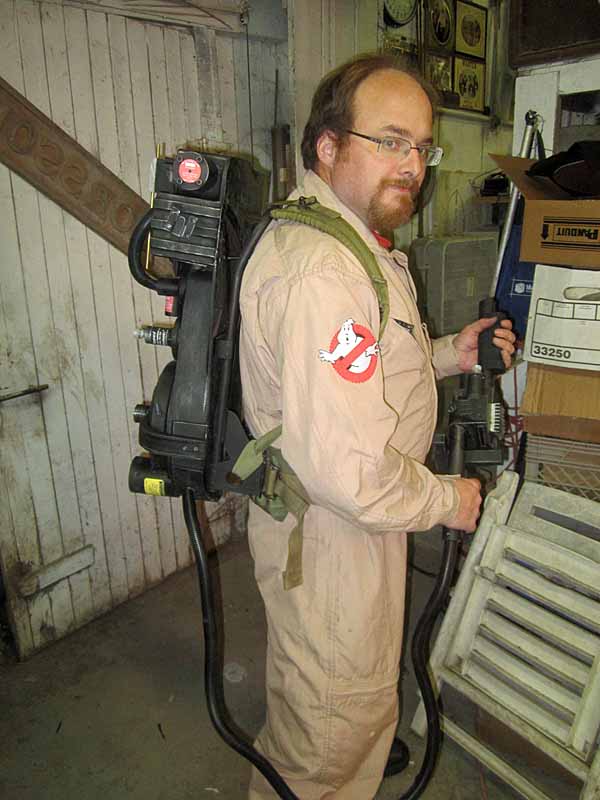
The paintjob was simplicity itself. The whole thing was sprayed with black primer, then drybrushed with a silver oil-based paint to bring out the raised details. The various warning labels were printed out on sticker paper using an inkjet printer:

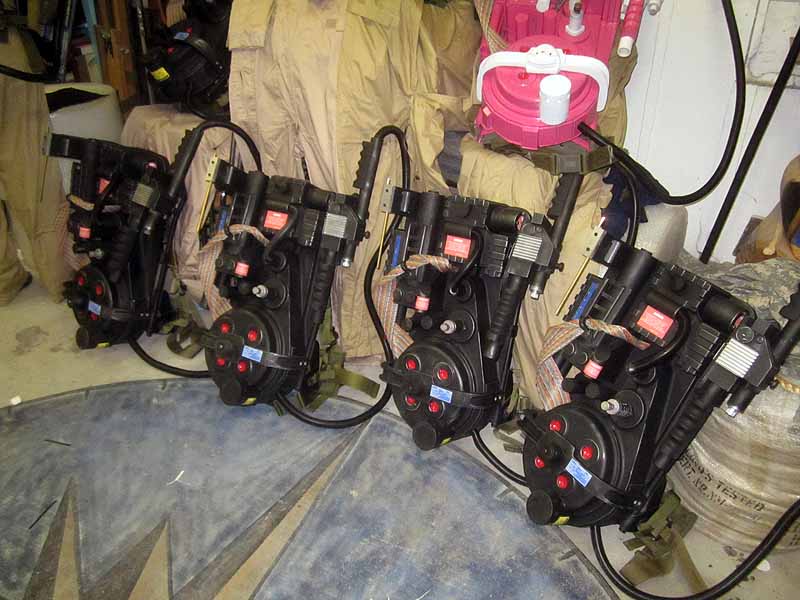
Since we didn't want to go through the extra expense of installing lights, the blue LED display and the red lights on the lower end were simulated with paint:
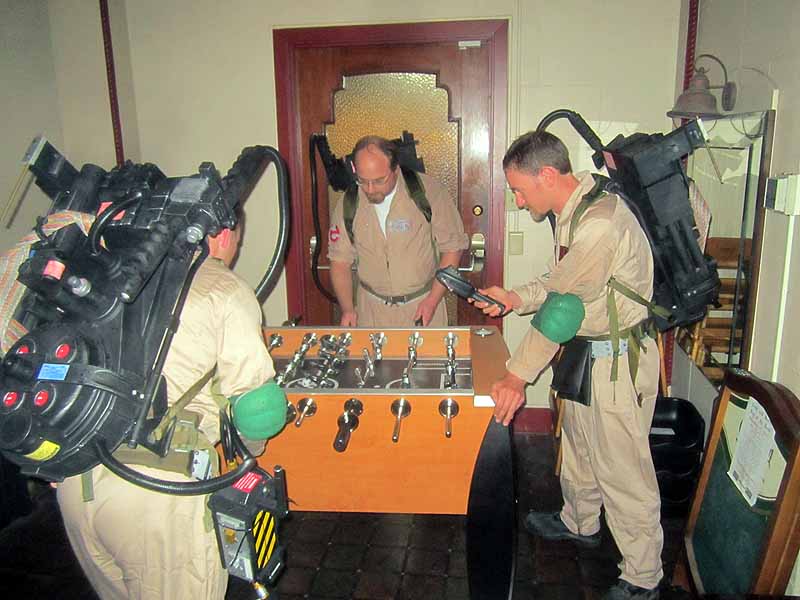
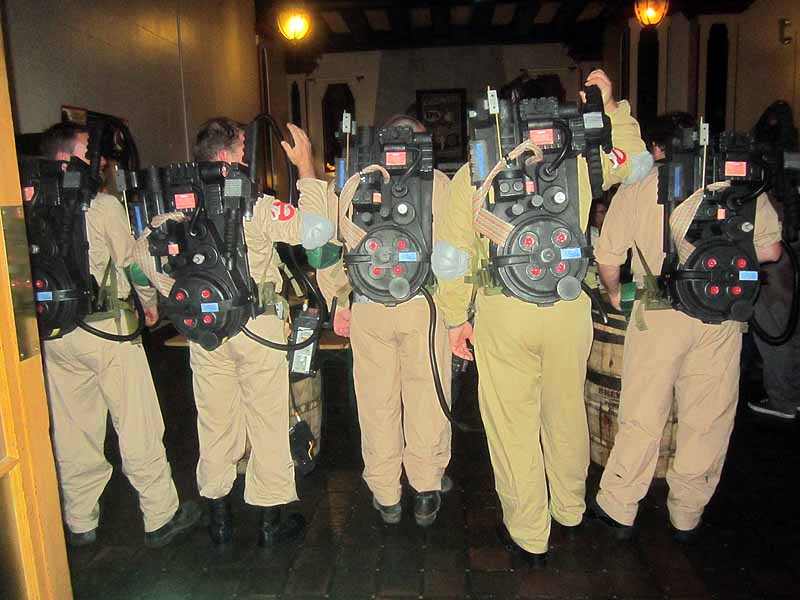
With the proton packs built, all that remained was to head out on the town for Halloween night:
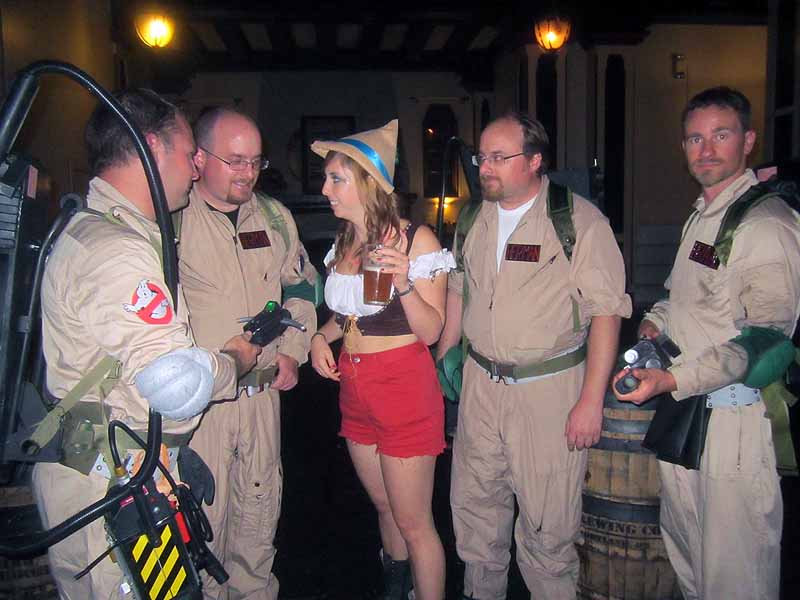
Nobody was all that focused on the picture-taking part, so there were a lot of missed opportunities. Here's the only one that really showcases the proton packs:
Sooner or later I'll actually get a group of us together for a proper photoshoot...
There's still quite a few upgrades to be done before I'm willing to put this project away forever. The next step is smoothing out the forming bucks we used for the main body of the proton pack so we can take a silicone mold and copy them in fiberglass for a sturdier construction. Then we'll wire them up with lights and sound. There's also a couple of small wires and minor details we'll have to add before they're perfect.
Then we need to get proper greay elbow pads for everyone instead of the green ones Matt decided were "close enough." Silly Matt.
So, as usual, stay tuned for further updates...
*So called because she works in the office building adjacent to a local marina.
Any chance you guys will be making any more of those shells to sell?
ReplyDeleteshoot me an email at sthorsson99@yahoo.com.
Deleteplease?
ReplyDeleteplease?
ReplyDeletedo you sell?? How much??? Email me reppert7@yahoo.com I'm definitely interested!!!
ReplyDelete