About Me

My photo
I make toys for kids who don't want to grow up. I'm on the lookout for new projects. If you're interested in commissioning me to build something ridiculous, shoot me an email.

Thursday, April 29, 2010

Butter and Eggs Day Parade

Last weekend was Petaluma's annual heritage event known as Butter and Eggs Day. There are a handful of goings-on during this event, but the centerpiece of the whole t0-do is the parade which winds its way through the historic downtown area in the early afternoon.

Here's a few snapshots I took while watching from the North side of Petaluma Boulevard.

The parade was kicked off by the Nave Patrola, a local comedy marching troop that has been marching in nearby parades for over 35 years:
Nave Patrola

They were followed by a Marine Corps color guard:
USMC Color Guard

Which in turn was followed by the Coast Guard color guard:
USCG Color Guard

There were plenty of interesting floats and groups in the parade. Among them was Mayor Pamela Torliatt:
Mayor Torliatt

Here's a shot showing some details of the Mayor's ride:
Mayor's Ride

Ginormous cow:
Gihugic Cow

At some point I decided I need a really tall bicycle (to go with my top hat):
Victorian Bicycle

Kid's groups like the Redwood Empire Gymnastics:
Redwood Empire Gymnastics

Or Harvest Christian Academy:
Harvest Christian Academy
I had to keep an eye out for that one because all of the navular parts of their float were loaned to them by the Petaluma Sea Scouts.

There were also the usual allotment of marching bands.

Petaluma High School has a new look:
PHS Marching Band

This look is complete with kilts:
PHS Drum Major

I don't quite understand the kilts. Their mascot is the Trojans. I've heard there's a shortage of Trojans in the Scottish highlands, but what do I know.

Speaking of marching bands and style, there's nothing cooler than this girl with the retro 1980s sunglasses:
Casa Grande Band

Nothing cooler, that is, except the drum major from Rancho Cotati High School:
Drum Major Monica
This particular drum major is also the ship's boatswain aboard the SSS Compass Rose and I've made it a point to post this picture of her all over the ship.

Of note were many of the old cars that appeared in the parade. The oldest was probably this one:
Old Jalopy

I found it especially fascinating because it had no steering wheel. Instead, the driver turned with a yoke:
Steering Yoke

There was also a pretty impressive showing by a local Volkswagen club:
VW Club Shiny

VW Club 2
Some of them weren't as pretty as others:
VW Club Rat

Of course, one of them turned out to be a lot faster than the rest:
VW Club Kart

Other than that, there were all sorts of horse-mounted entries. One had horses with really sparkly butts:
Sparkly Horse Butts

In the end it was a beautiful day and I couldn't have asked for nicer weather for the first Butter and Eggs Day Parade that I've been to in almost twenty years.

Thorsson's Patent Method of Gopher Elimination

'Tis the season for little rodents to burrow their way under your much-looked-after lawn and/or garden. There they will gnaw away at the tender roots of tomorrow's dinner greens, summer blooms, and verdant turf; undermining every bit of labor you put into growing them.

There are a wide variety of options when it comes to combatting these nasty little biters. Some of them may be more exotic, or exciting, or humane, but when you've got as many boats to take care of as my father does, nothing seems to work quite so well as last year's expired marine distress flares. How does he do it? Read on...

DISCLAIMER: Do not try this at home! I will not be held responsible if you singe off your eyebrows, burn down your house, or kill your cat with poisonous gasses.

STEP ONE: Choose Your Weapon
In this case, the plan is to use a floating orange smoke flare:
Dad Smoke
These flares are designed to be visible in daylight from miles away to alert rescuers to your position. But they can also have a darker, deeper purpose...

STEP TWO: Identify the Target
It's important not to waste a flare on a hole that is no longer in use by gophers. Here's an easy way to tell the difference:
TARGET SELECTION
STEP THREE: Activate the Flare
Pop Smoke

STEP FOUR: Attack!
Insert the flare firmly into the hole, jamming it in far enough to ensure an adequate seal to trap the smoke inside the gopher's tunnel network without snuffing out the flame in the dirt:
Gopher Choke

STEP FIVE: Triumph!
Now's the time to sit back, relax, and revel in the fact that the nasty little critter who's been wreaking havoc in your landscaping is choking to death somewhere in the deep, dark underground from whence he came. Take this opportunity to reflect on your rightful place at the top of the food chain. Know that you will remian the master of your domain for as long as you have opposable thumbs and access to tools and noxious chemicals.

Isn't that nice?

Pro Tip:
I'd recommend you only gas one hole at a time. You will find that many of them are interconnected and there's no sense wasting flares by dumping more than one into each tunnel network. Instead, once you've dumped a flare into one hole, step back and watch for a few minutes to see if the smoke comes out anywhere else:
Bain Gas
It's also worth pointing out that you don't necessarily have to use a smoke flare. Day/night illuminating flares work just as well. I do not recommend rocket flares as they may result in a deadly, flaming ricochet.

Tuesday, April 27, 2010

How to Fold a T-Shirt

You may not notice it, but this is the coolest/fastest way to fold a t-shirt ever.


You may have to go back and watch that a few times before you get it.

Friday, April 23, 2010

HALO Costume Project Update: Test Fitting

I'm still not quite finished painting all of the parts or building the boots, but when my friends Matt and Jen stopped by the shop to visit the other day, we couldn't resist the urge to get me all dressed up while I had someone handy to hold the camera. The result wasn't great photography, but the suit still looks the part.

Here's a few of my favorite snapshots:
MC Cactus

MC backyard

Master Chief Gangsta

MC Recon

The best part about all of these pictures is that you can't tell I'm not wearing pants. Okay, actually I am wearing pants, but they're just jeans. I didn't go through the trouble of putting the leg armor on because I haven't added any fasteners to my inner thighs yet.

I'm still working on the undersuit. Once that's done, the only thing left will be to rebuild my boot molds.

Stay tuned...

Monday, April 19, 2010

New Favorite Artist: Jud Turner

Today I stumbled across this very talented sculptor who combines found items and custom fabrications into some phenomenal works of art. Being a maker of sorts, I'm especially attracted to the craftsmanship apparent in the finishes he chooses that really bring out the mechanical elements he includes.

Here's one of his pieces that really grabbed me:


And another:


See more in his online gallery at judturner.com.

Monday, April 12, 2010

TEASER: Green Army Garden Gnome

Green Army Gnome

This is the first in my series of militarized garden gnomes. I have yet to paint him or add his miniature rifle.

As my cousin Tyler said, "the travellin' gnome is going DOWN!"

I Have GOT to Get Me One of These!

Witness this 5-axis CNC mill carving a motorcycle helmet out of an aluminum billet:


Of course, I'd settle for a solid aluminum cnc-machined helmet. Shiny.

Excuse me while I go get a towel to wipe the drool off of my keyboard.

Sunday, April 11, 2010

HALO M6G Pistol Build: Part Two

When last I wrote about this project, I’d just had my robot shop helper carve out four pieces to build the magnum pistol from HALO 3. Here are a couple shots of all of the pieces glued together and sealed up:


Once the epoxy had cured, I sanded and filed the surface, did a bit of filling along the seams, then put a coat of primer on it:


I spent some time trying to talk myself out of it, but finally decided to add more detailing on this piece. Over a couple of hours, I’d added the magazine release, lettering on the slide, all of the holes on both sides, and the details on the bottom of the magazine. Here's an overall shot:

I decided that if I stamped the lettering into the side it would probably end up being filled in with the first coat of paint. With that in mind, I went ahead and engraved the lettering by hand. It's not perfect, but it's there.

When the casts come out of the mold, if I don't like the lettering it'll be pretty simple to just fill it in or sand it off. Here's another shot:

The in-game model has some Korean lettering on the top of the slide and the bottom of the magazine. I swapped it out for some Japanese Kanji of my own:

Here's the bottom of the mag:

The most complex details I had to come up with were the details at the rear of the slide:

I know it's not perfect, but then again I doubt anybody will be looking at it as closely as I've been for the past few days.

At this point I still have to turn the laser sight and score the little seams on the top of the slide. Then, once I've got it painted glossy in the appropriate places, I'll be molding it up and making a run of castings. There won't be any moving parts so they'll just be big pistol-shaped blocks of resin, but they'll look pretty cool on the shelf or clipped onto my thigh armor.

Stay tuned...

Saturday, April 10, 2010

Viva Las Vegas Rockabilly Weekend

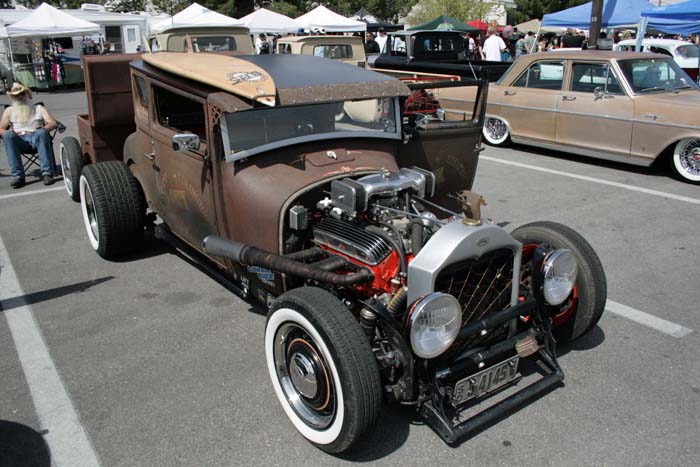
Last weekend my father brought his rat rod to the Viva Las Vegas Rockabilly Weekend car show. While his automotive abomination is truly one-of-a-kind, there was probably no better place where it would fit in and, as long as the rest of us weren't busy, the whole family went along.

I guess a car show is just as good a reason for a rare family trip as any. When I say a rare family trip, I mean it. On the way out, my sister Rose and I were talking it over and this is the first time that the family has taken a trip together (that didn't involve staying at one of our homes) in nearly twenty years. The last time was a trip to Disneyland when I was twelve or thirteen.

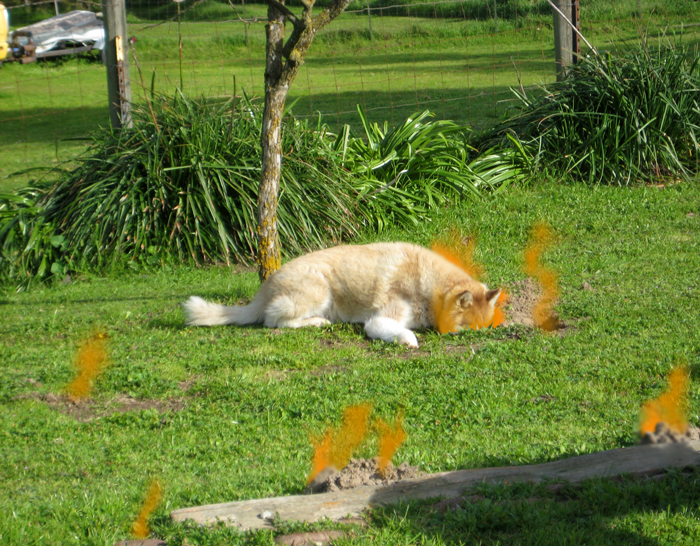
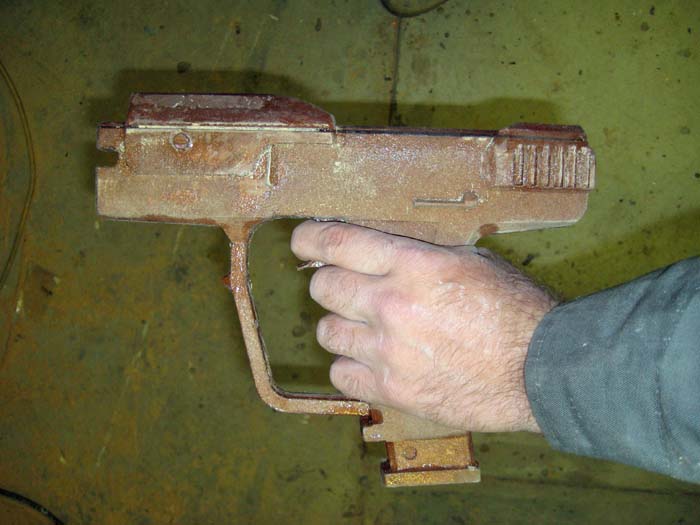
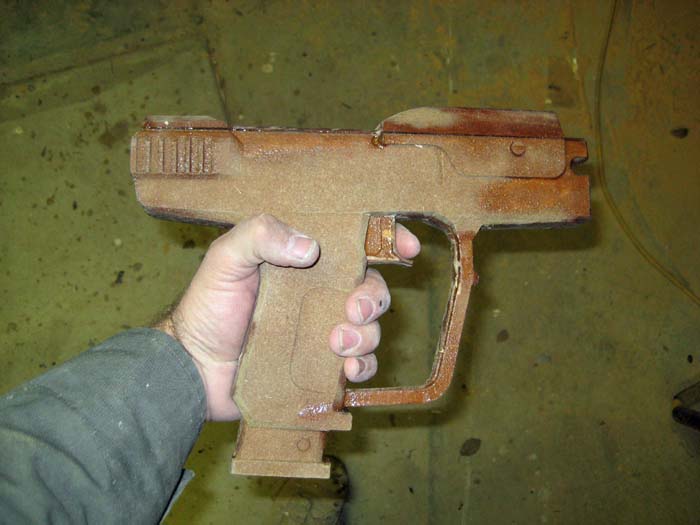
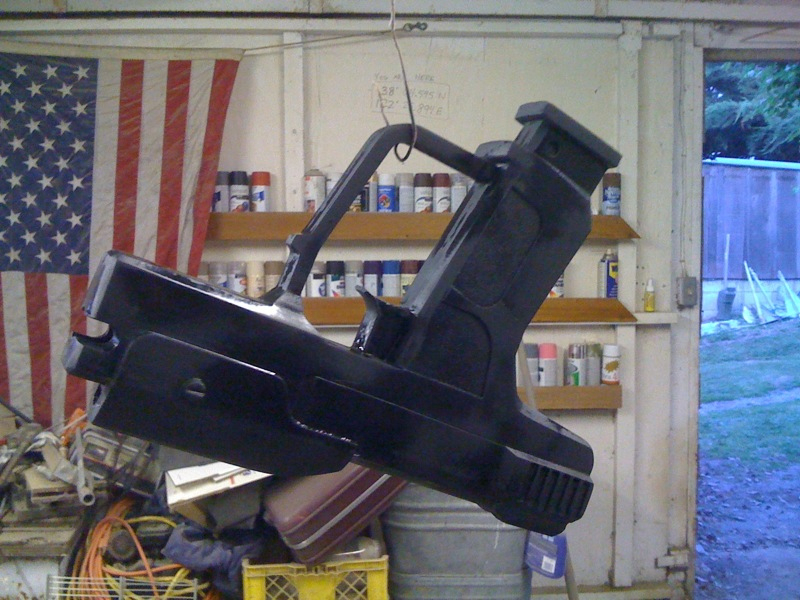
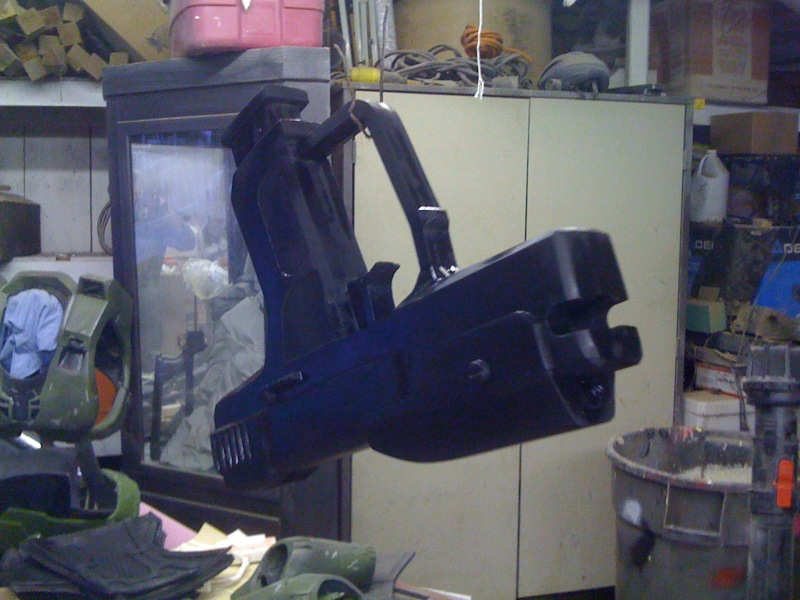
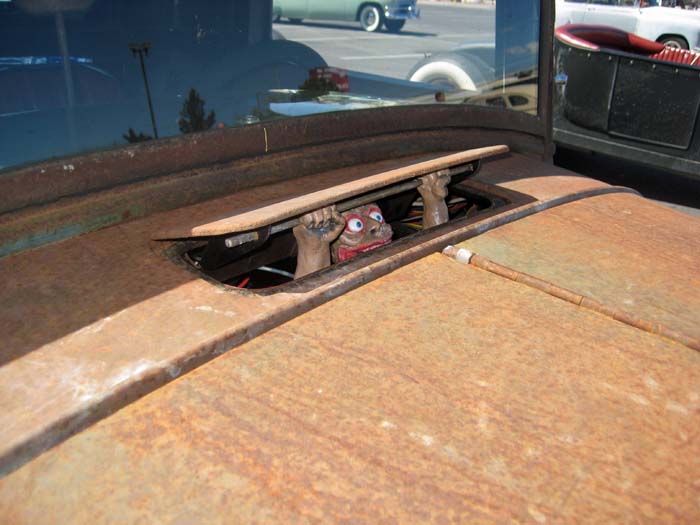
There were a lot of last-minute things to be done to get ready for the show. My own contribution was some number of months in conception and just a few hours in execution. In the end, I produced this little gremlin to hang under the hood vent on the rat rod:

vent gremlin

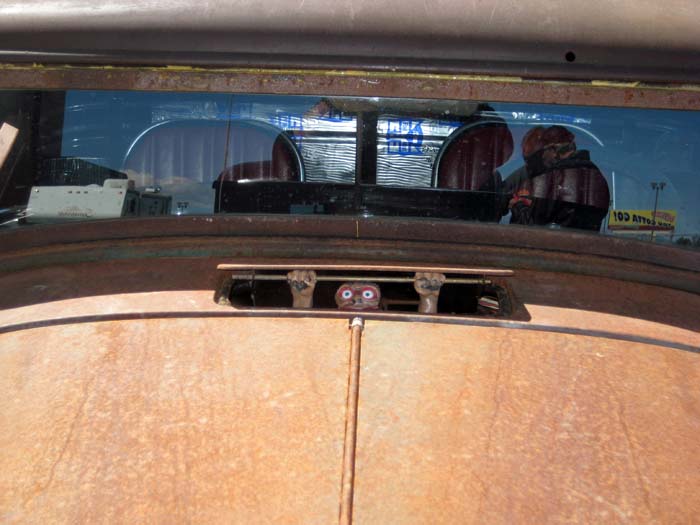
I'm quite proud of it.
vent gremlin2

Anyway, once I was done with that it was time to saddle up and head to Las Vegas via Long Beach. Two nights later it was time for...
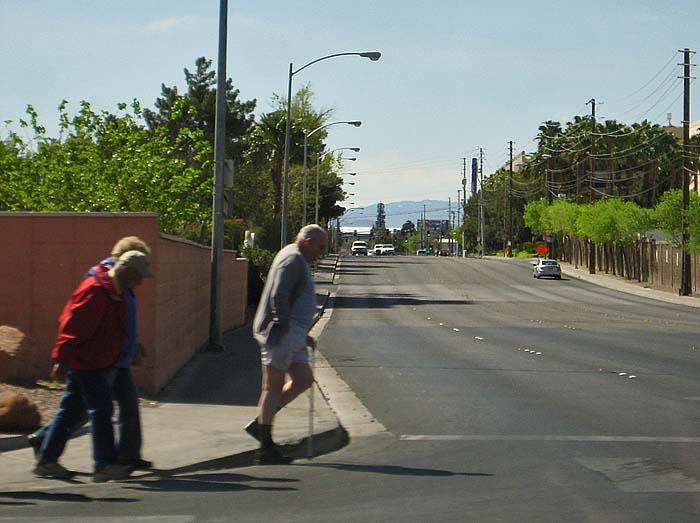
DAY One: Rolling In
The trip to Vegas was properly kicked off when someone noticed the first man in the street with no pants:
Pantsless Man
The event itself was taking place off the strip at the Orleans. After we pulled up, it was time to buy tickets and then head over to the gate to see everything rolling in. The cars could most easily be broken down into two groups: shiny and not-shiny. Here's some pics:
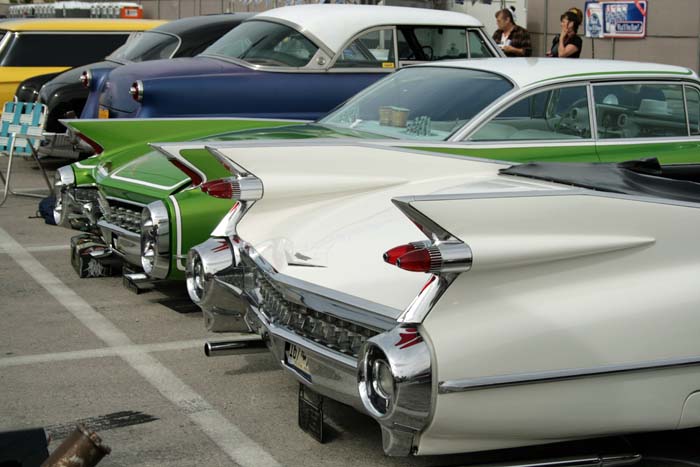
Shiny cars
Shiny Shoebox
Shiny 002

Not shiny cars
Rat Rods Roll In

DAY Two and Three: The Car Show

Day two was Friday and owners were allowed to drive their cars in and out of the show lot all day, so there really wasn't much of a crowd. Instead, it was a great opportunity to take pictures of a lot of the show without people in the way. I'm not about to go through the trouble of sorting out which pictures were from which days though, so here's both days munged into one.

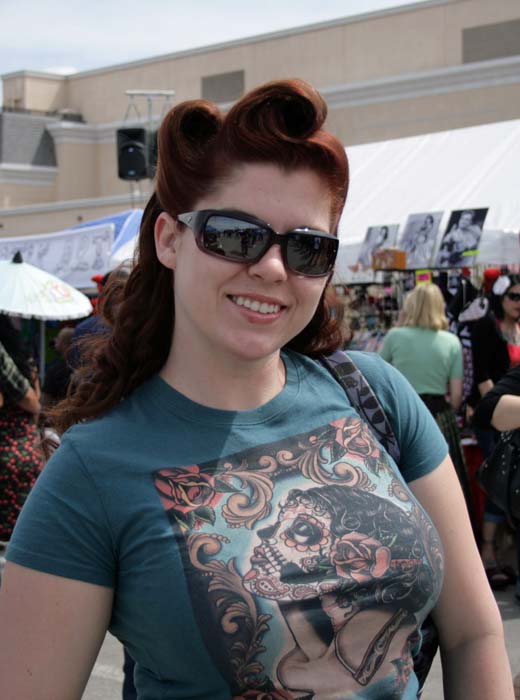
When I found my folks hanging out at the car, it turns out they'd bought me a very apt t-shirt:
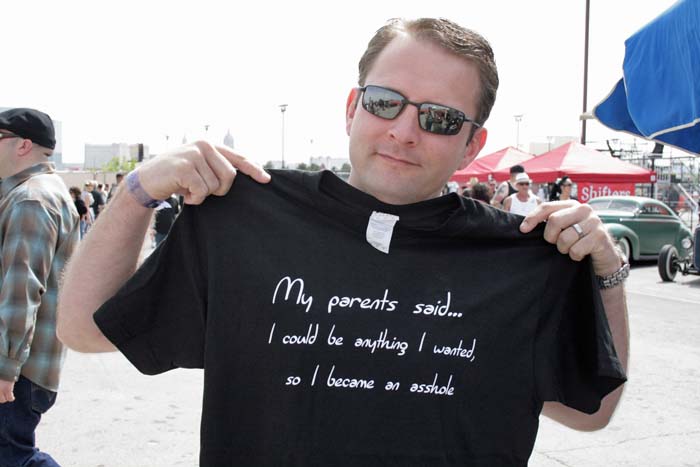
Carshow 014
Fun.

Anyway, there were plenty of cars (painted and unpainted) as well as no shortage of painters, pinstripers, and pinup models. Without further ado, here's a metric butt-ton of pictures...
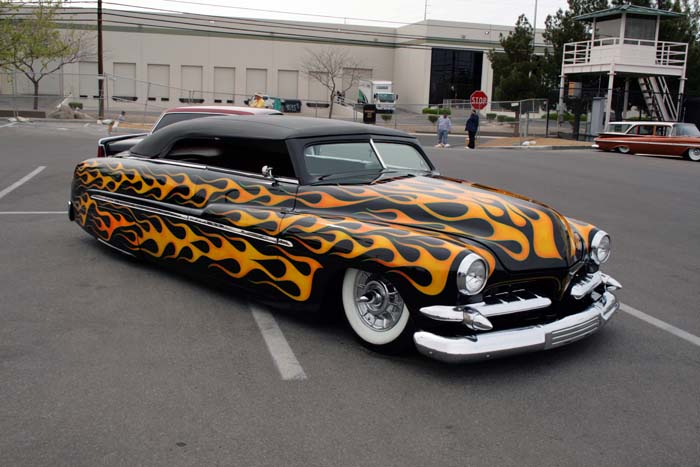
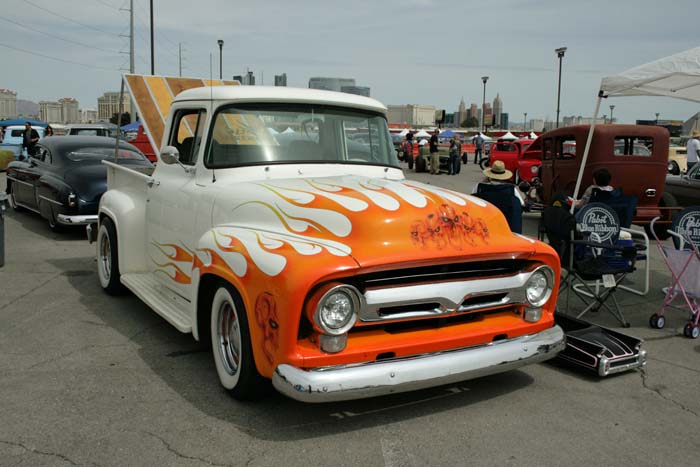
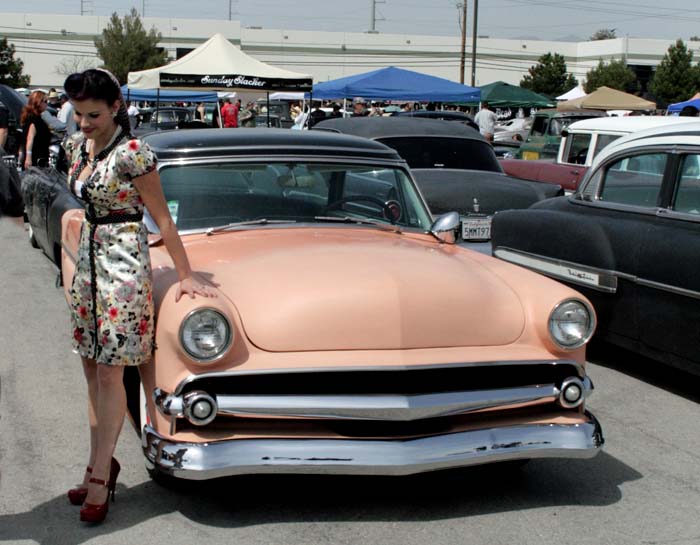
Painted cars

Shiny 001
Shiny 003

RatRod001
Satin Orange
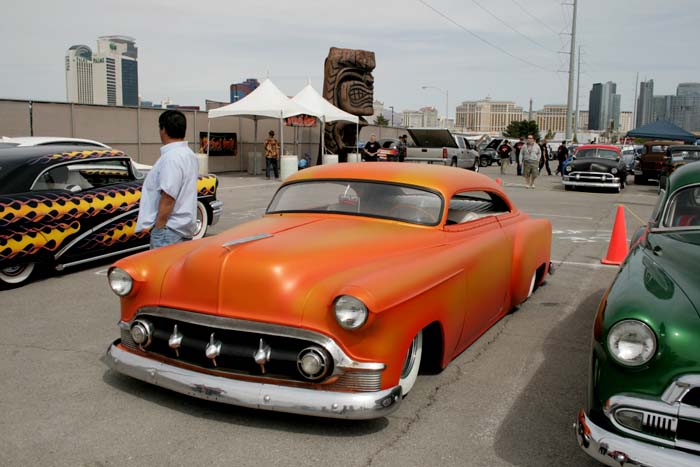
I liked the orange paintjob above. Having messed around with a bit of paint spraying, I can imagine how tough it must've been for the artist to maintain consistency from one panel to the next while keeping the shading symmetrical from one side to the other. Well done.

Shiny Devil Rod

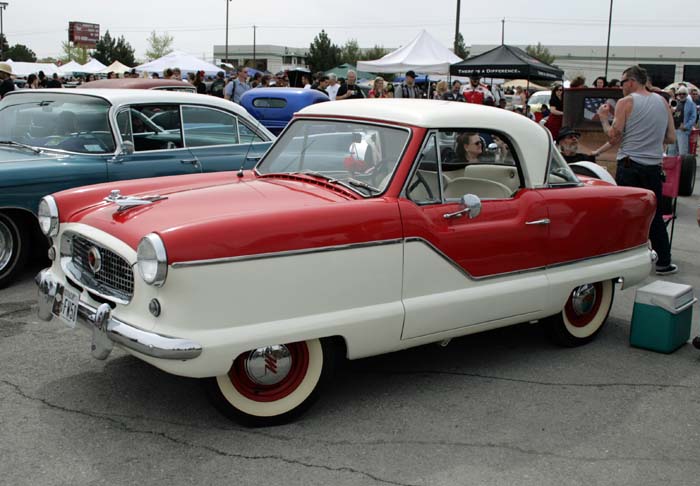
I had to snap a picture of this Nash Metropolitan. Dad's got one at home in yellow and white:
Carshow metropolitan 205
Carshow shiny 208

Carshow Shiny 081
Carshow Shiny 101
Roadster
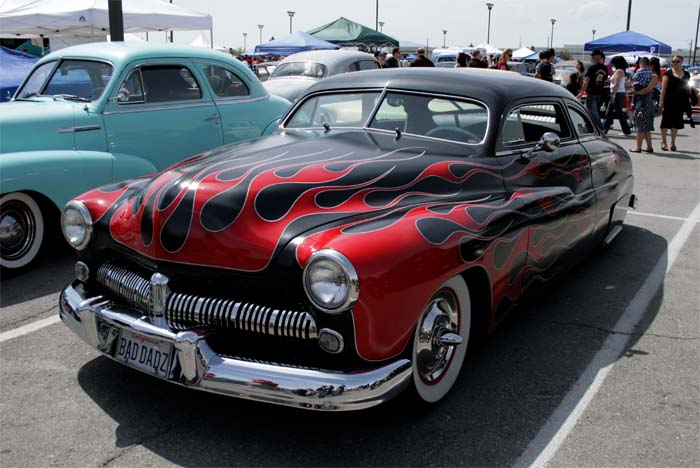
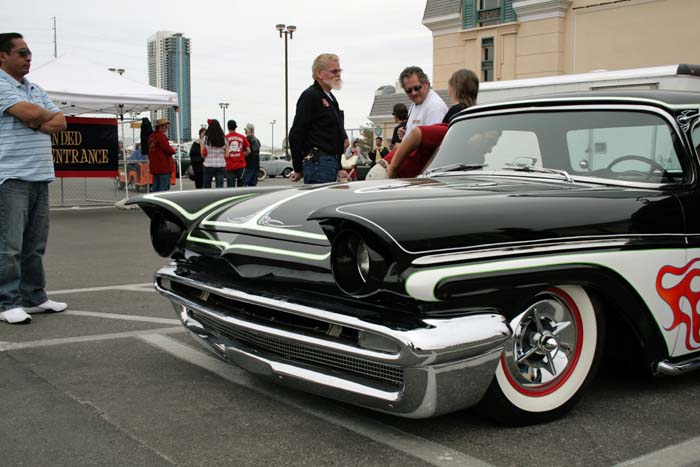
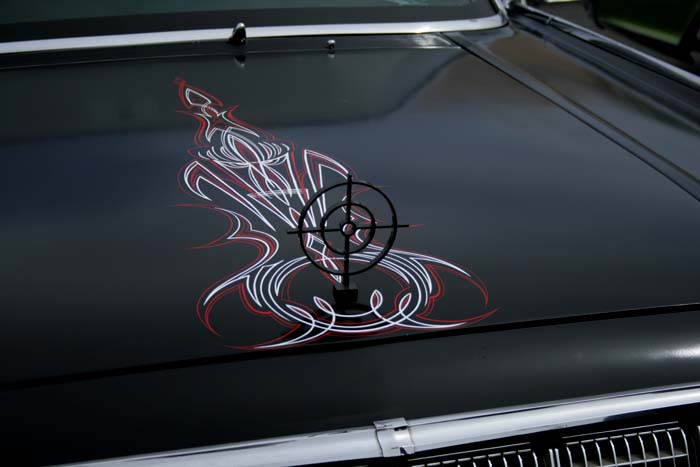
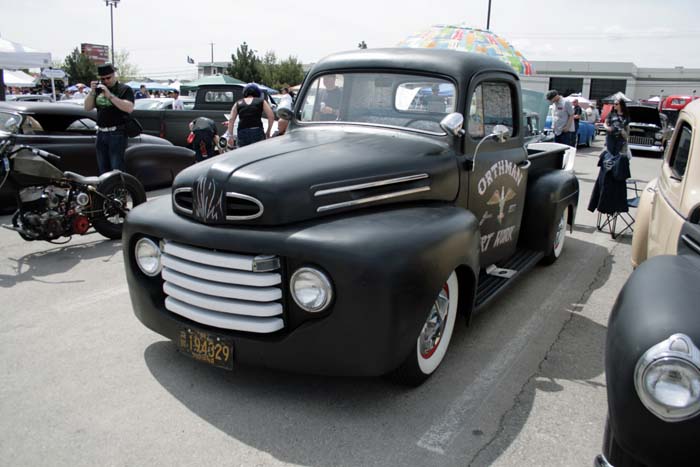
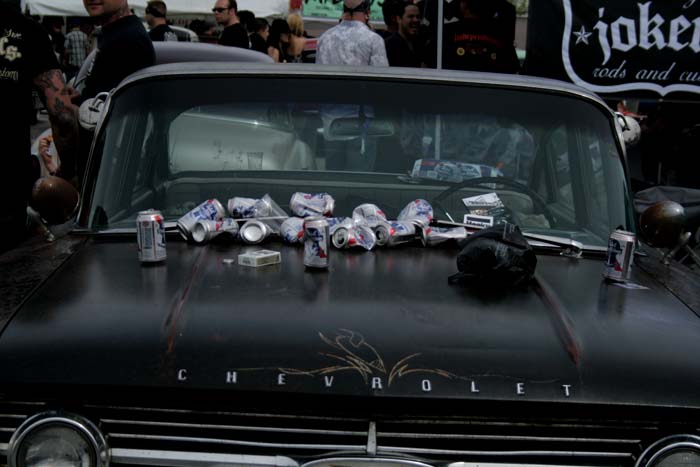
The pics above were the ones I though were standouts. There were other interesting paintjobs, but the most prevalent color scheme was flat black, red wheels, whitewall tires and pinstripes. This theme worked its way onto almost everything:
Ratrod Vespa
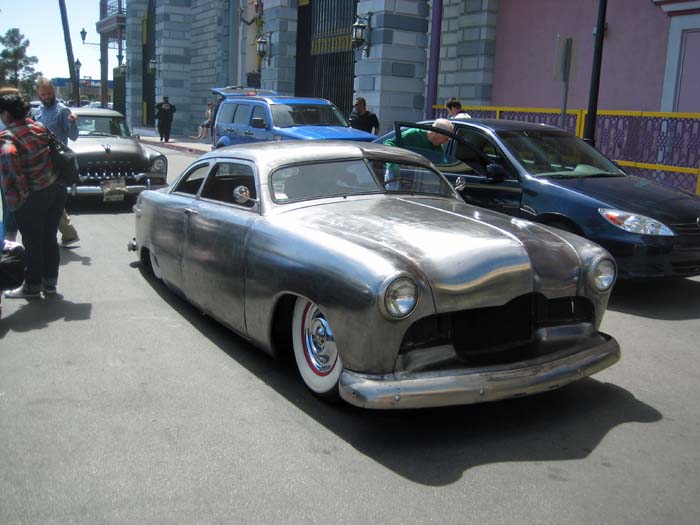
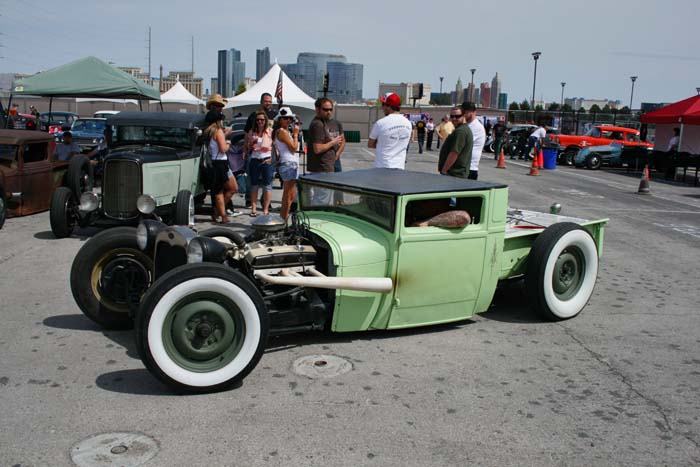
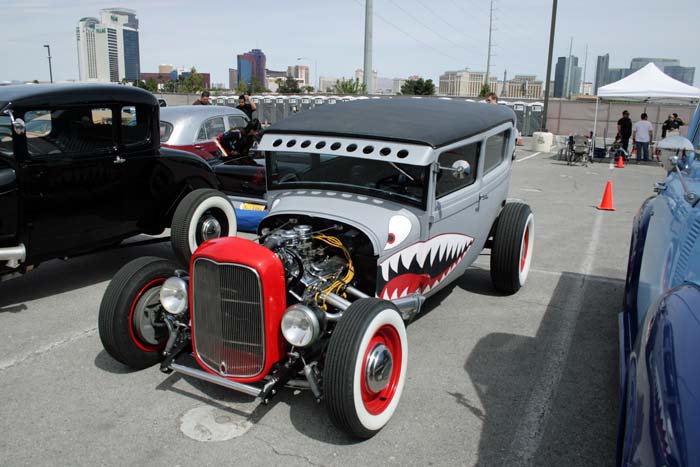
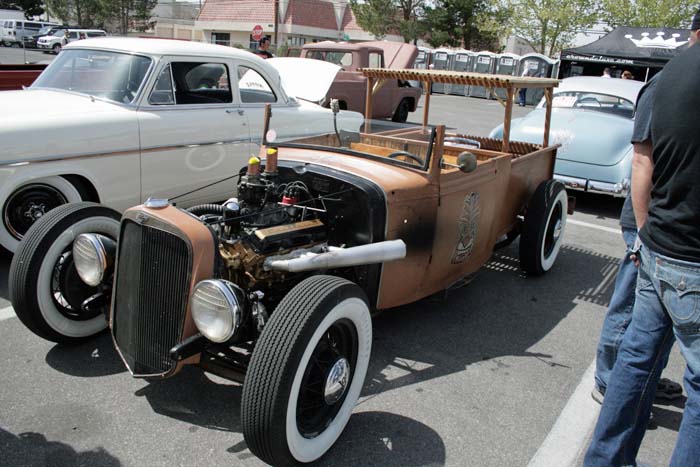
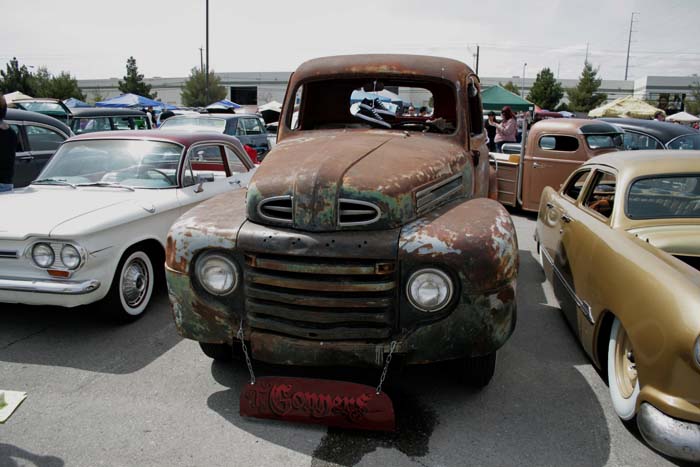
There were also all sorts of interesting unpainted vehicles:
Rat
Gladiator Rod

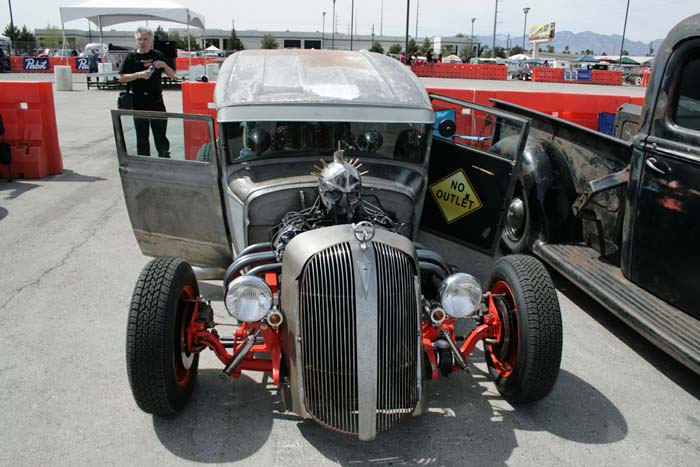
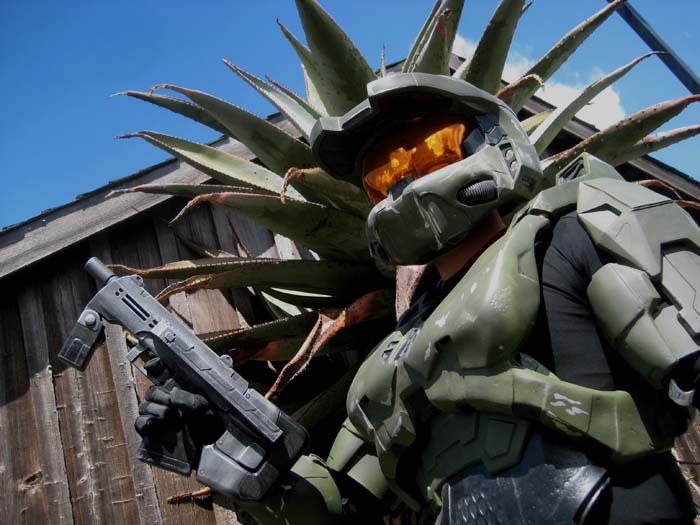
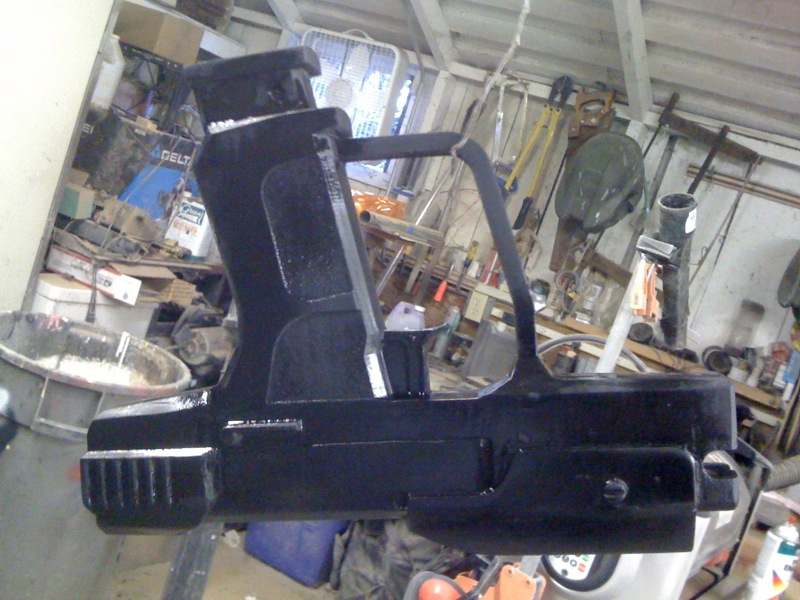
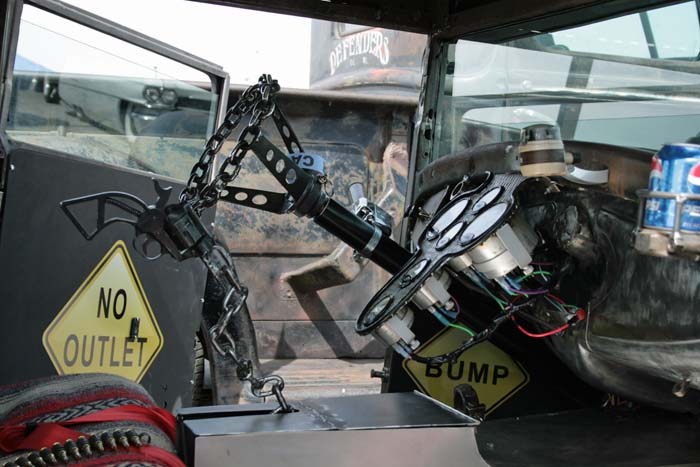
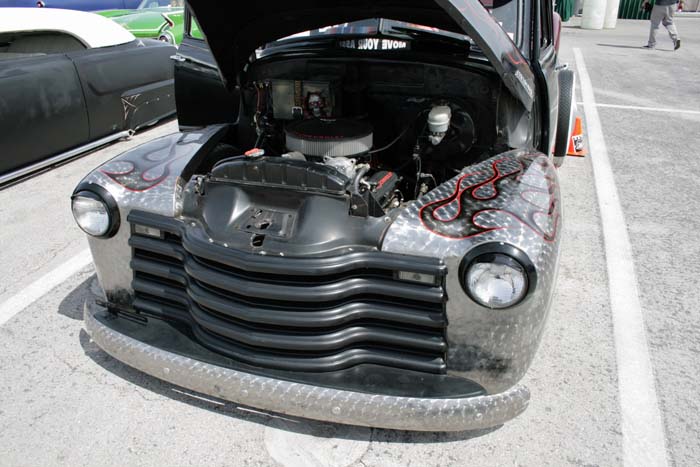
In case you were wondering, yes, the cover for the air intake is Maximus' helmet from the movie "Gladiator" with the spikes replaced with bullets:
Gladiator Rod Detail 1

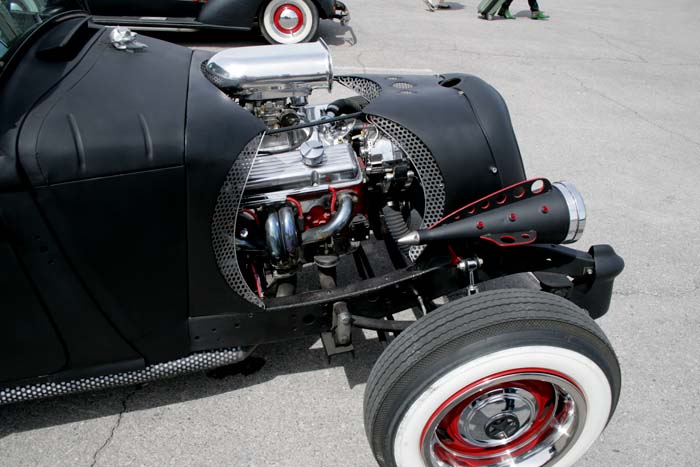
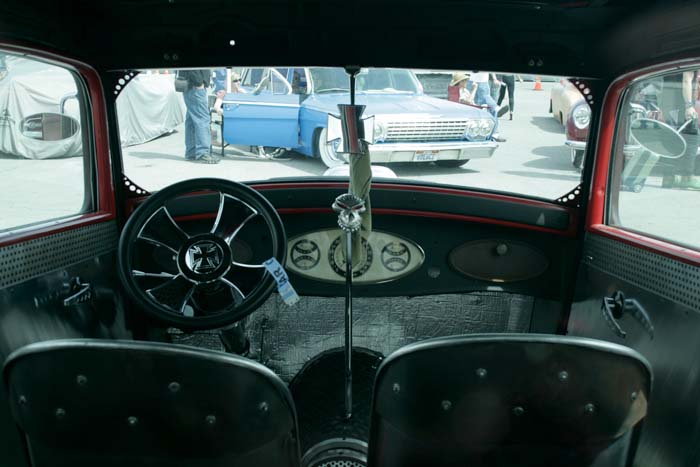
I didn't get an overall photo of this next rod because I was so overwhelmed by the intricacy and execution of the metalwork details:
Pierced Metal 1

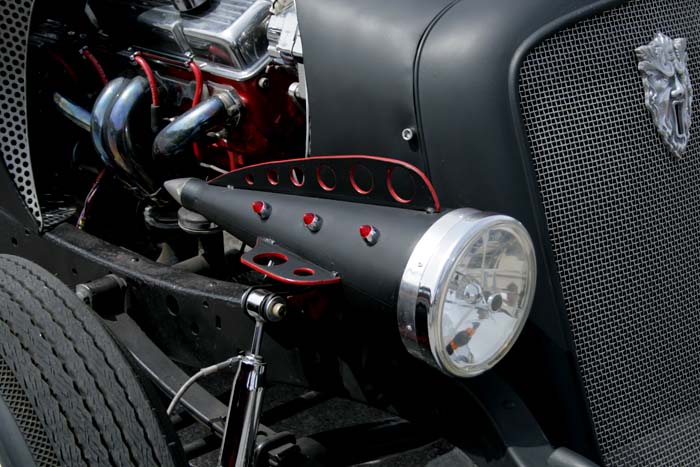
The owner used pierced metal to great effect:
Pierced Metal 2

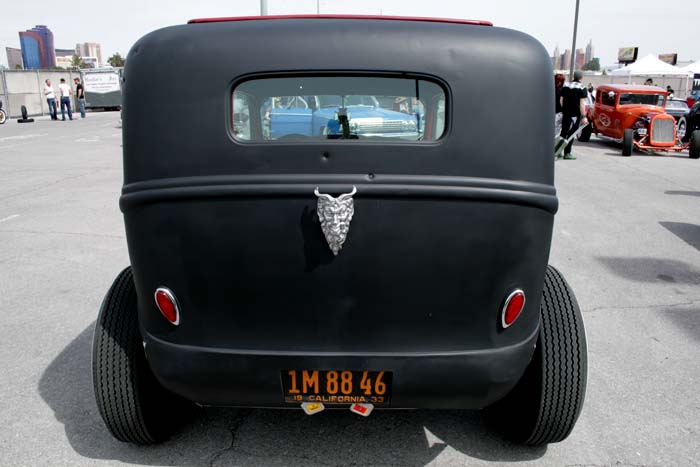
Even on the interior:
Pierced Metal 3

And the whole thing is finished off perfectly with two bullet holes in the rear:
Pierced Metal 4

Of course, the details were the absolute best parts of most of these cars. Here were a few things that really caught my eye:
Carshow Devil Details
Carshow shiny details motorcycle 191

Carshow details 185
Gladiator Rod Detail 2
Carshow 068
Ratrod Interior

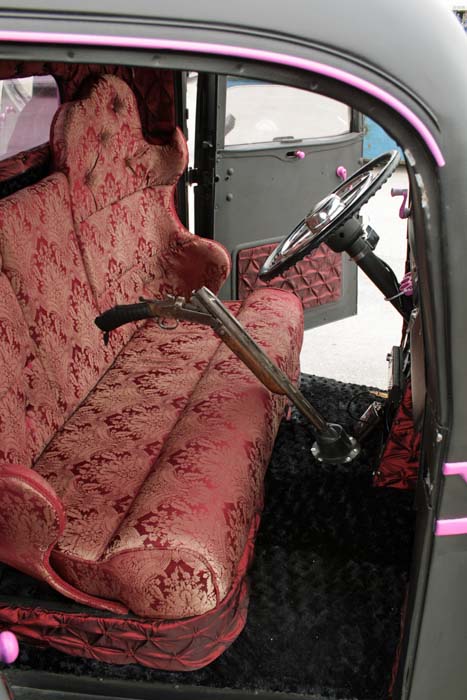
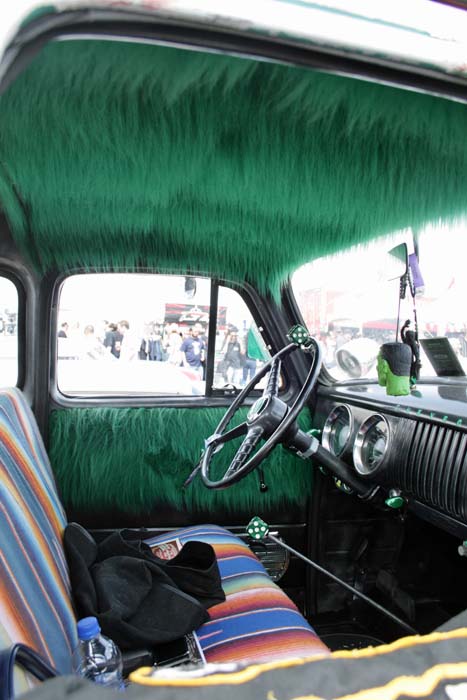
If the Victorian brothel interior above isn't outlandish enough for you, here's one upholstered with Muppet:
Carshow Muppet Interior

Chrome Details
Tail Fins
Carshow copper clad details
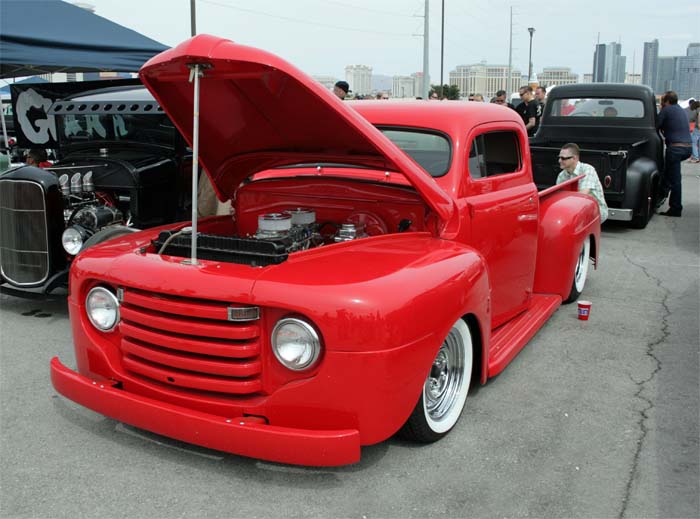
For quite some time now I've really been taken with the 1949-1951 Ford F1 Fat-Fender Pickups. There was no shortage of examples at the show:
Carshow F1 204
Carshow F1 126
Carshow F1 122
Carshow F1 125

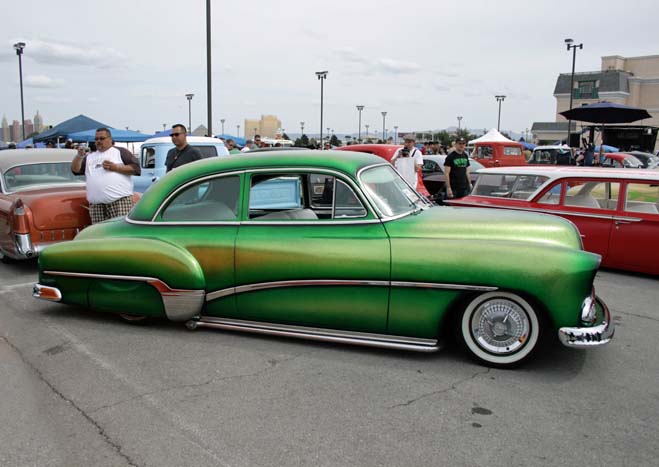
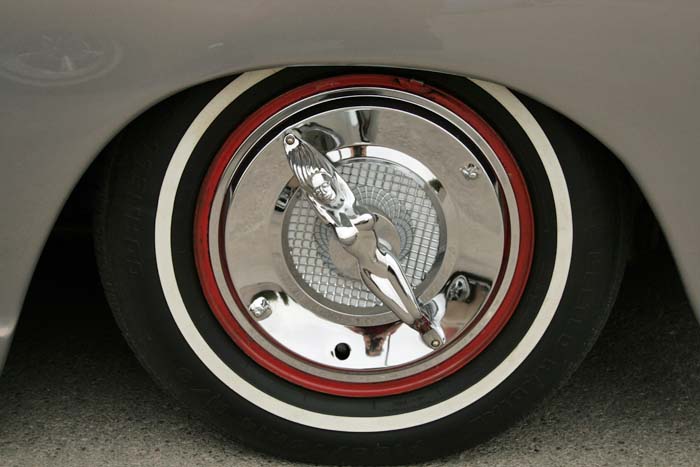
Still, my favorite vehicle in the whole show had to be this Chevy:
Favorite Pickup

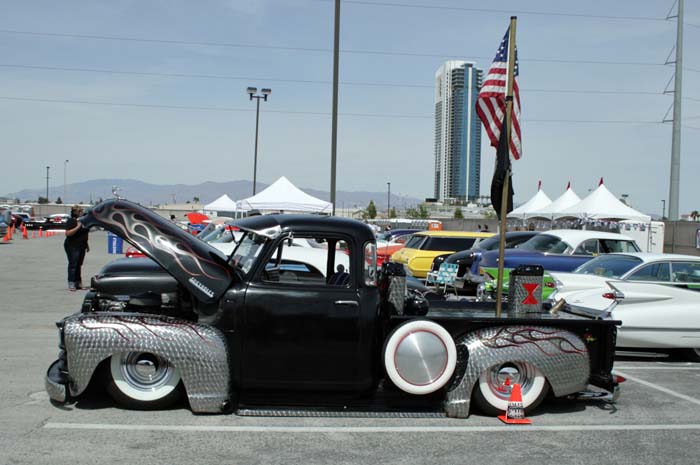
What really caught my attention was the jewelled finish on the fenders and bumpers with the candy-coat grey flamejob:
Favorite Pickup 2
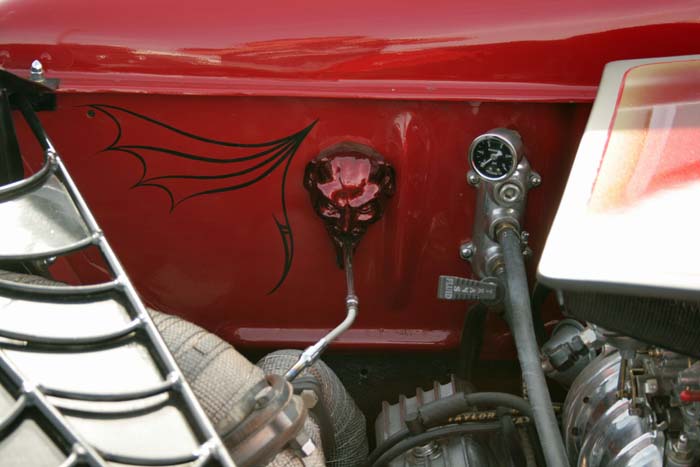
There were a few entertaining bits under the hood:
Favorite Pickup 3

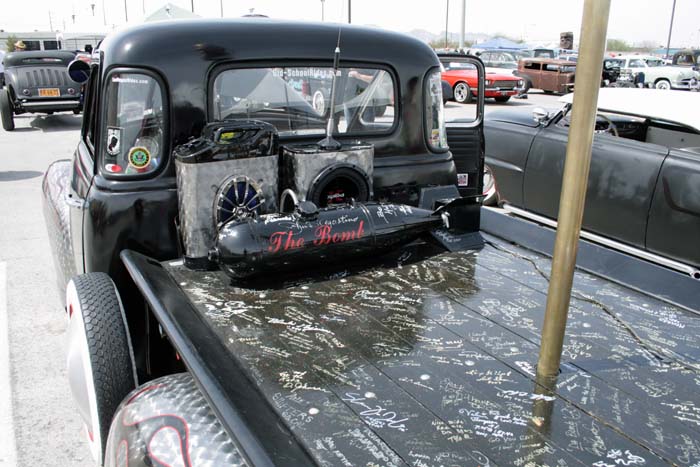
And to top it all off, Jerry-can speakers and a bomb casing for a fuel tank:
Favorite Pickup 4

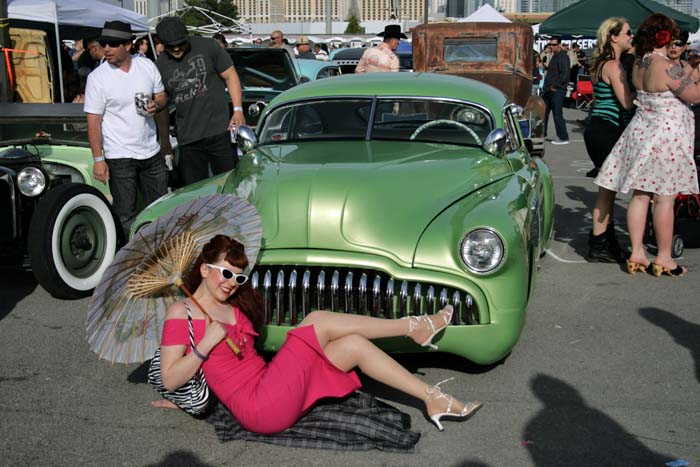
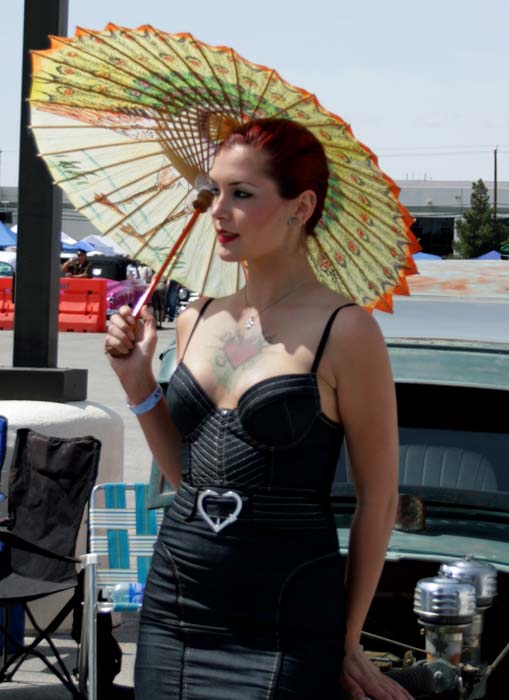
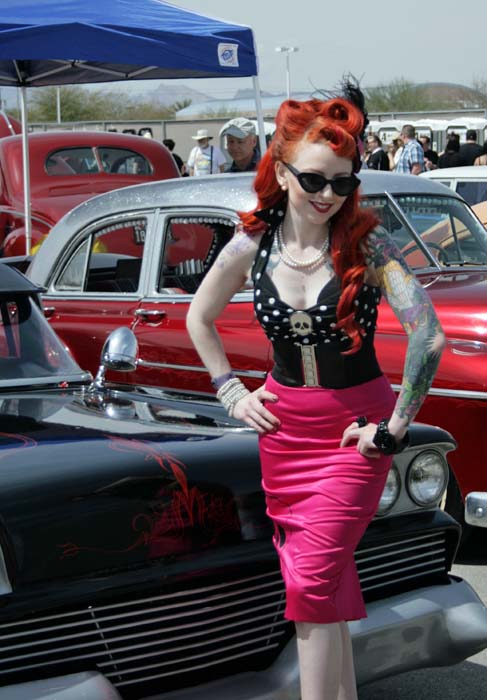
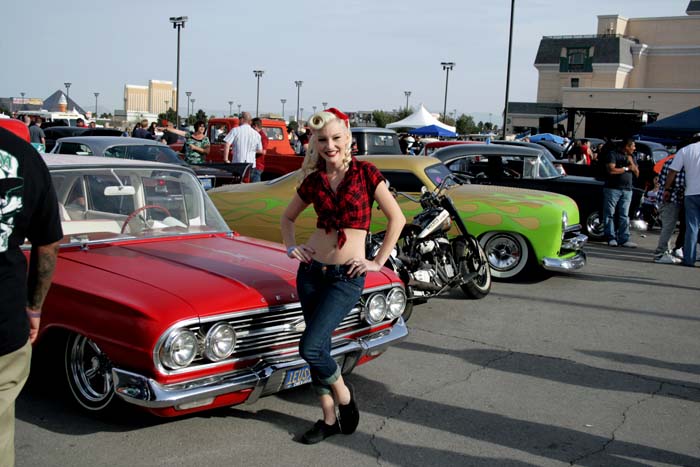
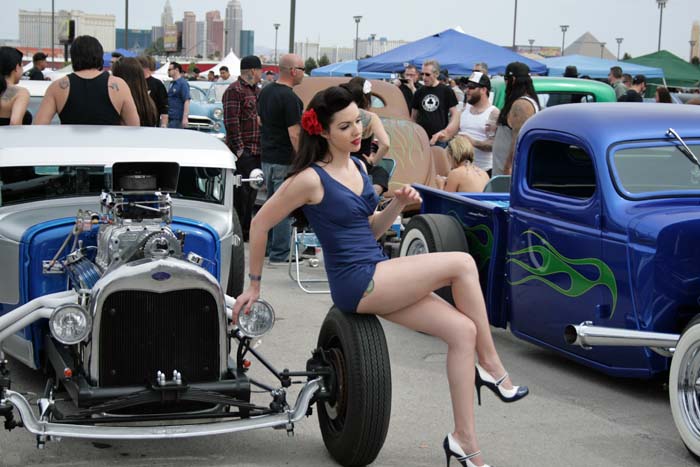
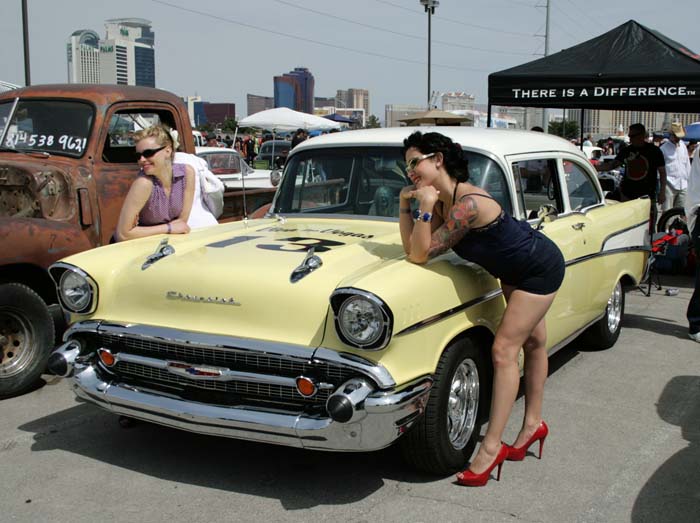
In addition to the cars, there were also scores of pinup models on display. It was hard to go more than twenty feet in any direction without stumbling into a crowd of professional and amateur photographers snapping away. I went ahead and shot a few. Here they are in no particular order:
Carshow pinup
Carshow pinup 248
Carshow pinup 096

Carshow pinup 105

Carshow pinup 244
Carshow pinup 199
Carshow pinups129

Carshow Pinup 001

Also wandering around were a handful of artists who were toting paint carts around and peddling their skills all over the place:
Carshow 032

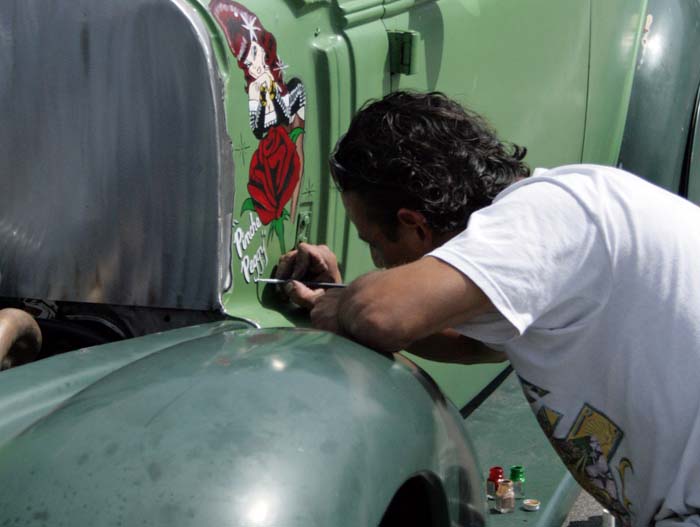
For me the most interesting ones to watch were the pinstriping guys. My hand shakes like crazy whenever I've tried pinstriping, but these guys make it look embarassingly easy:
Carshow 028

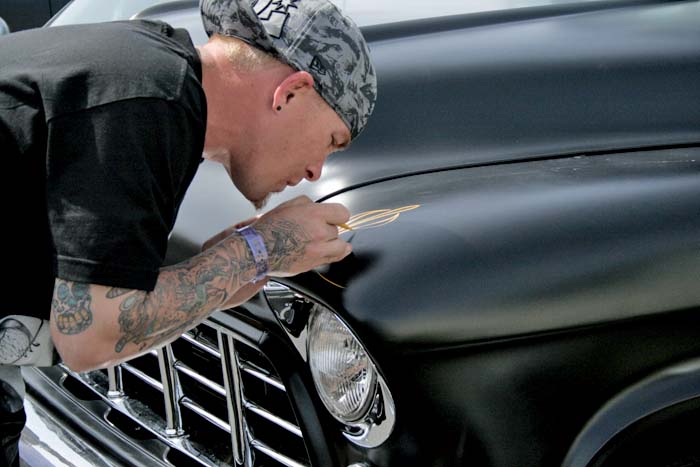
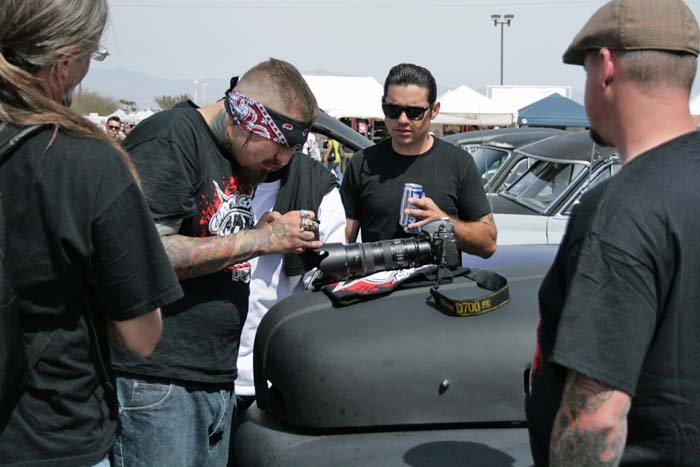
For a modest fee, these guys were pinstriping whatever you'd ask them to. One photographer even got his camera done:
Camera Pinstripes
There were also plenty of vendors selling everything from t-shirts to fender skirts and more. At some point in the midst of all of this, Ana stopped in at one of the booths to get her hair done retro-style:
Ana Retro Hairstyle

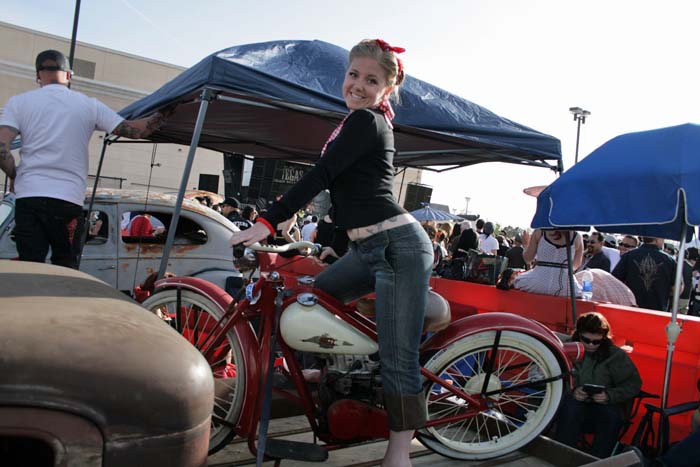
Meanwhile, Rose was wandering around doing her best to get photographed (watch for her in your favorite custom car magazines):
Carshow Rose
Carshow Rose 113

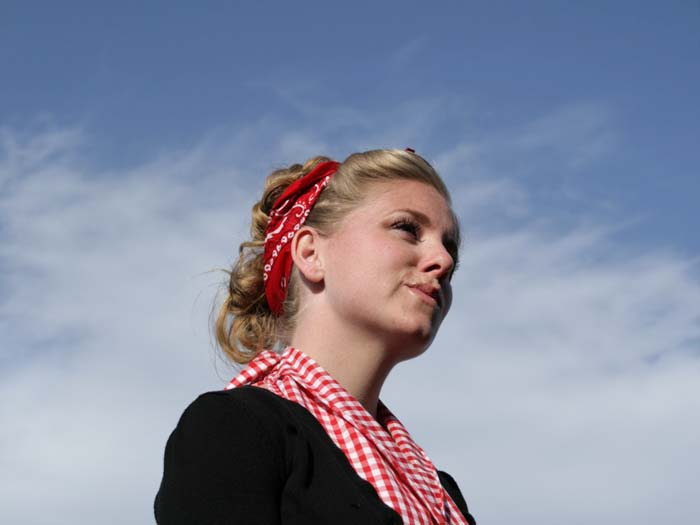
For my part, this was the nicest picture I took of her:
Rose at Carshow

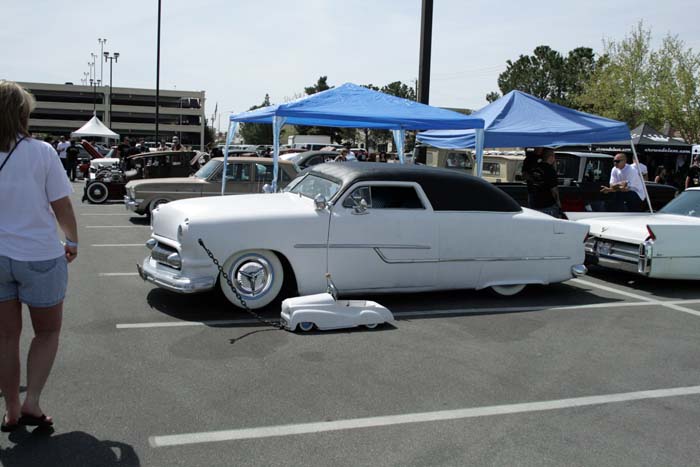
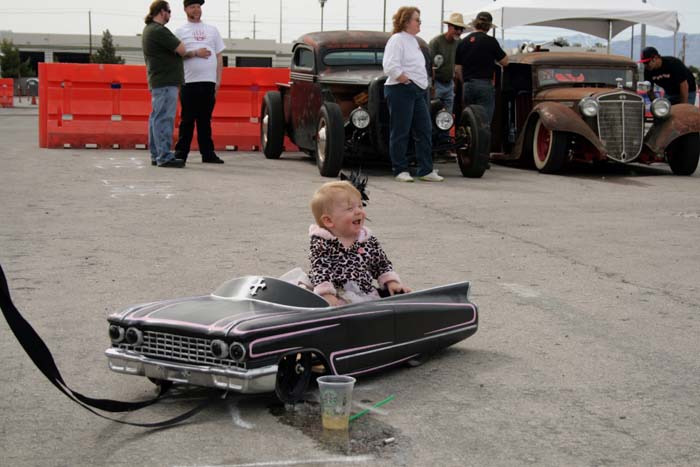
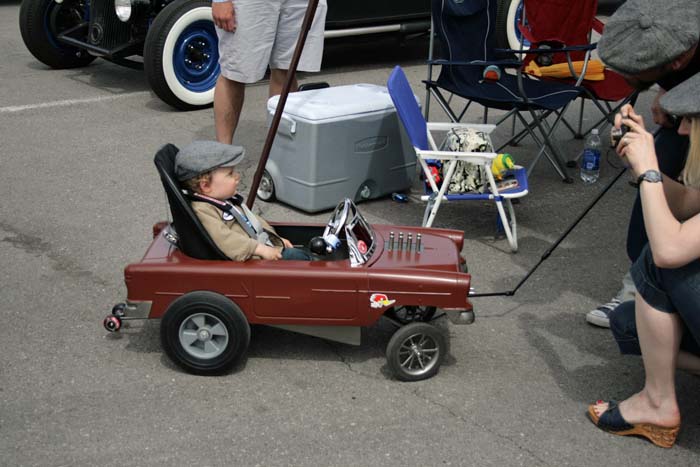
Another bit of entertainment was the handful of hotrod strollers and kid's wagons wandering around:
Kids Rods
Kids Rods
Carshow Kids Rods
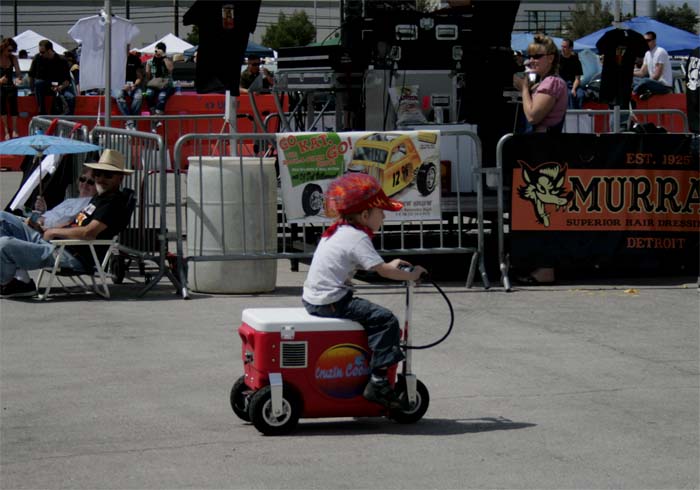
But the coolest was the kid cruising around on the Suped-up Igloo cooler:
Carshow Kid Rods

DAY Three: Easter Sunday

Sunday there wasn't much to be seen. Everyone was pretty much just packing up and heading out. Still, it was pretty obvious that a good time was had by all:
good time
The end