
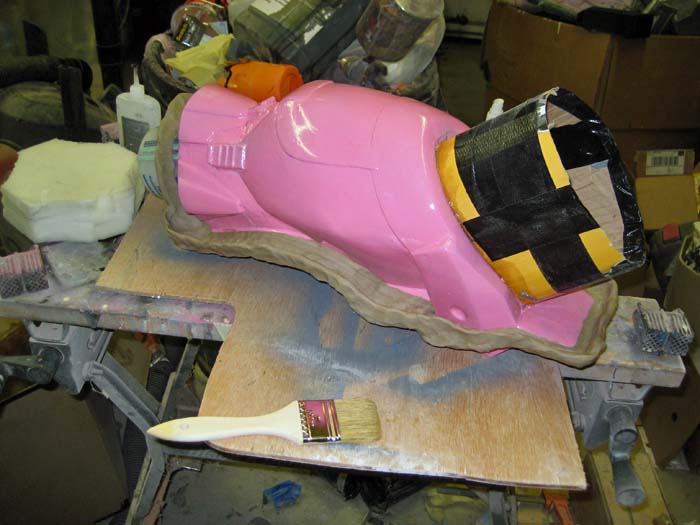
Step one: prep the model for molding:
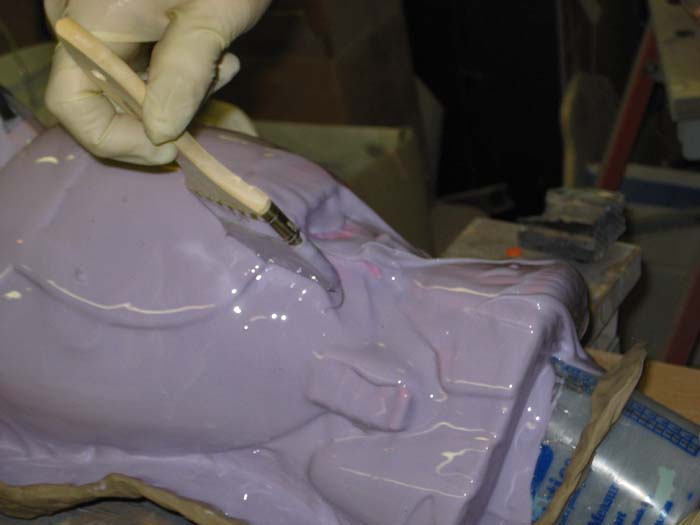
Step two: Brush on a thin coat of silicone to pick up all of the surface details:
Step three: add more rubber until you've got at least 1/2" of material covering the entire thing:
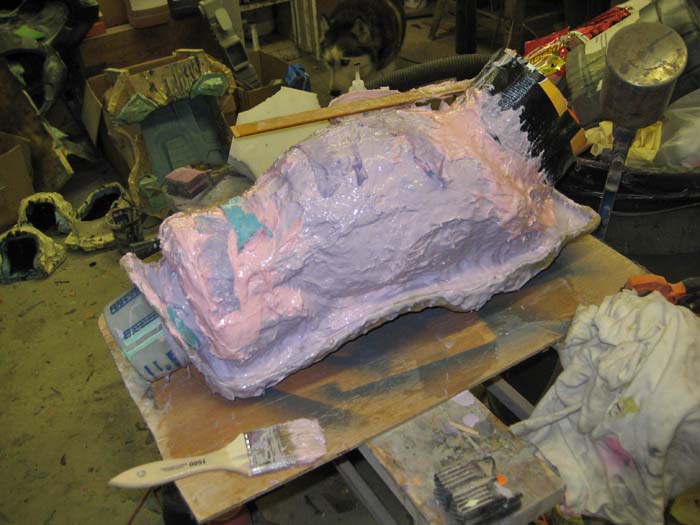
(Note: I cheated a little bit here and added clumps of silicone leftovers from other molds. You can get away with it because silicone only sticks to itself, but it sticks to itself very well.)
Once the mold is adequately thick, the next step is to build a mothermold:
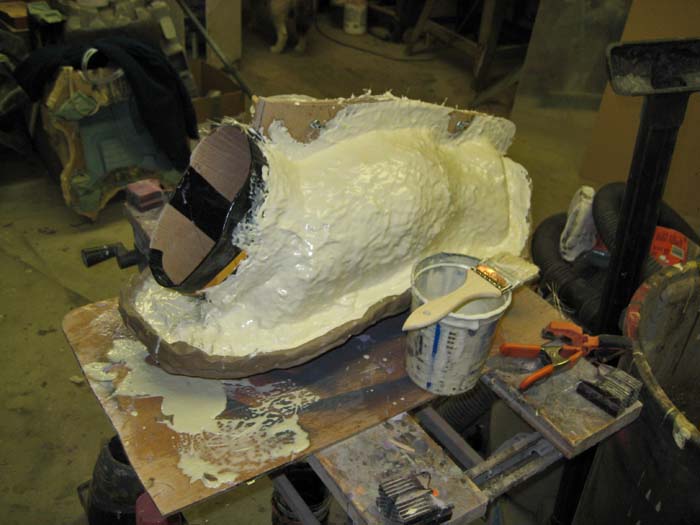
The idea is that the rubber jacket might flop all over the place and distort the castings, so we need to build a rigid "mothermold" to keep the rubber still while the casting resin sets up. In this case, the mothermold will be a three part shell made of urethane casting resin reinforced with fiberglass mat. Once the back side was hard, the whole thing gets flipped over and the same steps are repeated on the other side.
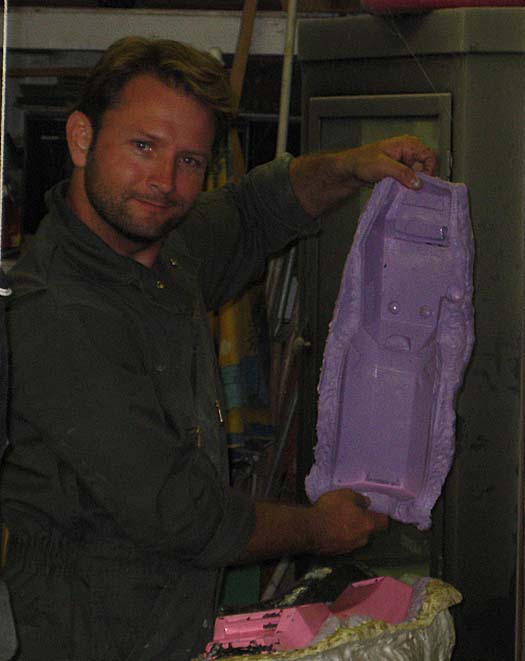
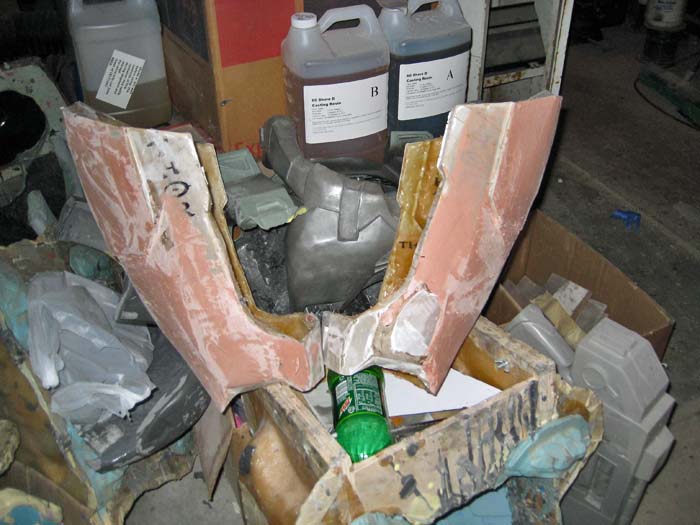
When the parts of the mold have fully cured, the next step is to pull them apart, remove the prototype, reassemble the mold, and begin making castings. Here's a shot of me holding the jacket after pulling it off the front of the calf:
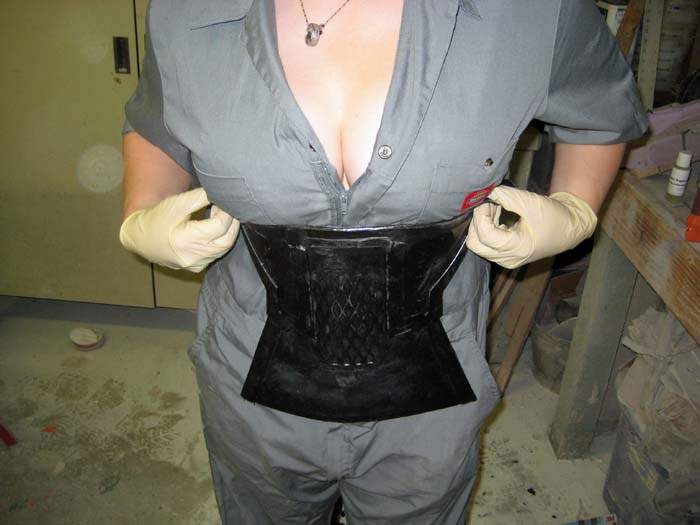
Somewhere along the way I managed to pull my first copy of the abdomen section of the undersuit details.

Ana was in town to help out for a couple of days, so here's a shot of her trying it on:
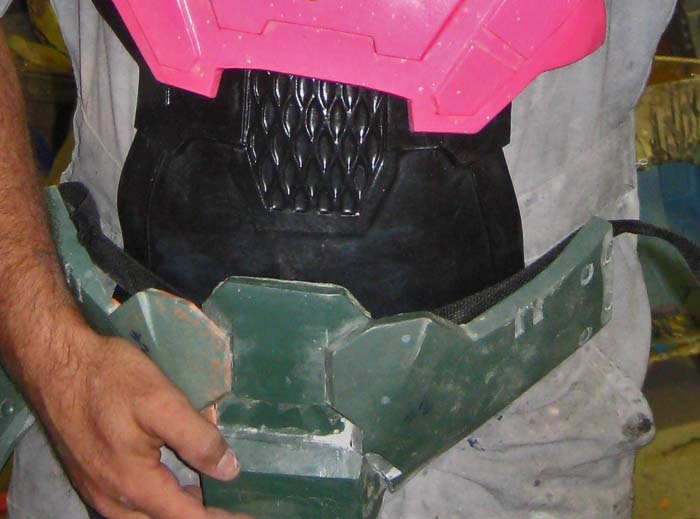
Here it is with me holding some of the hard armor parts in place around it:
For comparison, here's an in-game screenshot of the same piece:

I didn't get it perfect, but then again every time I compare the costume to the game model I notice something else I missed. Hopefully it'll look a lot better when it's fastened to a form-fitting lycra skin instead of hanging over baggy coveralls.
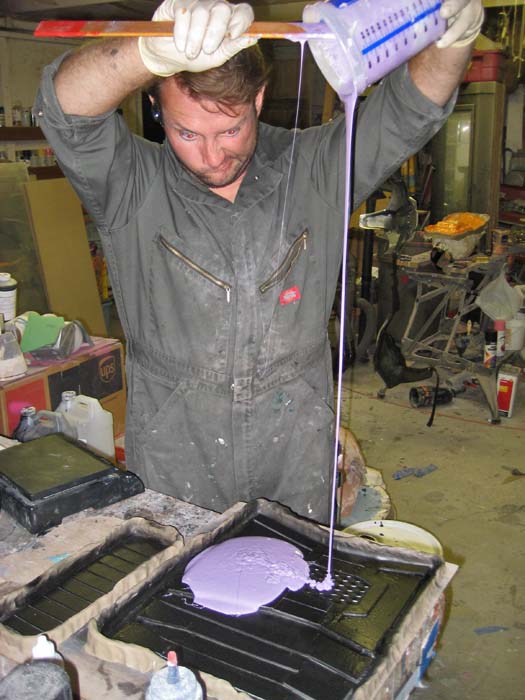
There are still a few more details over the oblique section of the waist, but those will be separate rubber castings. Here I am pouring the silicone mold for those pieces as well as the details for the small of the back:
So at this point I've got separate molds for the helmet, chest, back, shoulders, triceps, biceps, gauntlets, handplates, abdomen plate, belt pieces, codpiece, buttplate, greaves (calf/shin armor) boot uppers, boot soles, and the waist section of the undersuit.
Now all I need to do is finish fairing, smoothing, and detailing the thigh armor:
And makes molds for that as well as the groin details:

I'm about to run out of materials for molding and casting. A new shipment will arrive Wednesday, Wednesday and Thursday will be busy days if I'm going to have this done in time. Fortunately, my friend Matt's wife bought him a bunny suit to wear for Halloween, so he's motivated to help out so we can build him anything else to wear. Between the two of us, we should have the resources to get it done.
Fingers crossed. Stay tuned...
Oh come on - Matthew definitely needs to wear the bunny suit.
ReplyDeletePUHLEEZE make Matt wear the bunny suit!~photos please!
ReplyDeleteAfter hearing about the bunny suit I pointed out to Shawn that I have a monkey costume he could wear for Halloween too!
ReplyDeleteI think they are pretty fired up to finish this project though. ;)